A friend of mine recently asked me about some general tips on getting started with and getting better at photography, and while I was talking, I realized I need to write it all down and put it out there, maybe it helps someone else, too! With a little bit of guidance and some practice, you’ll be taking amazing photos in no time. Here are 20 tips for photography beginners to help you get started:
#1 Get to know your camera. Make sure you know all the buttons, settings, and functions of your camera so you can use it to its full potential. You are asking – ‘Why, I have the auto mode’! Yes you do, but auto mode only gets you so far! There are many conditions where auto might fail you (focus issues, low light conditions, bracketing, etc.), and it’s faster to manually set everything. Check out this guide on how to get to know your camera – and you are done!
#2 Experiment with different shooting modes. Don’t be afraid to try out different shooting modes, like manual, aperture priority, or shutter priority, to see what works best for your shooting style. Aperture priority, for example, is great for landscape photography, whereas shutter priority might be better for sports photos! Shooting creative portrait? Then the manual mode might be your way to go. Well, once you mastered manual mode, nothing can stop you, hehe.
#3 Invest in ‘good’ gear. A good camera, lens, and tripod can make a huge difference in your photos. But good gear can also mean a simple phone! ‘Good’ is defined by your use – snapshots can be taken with a phone, but magazine photos might need a proper camera so you have larger images to work with and can edit more without damaging your image. Large prints or fast action shots might require you to spend some more money on a good lens, or night photos might need you to get a tripod – so, you determine what is the right gear in terms of what you need. Once you know that, spend your buck to get a good version of it.
#4 Take advantage of natural light. Natural light is the best light for photography, so try to shoot outside during the golden hours (just before sunset and just after sunrise) to get the best light. Colors are usually vibrant, shadows and highlights add interest to the photo, and many people are naturally drawn to such images. You can check sunset and sunrise times as well as sun angles here.


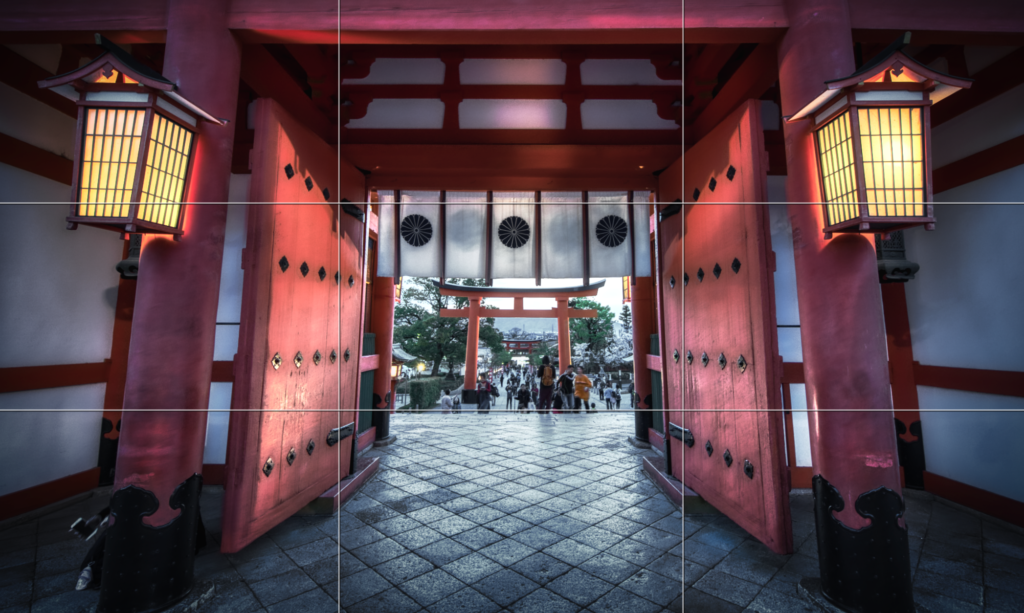
#5 Pay attention to composition. Composition is key to creating interesting and visually appealing photos. Use the rule of thirds to create natural interest in your image. There are other composition rules out there, but this one is one of the most used – and most cameras come with an overlay to make it easier for you. But – don’t overthink it too much, because you can always crop in post-production! So if in doubt, shoot a little wider than needed and fix it later.
#6 Learn how to use ISO. ISO is one of the most important settings on your camera and can greatly affect the quality of your photos. Basically, ISO determines how sensitive your camera is to light – so when it is really dark, you can adjust the ISO to be able to take blur-free pictures. This comes at the price of adding noise to your image though – so make sure you know how to use it to your advantage – to get you started, here is a nifty guide that explains everything you need to know! I’ll link the video here, too:
#7 Get up close and personal. Getting up close to your subject can help you capture the detail and emotion that make your photos stand out. This works especially well for portraits – but also for other areas. A wide-angle lens for example allows getting close while still capturing the surrounding, allowing you to create awesome compositions.
#8 Be patient. Sometimes it takes a little bit of patience to get the shot you want, but it’s worth it. This applies to life as much as to photography! Imagine that sunset that you have waited for, but it is just not happening. The colors stay mundane, boring, just nah. Stay a bit longer! Let the sun go down – maybe the blue hour is your friend instead of the sunset.
#9 Play with angles. Try shooting from above, below, or at an angle to add interest to your photos. Below are some examples where I think I managed to get creative with angles – have a look and look around next time you are standing in a group of 10 other photographers! You can find all of my images in my portfolio.


#10 Experiment with shutter speed. Shutter speed can greatly affect the look and feel of your photos, so play around with different speeds to see what works best. If you have a river in front of you, you could use a long exposure to make that water super smooth and add that fantasy look – or at night, you are able to capture night skies with a nice long shutter speed. But even in cities, a long shutter speed might be cool to create light trails – try and see what style you like!


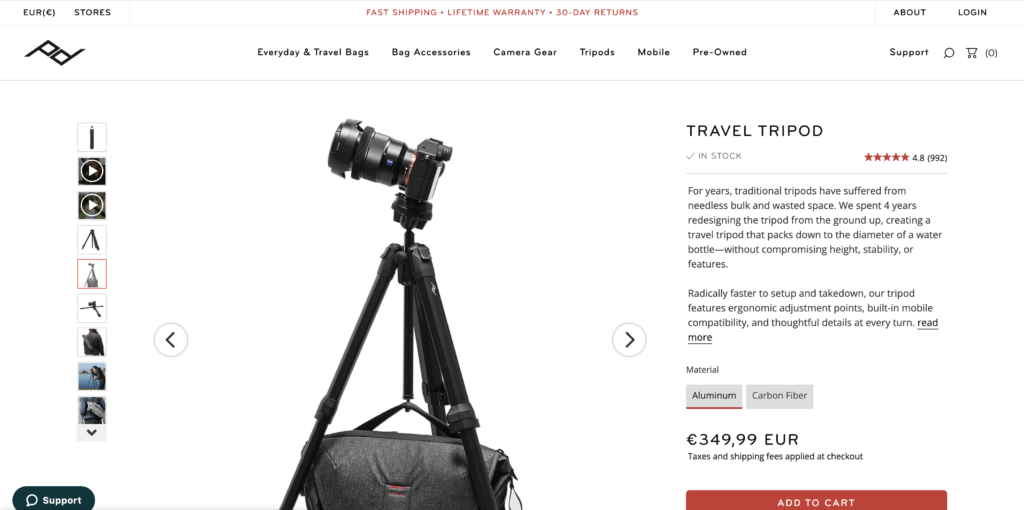
#11 Use a tripod. A tripod will help you keep your camera steady and prevent blurriness in your photos – especially if you want to use long exposures! There is nothing worse than shooting photos in low light only to realize at home that they are blurry. For things such as long-exposure photography, a tripod is an absolute must, so don’t lose out on shooting opportunities – just get one. I recommend (and use) the one from peak design – it’s sturdy, light, super compact, has a ballpen head, and has a hook to make it heavier in windy locations … its simply amazing. The peak design tripod is a bit on the expensive side though, but you are indeed paying for quality.
#12 Take photos of things you love. Whether it’s people, animals, or landscapes, taking photos of things you love will make your photography more meaningful and enjoyable. It allows you to create a story for every photo you take – and you are less likely to burn out. And trust me, there is a niche for every kind of photography! Even kinky stuff – whatever floats your boat.
#13 Get inspired by others. Check out the work of photographers you admire to get inspired and learn new techniques. If you don’t know many photographers yet, just think about what you’re interested in and google ‘YOUR THING photography’. This will give you tons of photos and you can check out who the photographer is. Alternatively, use Instagram – not everyone in todays age still has a website, many simply use their Instagram to promote their work. Use hashtags like #landscapephotography or #portraitphotography to find potential accounts to be inspired by. One of my biggest influences is Trey Ratcliff, an HDR photographer that I had the honor of meeting even!

#14 Take advantage of editing tools. Editing tools like Lightroom and Photoshop can help you enhance your photos and make them even better. One of my favorites these days is Luminar Neo, a fantastic software fit for beginners and professionals alike. I recently made a full guide on Luminar Neo here, and even several full editing tutorials to inspire you. If you like Luminar, you can get it here and use code ‘LETSIMAGE’ at checkout to save 10$/€.
#15 Don’t be afraid to make mistakes. Photography is a learning process, so don’t be afraid to make mistakes and learn from them. When I started out, I completely overedited them, had weird compositions, had grain in the shadows, and so on. This is part of the process – make mistakes! Touch the fire!
#16 Keep your camera with you at all times. You never know when you’ll come across a great photo opportunity, so keep your camera with you at all times. This may sound weird, but especially if you are in a new place, situations might unfold after that restaurant dinner that you want to capture. I have missed so many shots – now I walk around with my camera and a small 50mm/f1.8 lens.
#17 Use an ND filter. ND filters can be used to block some light from entering your camera – which is great if you want to take long exposure images during the day! They also automatically add some contrast and saturation to your images. ND Filters allow you to find new ways of shooting and become more creative with your photography.
#18 Take photos in different weather conditions. Shooting in different weather conditions can add variety and interest to your photos. Think about this – say you are in Tokyo, full streets, life everywhere. What do most people do when it rains? They go inside – but you don’t. You stay, because now you have buzzing lights, reflections, and an empty street to play with. Even during the day – a rainy day makes for great clouds and more even lighting conditions – so make sure you use weather opportunities when they arise.


#19 Keep practicing. The more you practice, the better you’ll become. So keep shooting, even if you’re not getting the results you want. Next time you shoot, you will get them! There are many groups on Facebook for example that allow you to post your pictures and ask for feedback – if you are starting, this is a great way to see how your work is being perceived – though keep in mind that there are a lot of haters out there, so always take specific feedback with a grain of salt. Rather, focus on the overall sentiment.
#20 Have fun! Remember, photography is a hobby, so have fun and enjoy the process. Make time for laughs, friends, and experimentation, and never lose that smile you get when you take a great shot and you know it.
I hope these tips help some of you out there – get out there and start shooting! These were my 20 20 beginner tips to easily get started with photography. With a bit of patience, practice, good editing software, and the will to explore a bit, you’ll be even more awesome in no time!
Catch you in the next article!
Phill