Whats a chromatic abberation, you ask?
I am sure you have noticed them, they appear in many images with high background light or in HDRs (very often in HDRs, actually). Have a look at this:

This is an (over processed) HDR image – let me show you what you probably didn’t see in this small version:
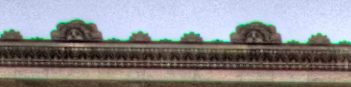
There is a green line around the Arc – sometimes green, sometimes purple, sometimes rainbow – which is super disturbing and just makes the image dirty. But do not despair, heres my 5-step solution!
1. Import and triple!
Import your image into Photoshop. If you haven’t worked with layers in photoshop yet, read this first. Once imported, select the layer and copy it 3 times (CMD/STRG+J).

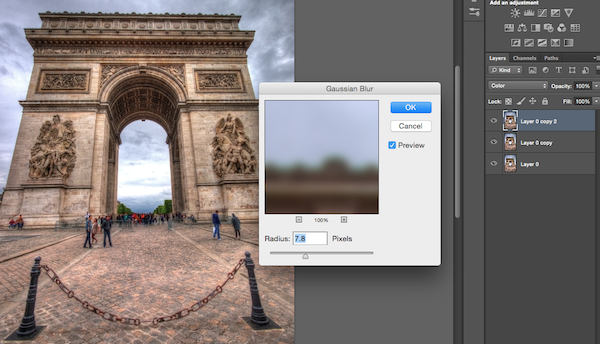
2. Change blending mode!
Select the top layer and change the blending mode to Colour.
Then go to Filter->Gaussian Blur and choose a blur which makes the green line disappear (don’t worry if the whole image becomes blurry).
3. Rearrange layers!
Bring the bottom layer (which is unmodified) to the top, so that the blurred colour one is in the middle. Nearly there!
4. Create a layer mask!
Click on the little Japanese flag at the bottom of the layers panel to create a layer mask – it should look like this in the layer panel once done:
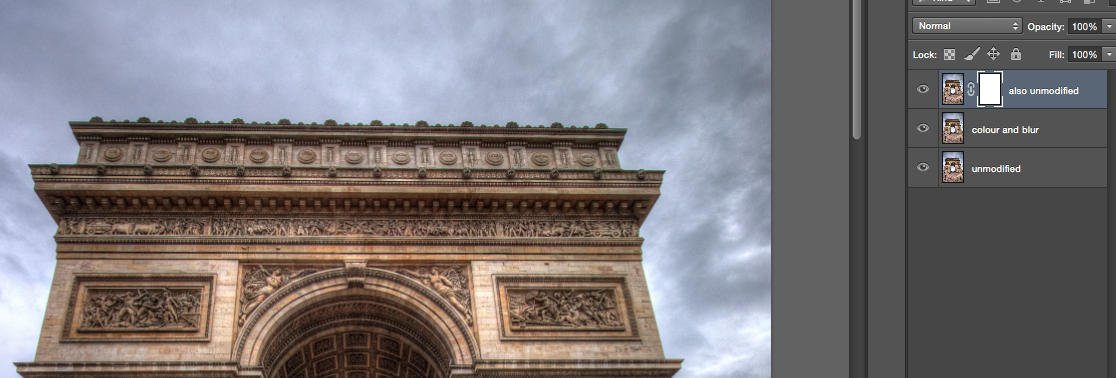
5. Brush through!
Lastly, while having the layer mask selected, press b on your keyboard which will select the brush. Make sure the opacity of the brush is set so 100%, zoom into the image and start to brush along the green line.

In the example, you see the green line to the left and right, but not int he middle anymore – this is why I used the brush to remove it from there! make sure to remove all of these lines, they never (ever) look good. Once done, press CMD/STRG+E to merge everything visible. Done, one problem less after 1 minute!
Don’t forget to share this post if it helped you or write me if you need anything else.
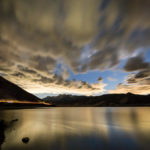
By the way, the finished image looked like this – if you want to see more great examples of HDR photography check my portfolio!