Defeat Your Fear … Of Photoshop! Get Started With Curves | Photoshop Tutorial
Welcome back! I recently had an interesting conversation with a friend of mine, who admitted that he would love to get a little more into processing, but the problem is that Photoshop is a little bit of a bomb. So many features, so many buttons, so many techniques to use – where do you start? Where do you take the time from to learn all that stuff?
I hear you – and yes, there is a lot and it is scary when you first start. But consider this: When you started using a camera or when you got a new fancy ANYTHING, there was not a moment when you just started to use this new whatever it might be right away. Using the example of a camera, you most likely started with the automatic mode and just shot anything that made it in front of your lens – right? After a while, you then transition to more manual modes such as the Aperture priority mode, or the actual manual mode. So step by step you added one more piece of knowledge to your pool until you had enough to use the camera (or whatever) to the extend that you need it.
It is the same with Photoshop. You can not just jump in and know every little thing – instead, you start by using pieces that will build up until you are good enough to do what you need to do. But here is the thing: Once you accept that there is a learning curve, the process can be so much fun! Every time you use something new, or every time you use something you know to create something that you love, every time this will give you a little boost.
So today, I thought we will be doing something a little different – I will show you today how you can take a single function within Photoshop and finish a Photo edit from start to end! Yes, only curves and nothing else – no scary steps, all neat and simple. I also take my time to explain the principle of curves in the video, so be sure to check it out 🙂
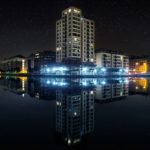
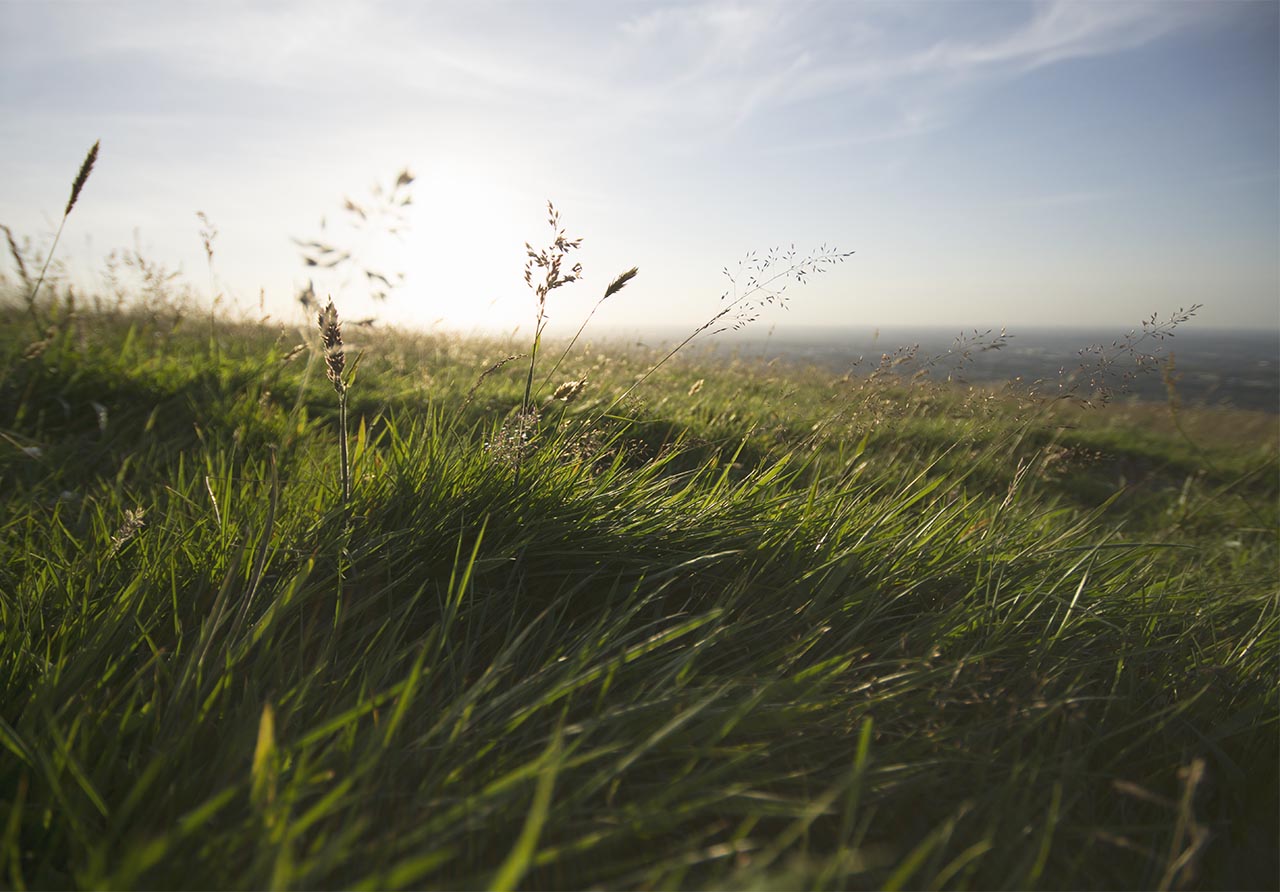
Here is the final image:

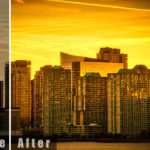
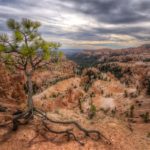
And here is the original:
Part One – Understand Curve Adjustment Layers (3:00 min)
Curve adjustments are easy once you understand how they work. The principle is this: The curve itself goes from bottom left (dark) to top right (bright). If you lift up the curve on the top right, you make the bright areas brighter, whereas if you lift the curve on the bottom left, you make the dark areas brighter. This is because the curve is “split” in different areas, with the darks being left and the brights being right. You will see there are some mountains in grey within the box, just behind the actual curve – these represent the amount of your image with a certain brightness. For example, if you have a large amount on the left side, then your image has a lot of dark areas. If your image has loads of bright areas, then the amount on the right would be greater. Everything in between these two ends are your mid-tones, so the areas that are neither super dark or super bright.
If you grab the curve and drag it up, you make the image brighter. If you drag it down, you make it darker. This is basic, but you can go further than this: if you place a dot in the middle of the line, you can then control brights and darks independently. Set a dot and drag up the curve half that is left, and you will make the darks brighter. Drag up the right half and you make the brights brighter.
This principle, with some practice, allows you to really customise your brightness in an image – go ahead and try it out!
Part Two – Affect Not Just Brightness, But Also Colour in Your Images (9:00 min)
The power of curves does not only come from the ability to influence light and dark areas in your image, but also from being able to set the amount of a colour in your image. Think about this: If you take an image and you through some red in there, what happens? The image becomes red – no brainer. But what happens when you take Green and Blue out of the image? The same, the image becomes more red. You can do exactly these adjustments with curves. Check the curve and you will find a drop down selection on the top that says: RGB. There, you can switch to Red, Green, or Blue. With the curve that you can see under these colours, you can decide how much of each of the three base colours is in the darks and the brights, just like we adjusted the brightness before. Is this not awesome? That is all you need to get started with curves, now go ahead and give it a go! 🙂