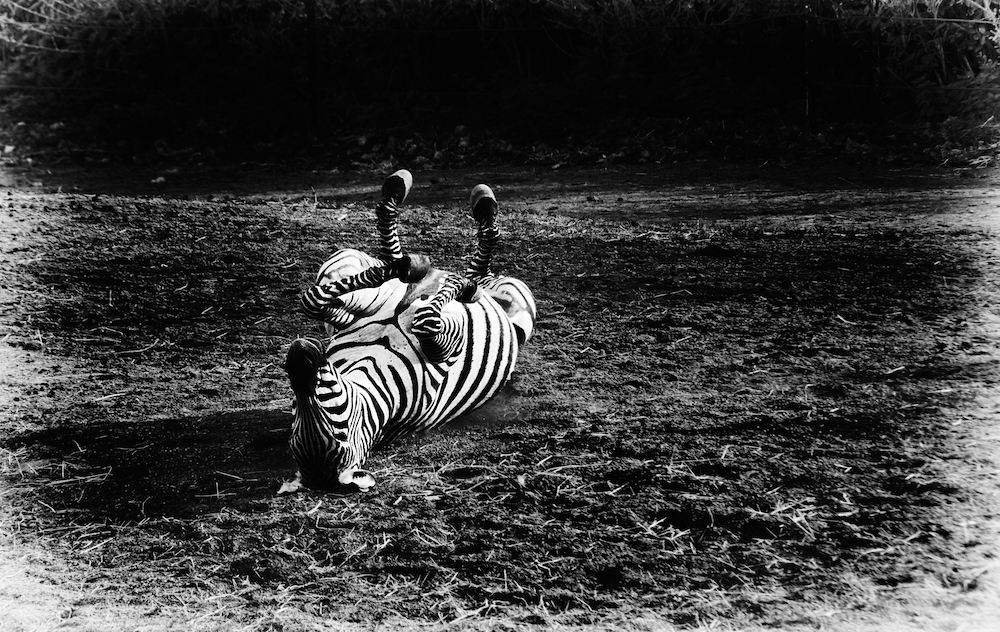
This one was a short one to process. See, when you don’t have the coins to jump into a plane to Africa, what do you do to get some shots of animals? Right, you go to the zoo. Which is fine. The problem is that in most cases you can see some part of the fence in the background which tells the viewer straight away this is not a natural environment. True – but the image does not have to scream like it, hehe. So, here is the final version:

and the original:
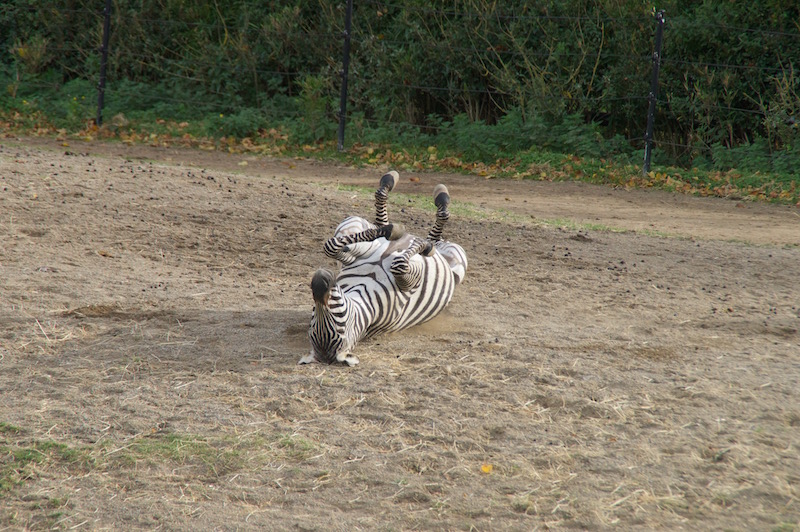
This wasn’t even a HDR! But you know, might as well. So, thats how I did it.
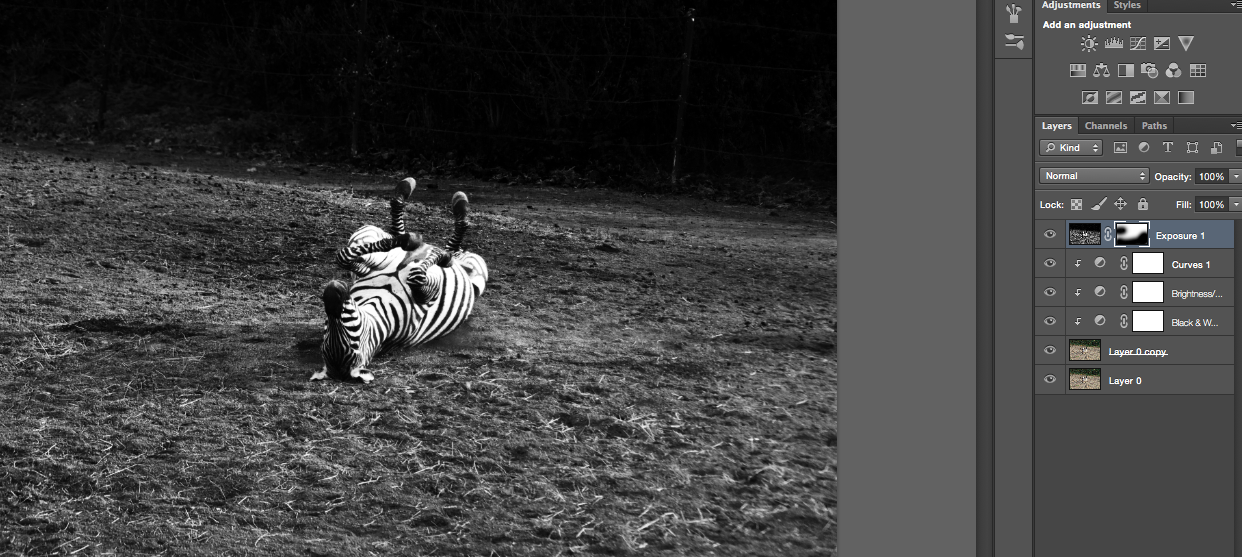
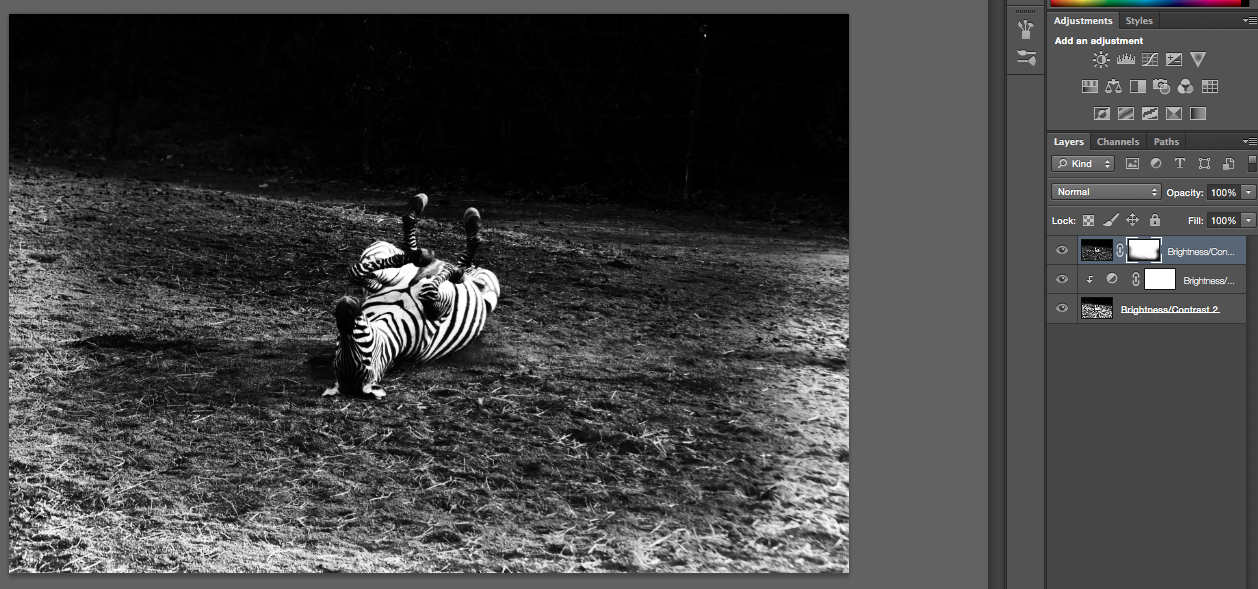
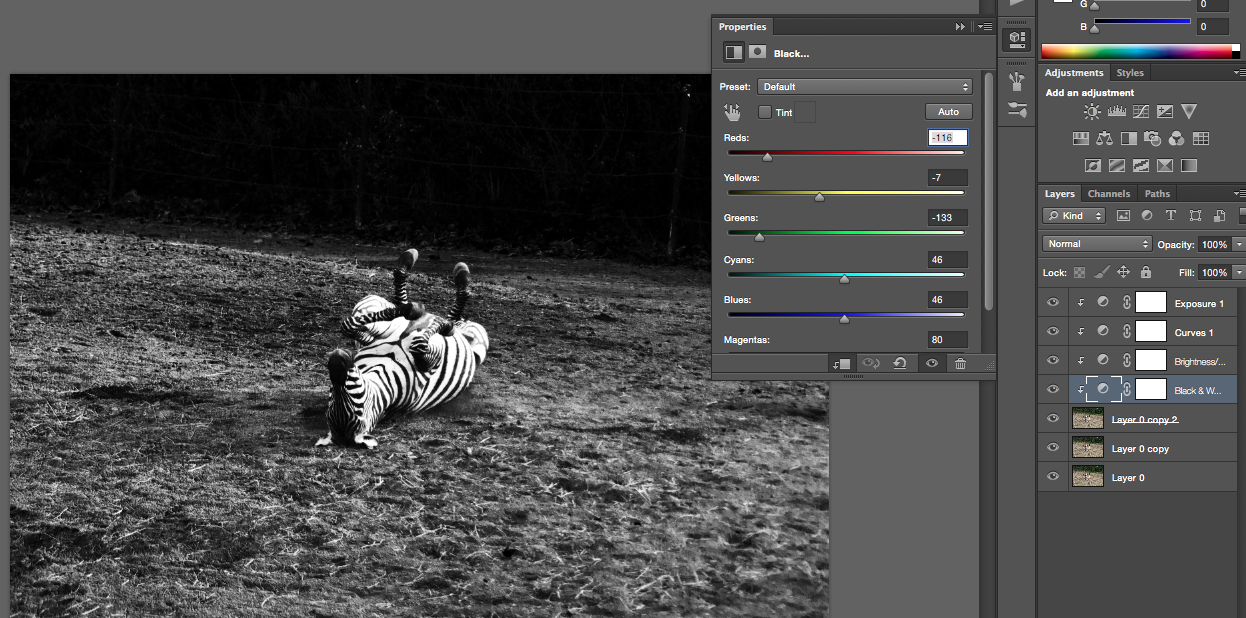
I loaded the image into Photoshop and copied the layer 3 times. New to Photoshop layers? Read this first. I then added black and white using the adjustment panel, reduced the greens and the reds and the yellows. Contrast super high, curve tool to make the blacks more black and the whites a little whiter 🙂 See below for images of this nutshell talk.
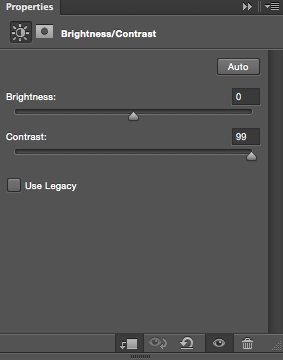
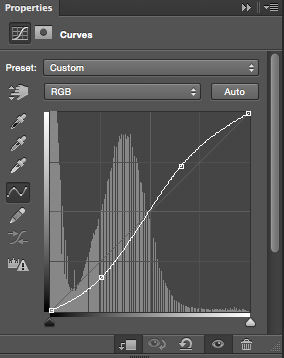

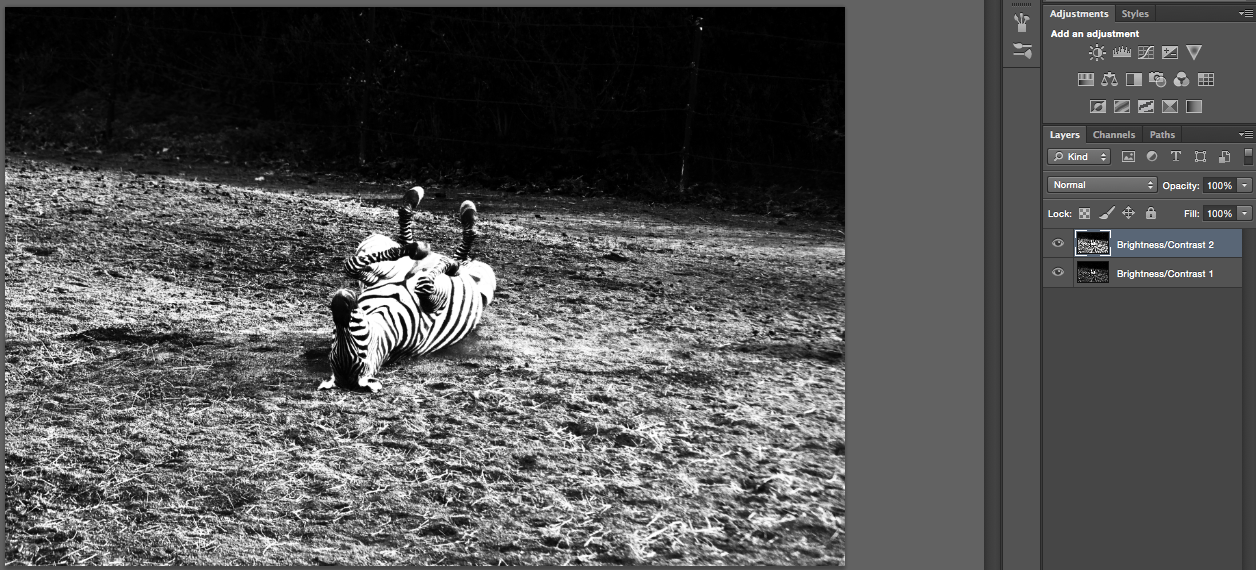
I was very happy with the zebra, but the ground was so… SO….. nah. So, I combined all the adjustments with the top layer and made it invisible. Again I used the curve tool and created the S-shape as seen above. Then I decreased the brightness and increased the contrast.
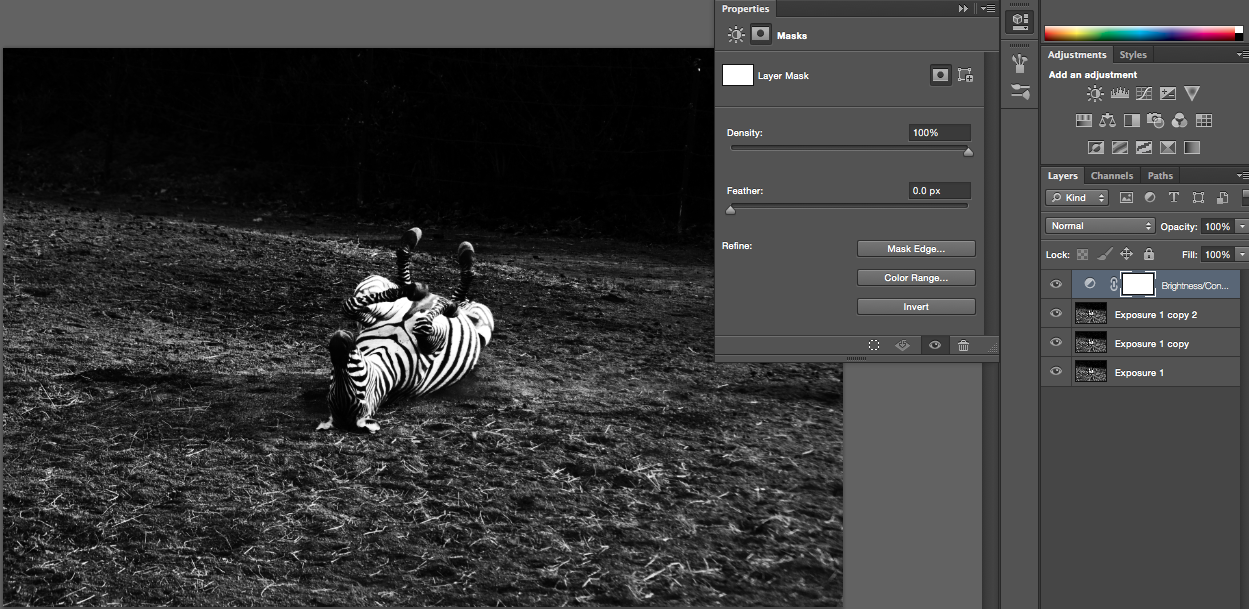
I render the top layer visible again and created a layer mask. Pressed b to get the brush and started to get this nice ground combined with the nice zebra from the other layer.