How to Create a Sunset Effect in Photoshop – Example: Irish Sunset | Photoshop Tutorial
Welcome back! Once more, today is a day to create some magic. We all know how it can be to be on a little photo trip over the day, with the weather just not playing along! It is around early afternoon, everything is gray, and there is no time to wait around for the sunset in the hope that things will clear up. Well, today’s image is a perfect example for one of these days. I went to the south of Ireland some time ago, and when flicking through the images, I found this particular one.
When I was there, I loved the whole thing – good waves, nice dramatic sky; but as it turns out in the image, things were not so great. No problem! I envisioned a majestic sunset when I was at the actual place, so today it is once more time to check how to create a sunset effect in Photoshop, hehe.
Remember, if you like the video, make sure to subscribe for more weekly Photoshop and Photography action!
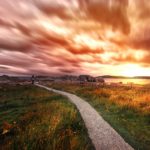
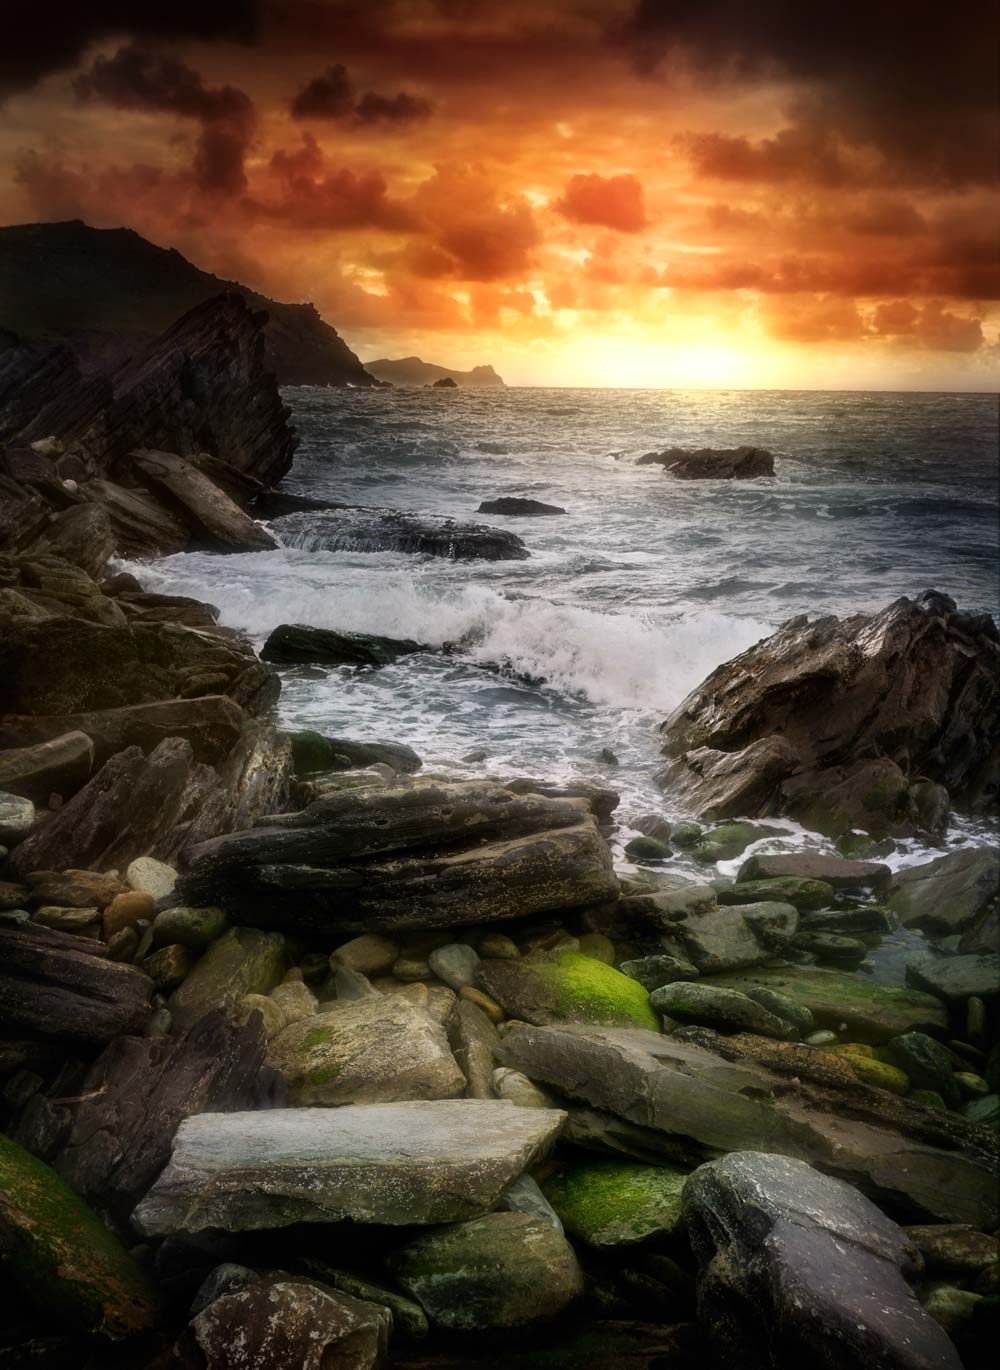
So, here is the final image:
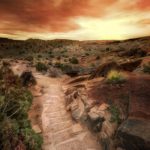
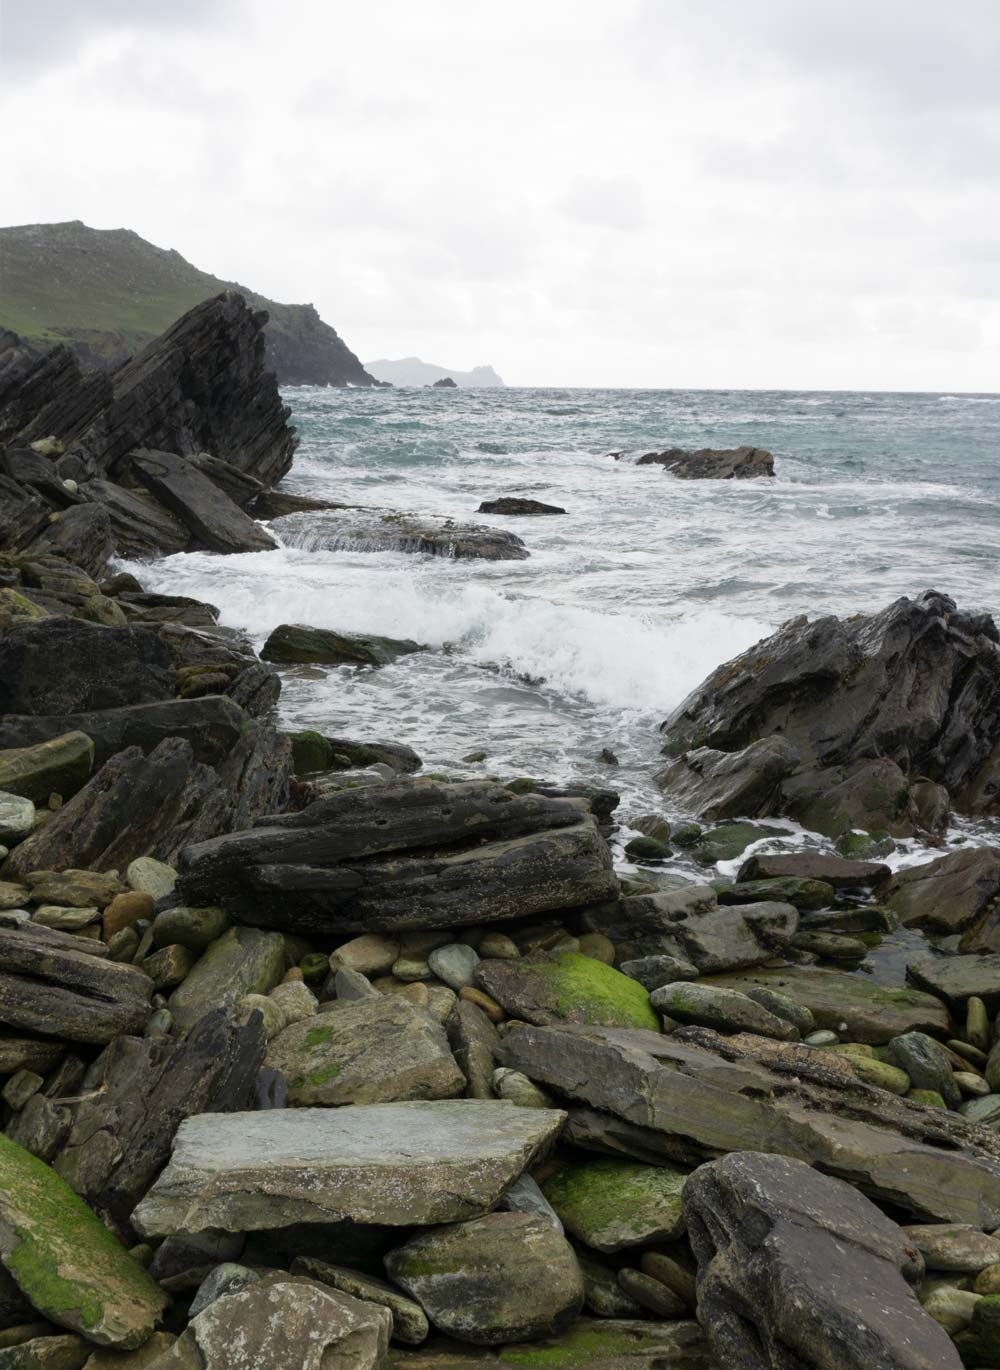
And here is the original:
Part One – Creating the Sun in Photoshop (2:20 min)
This part is by far the most simple one. I started out by creating a copy of my background layer (CMD+J), after which I went to Filter-Render-Lighting Effects. There is a choice to make between three kinds of light sources, where I went for the Point one. I made it yellow and placed it just below the horizon. Once I was happy with the placing, I created a layer mask and used a black brush to hide the yellow effect from areas where I did not think it looks great, so especially the foreground.
Part Two – Adding Colors to the Sky (4:40 min)
The next part was to add some nicer colors to the sky itself, as the actual sky had nothing but gray in it. I used a proven-to-work three step system, and each step follows the same principle. The first step is the yellow itself that comes from the layer with the sun, so this is done already!
First, I start out by creating a new layer (CMD+Alt+Shift+N), for which I change the Blending Mode to “Color”. I then switch to my gradient tool (G on the keyboard) and select a nice red. I dragged from top to bottom and then used a layer mask to also hide the red from certain areas of the image. I repeated the exact same procedure for my last color that I usually use – orange. This is just my approach when trying to find the best way on how to create a sunset effect in Photoshop, let me know if you have another idea!
Part Three – Darken the Image in Photoshop (8:00 min)
The next step was to darken the image – in the end, it is supposed to be a sunset photo! There are many ways of doing this, but I went for a simple curve adjustment layer in this case where I dragged the curve down until I was happy with how the sky looked. This also intensified the colors a lot and the whole thing looked way better right away. In cases where the image became a little over saturated, I just used a simple Hue/Saturation adjustment layer to reduce the saturation in these areas. Now, from this point onwards I went back very often to the layers that had the colors on them, to make sure, I get a nice balance between them in the sky. This takes some time usually and it is best practice to, every now and again, go away from the computer to double check later when working with colors. In this tutorial, I did not take the time to do so, but you get the idea 🙂
Once I had the image nice and dark, I went to the layer mask of my curve adjustment and used a white brush to undo some of the darkness in the foreground of the image. Ultimately, I wanted to make sure I place attention on the sunset, but also on the stones that were in the front.
Part Four – How to Dodge and Burn in Photoshop (13:50 min)
The stones in the foreground were ll equally lit, which is not really great when simulating a sunset. Therefore, I made it my mission to give them a little bit of a better look. To do so, I used a technique called dodging and burning, that essentially lightens and darkens certain areas of an image. There are several ways to do so, but the one I chose works like this:
I created a new layer and filled the layer with 50% gray (Shift+Backspace). I then changed the blending mode from normal to overlay. Here is the cool thing – using a white and black brush, I can either lighten or darken things now! Awesome, right? There are also dodge and burn tools within Photoshop, they work great as well – it is just personal preference. This might take a while, but selectively darkening and lightening the stones made all the difference to the image I believe. We are nearly done with our ‘how to create a sunset effect in Photoshop’ tutorial!
Part Five – Adding a Soft Focus to the Image (25:00 min)
The last major step was to add some soft focus to the image. This can be done manually, but there is also the plugin from the Nik collection (it is free!) that does this. I recommend downloading this plugin – no harm in free stuff that saves some time!
Remember, shortcuts make your life easier and can speed up your processing a lot! Here is what I used in this image and most of my Photoshop tutorials:
B for the brush
X to change between background and foreground colors
CMD+I to invert anything
CMD+J to duplicate a layer or a selection
CMD+Alt+Shift+N to get a new layer
CMD+Alt+Shift+E to get a stamp visible
G for the gradient tool
On a Windows PC, just replace the CMD with Ctrl.
If you like my images, make sure to check out my portfolio!
Don’t forget to get out there and take some pictures yourself – time for some photography in Ireland? Have you been to the island yourself? Show me your images!! I hope you enjoy my Photoshop tutorials and this image in particular and I see you next time.