https://youtu.be/1G0YRUHW4_s
How to Create Awesome Portraits in Photoshop – Example: People of the Flea Market
Welcome back! I have a confession – I hate approaching people to ask them if I can take a picture of them. I always feel like I am just annoying them!
Well, as I am trying to jump over my shadow to get more awesome people shots, I did indeed go out recently with the sole purpose to ask people to take a picture. So I did with the Gentleman you can see below – he was working at a local flea market here in Dublin and I managed to get him away from his stall and take this quick shot. I loved the tattoos he has, even though they had no meaning at all as he explained later.
In any case, today I will show you how I took this ordinary original image taken on a flea market and created this super awesome portrait of the dude. Let’s go!
Remember, if you like the video, make sure to subscribe for more weekly Photoshop and Photography action!
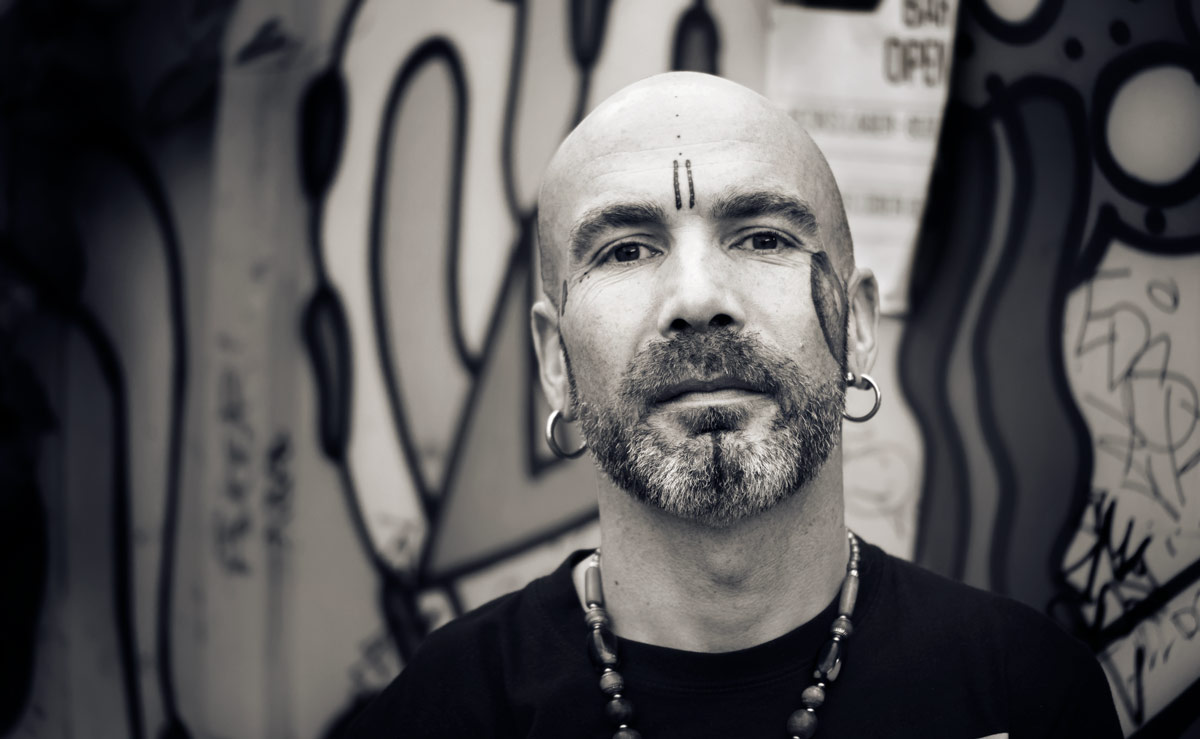
Here is the final image:
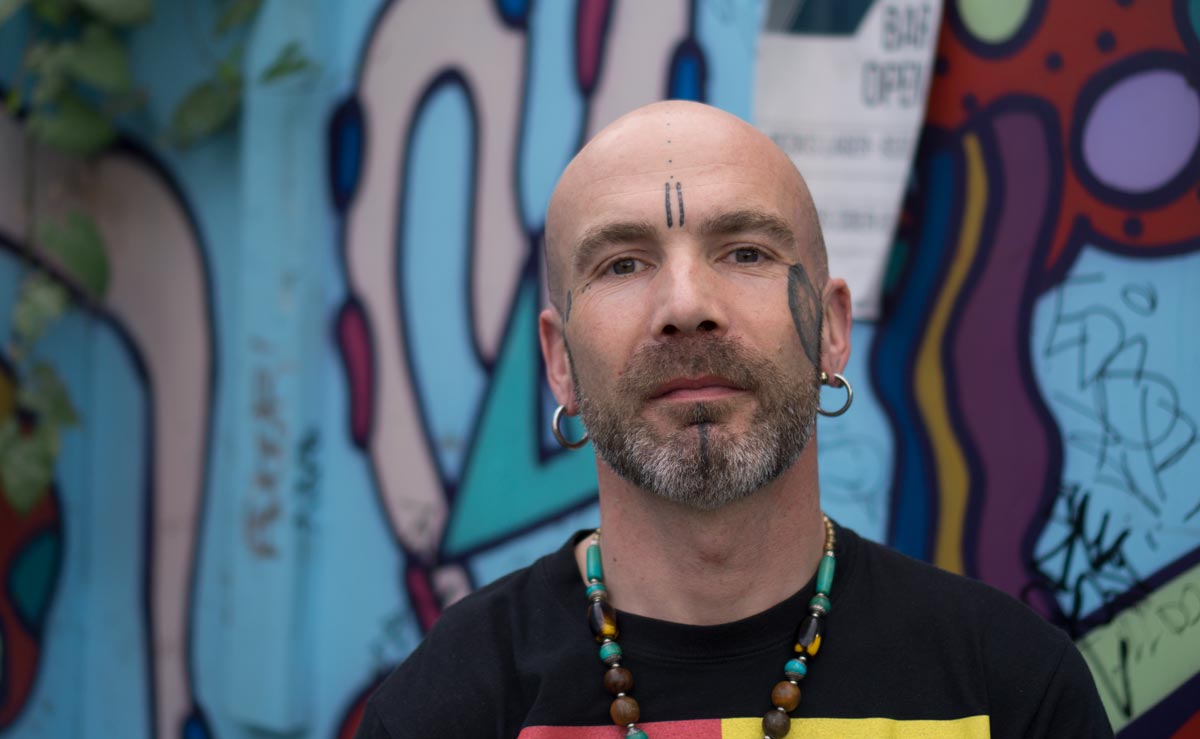
And here is the original:
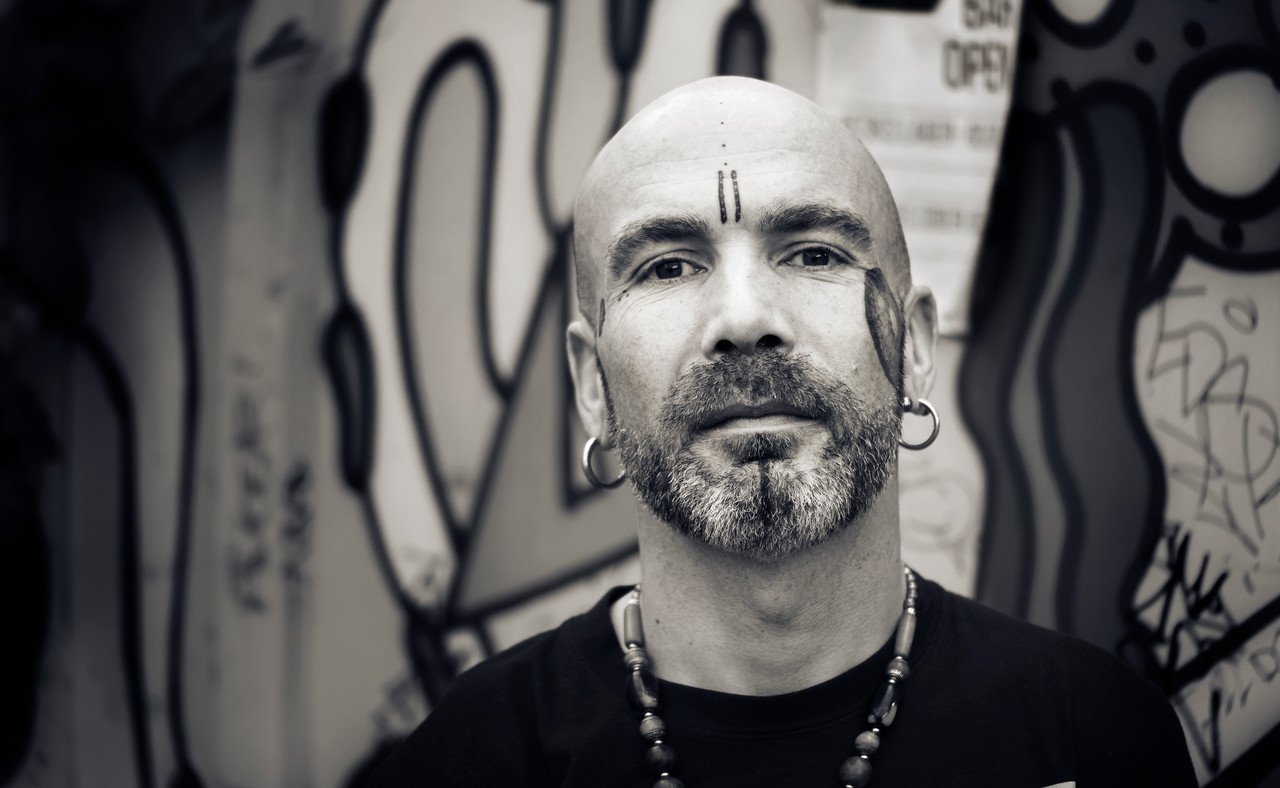
Part One – Create the Black and White Image (2:00 min)
Creating the black and white version was simple – I just selected the Black and White adjustment layer on the left-hand side and played with the sliders until the face was standing out greatly from the background. I suggest okaying around with the sliders until you are perfectly happy!
Part Two – Add Colour Back to the Image (3:00 min)
I do like black and white images, but I also like a subtle mood in the image that is caused by barely noticeable colours. In this case, I added a little orange and a little blue. For the orange, I created a Hue/Saturation layer and selected the “colorize” option – followed by reducing the saturation and changing the Hue to a light orange. For the blue, I added a new layer (CMD/Ctrl Alt Shift N) and filled this layer with blue using the bucket tool. I then reduced the opacity and changed the blend mode to soft light.
Part Three – Increase the Size of the Head (YES! 7:30 min)
This is a little trick – to make the dudes head stand out a little more, I copied everything on a new layer (CMD/Ctrl Alt Shift E) and went to Filter-Camera Raw Filter. There, I went to the lens correction setting and used the distortion slider to increase the head size. Love it!
And that was it, some simple editing that resulted in a great portrait. Have you ever had the problem that you did not like to approach people to take images of them but jumped over your shadow and approached them anyway? Show me the images you have created that way!
Remember, shortcuts make your life easier and can speed up your processing a lot! Here is what I used in this image and most of my landscape and outdoor Photoshop tutorials:
B for the brush
X to change foreground colors
V for the move tool
G for the bucket tool
Shift Backspace to fill a layer mask with black or white
CMD J to duplicate a layer or a selection
CMD I to invert
CMD Alt Shift N to get a new layer
CMD Alt Shift E to get a stamp visible
On a Windows PC, just replace the CMD with Ctrl.
If you like my images, make sure to check out my portfolio!