How to Edit Outdoor Images in Photoshop – Example: Sunbathing Supreme | Photoshop Tutorial
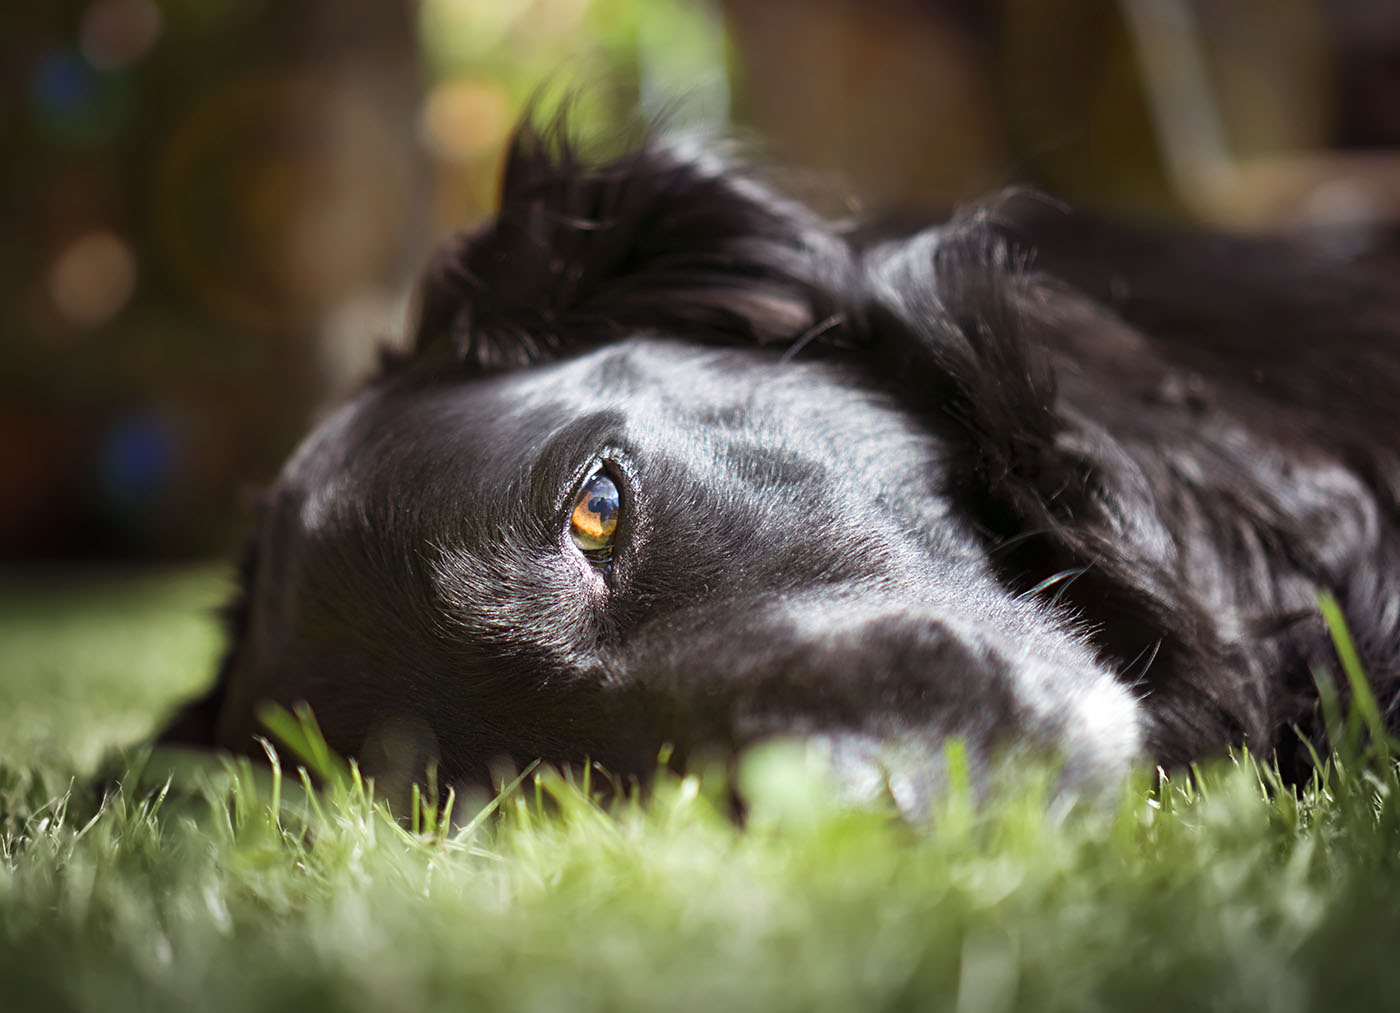
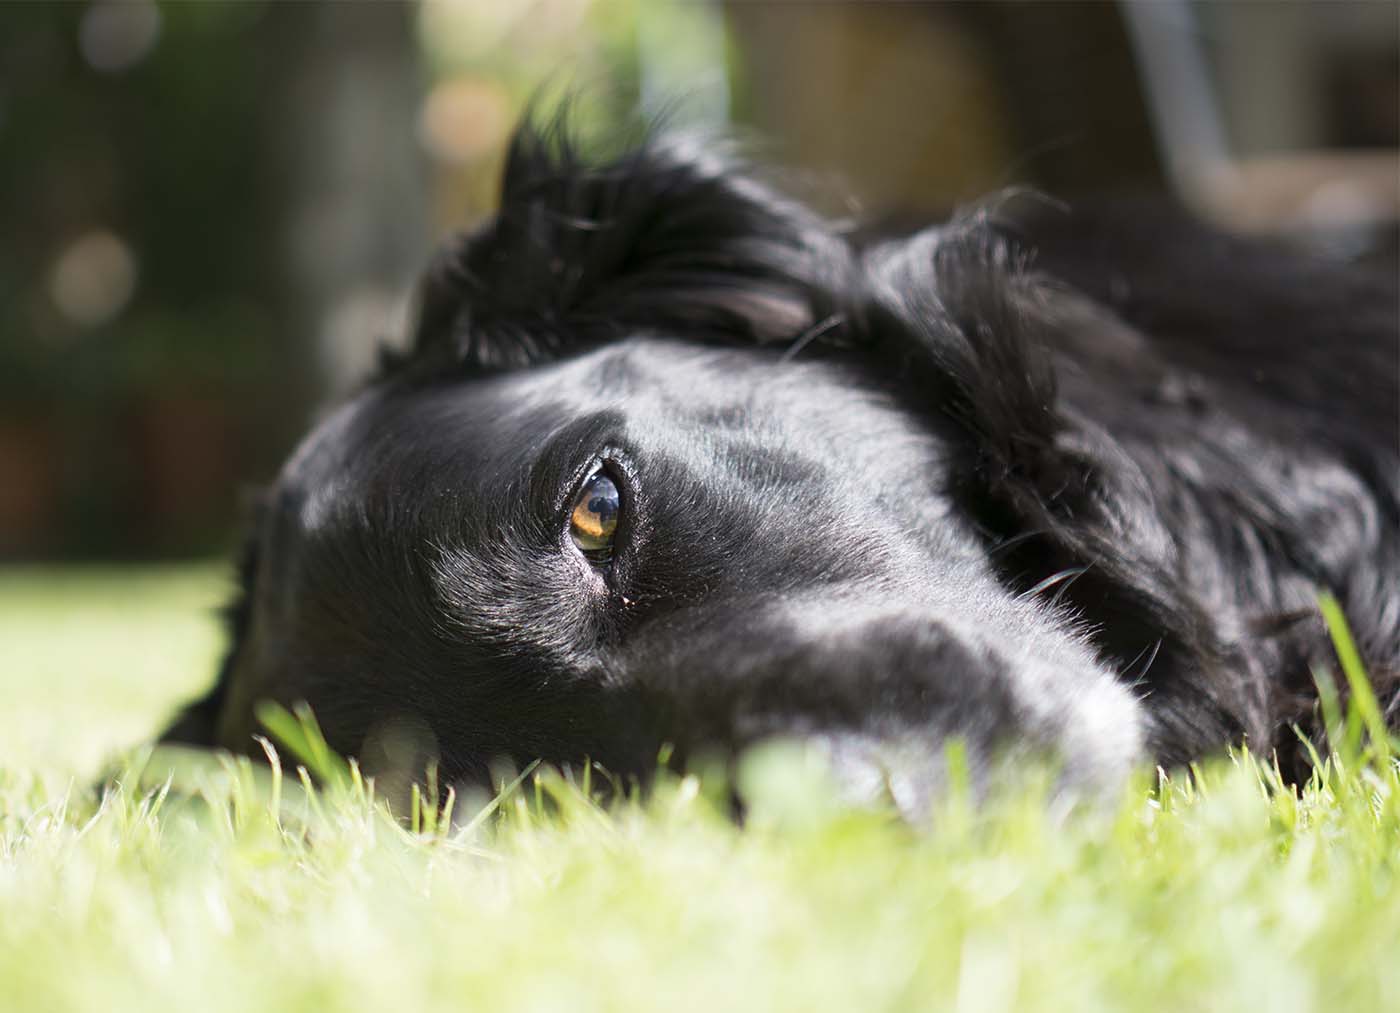
Welcome back! Today, it is all about not having to go far to take great images. Today’s photo was taken in my backyard – yes, the backyard! It was a sunny day and my dog was just lying around doing nothing (we all love it), so I decided to take my chance and take some snapshots of him. The image came out relatively bright, so today, I will show you how I processed this image in Photoshop.
Remember, if you like the video, make sure to subscribe for more weekly Photoshop and Photography action!
Here is the final image:
And here is the original:
Part One – Darken and Desaturate the Grass in Photoshop (1:15 min)
The grass in the foreground of the image came out far too hot, so we need to cool this down a little. This is fast and easy – I first created a curve adjustment layer and dragged the curve down until the grass became nice and visible. Once done, I inverted the layer mask on that adjustment layer (CMD/Ctrl+I) and used a white brush to bring the effect into the grass. Similarly, I did the same with a hue/saturation layer, where I just reduced the brightness. That was it, now the grass is good to go!
Part Two – Add a Color Tone to the Image (4:15 min)
While the background of the image was nicely blurred, it seemed a little boring as there was not much color going on, so to speak. To change this, I added another curve adjustment layer to the top of it all and went into the red channel. There, I dragged the curve up, which added the red I needed. As this affected the whole image, I then inverted the red layer and used a white brush like before to bring it out in the background of the image. I did actually paint a little over the dog, but I really did not mind – for me, it just added to the feel of the image.
Part Three – Add Elements to the Background Using Lens Flare in Photoshop (6:30 min)
As mentioned, the background was nicely blurred, but not many elements were visible which made the background appear relatively empty. So, I decided to add some more blurred circles to it. There are a couple of ways of doing so, and I went for some lens flare that I added in Photoshop.
To do this, we need a layer with information on it – I created a new layer (CMD/Ctrl+Alt+Shift+N) and filled the layer with black (Shift+Backspace). Once done and with this black layer selected, I went to Filter-Render-Lens Flare. Feel free to play with this a little as it is really cool!! I placed my lens flare and hit the Ok button. To make sure I only have pieces of the lens flare on the image, I added a layer mask to the layer in Photoshop and used a black brush to hide the effect from certain areas. Brilliant!
Now, the next step was to change the blend mode of the black layer with the lens flare to screen, which made all the black disappear, leaving only the flare itself. I positioned the flare (V for the move tool) and then blurred the flare a little (Filter-Blur-Gaussian Blur). This made it fit right in and I did not have to do anything else.
Part Four – Add a Vignette to the Photo in Photoshop (11 min)
There are several ways of adding a vignette in Photoshop – which I have explained in this video in detail – just head over and have a look, you will love it!
Remember, shortcuts make your life easier and can speed up your processing a lot! Here is what I used in this image and most of my landscape and outdoor Photoshop tutorials:
B for the brush
X to change foreground colors
V for the move tool
CMD+J to duplicate a layer or a selection
CMD+I to invert
CMD+Alt+Shift+N to get a new layer
CMD+Alt+Shift+E to get a stamp visible
On a Windows PC, just replace the CMD with Ctrl.
If you like my images, make sure to check out my portfolio!
Don’t forget to get out there and take some pictures yourself – Have you ever had a great image that you took in your backyard and then edited in in Photoshop maybe? Show me your images! The fun starts when you share your work with others, especially when it is a similar place. You would be surprised how different images can be, hehe (especially true for backyards, they mirror the owner). This is all there was to edit this outdoor image in Photoshop!