How to Edit Your Landscape Images in Photoshop – The Guarded Portal | Photoshop Tutorials
Welcome back to another one of my Photoshop tutorials! Today, it is all about creating an unrealistic scene – on purpose! I am a big friend of creating something straight out of my fantasy, this is one of those times. I will use the beautiful Irish landscape to create a portal – Remember, if you like the video, make sure to subscribe for more weekly Photoshop and Photography action!
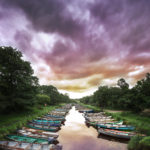
Here is the final image:

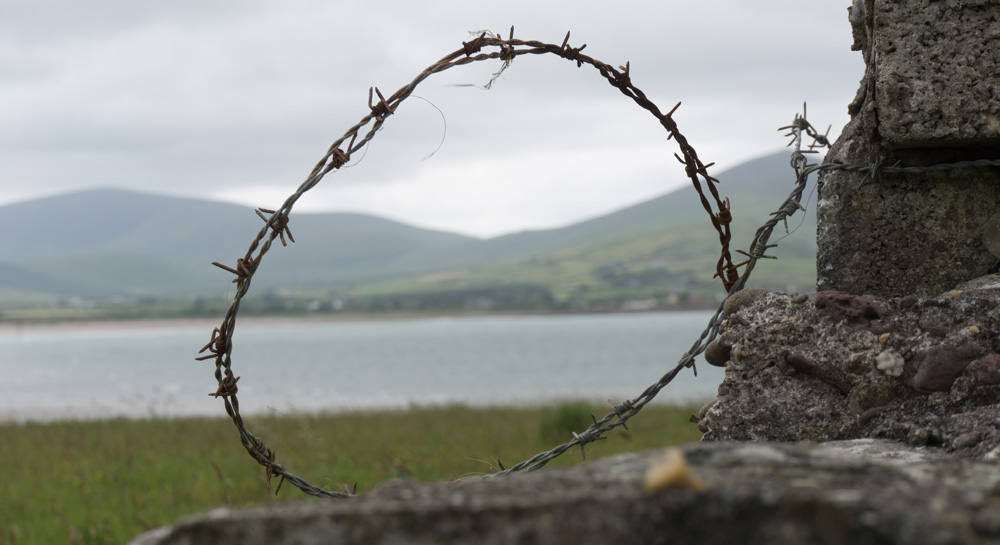
And here is the original:
Part One – Increase The Clarity Inside the ‘Portal’ (1:20 min)
When the image was taken, I had the metal wire in focus and everything else blurred. To make sure the inner part of the circle is set a little bit apart from the area outside, I started out by increasing the clarity inside. Therefore, I first duplicated my background layer by hitting CMD+J on the keyboard. With the new layer selected, I went to Filter-Camera Raw Filter and dragged the clarity slider nearly all the way to the right.
This effect was now visible in the whole image, which is not really what I wanted in this case. To make sure the effect is only in the inner circle, I created a layer mask by clicking on the little Japanese flag symbol in the lower right.
If you have not worked with layer masks before, read this first to get started 🙂
Once the layer mask appeared next to my layer, I hit CMD+I to invert the previously white layer mask and make it black. This means, that the effect is hidden from the whole image. After hitting B on the keyboard to get the brush, I painted in white on that layer mask where I wanted the effect visible.
Part Two – Darken The Areas Around The Circle (3:30 min)
To reduce the brightness around the circle, I created a simple curve adjustment layer and dragged the line down in the middle. To make sure I do not affect the inner circle, I created a layer mask – but instead of inverting or anything, I just held Alt on the keyboard and dragged and dropped the previous layer mask onto the new one! Photoshop will then ask if I am happy to replace the new one – Yes! This way, you can always use the same layer mask or selection again and again – very handy when working within a very much defined area. Then I just used the brush to define the inner circle better.
Part Three – Enhance The Colours In The Circle (7:30 min)
Ultimately, the idea was to have a monochrome colour on the outside and a nice green and blue within the inside of the circle. Therefore, there was the great need to enhance the colours inside a little bit. So, first I created a Hue/Saturation layer and increased the saturation a good bit. Then I used the above mentioned ‘drag and drop’ method to create a layer mask which hides the effect from the outside of the circle. Similarly, I did the same thing again, but this time I changed the Hue slider to the right. Now the inner part of the circle had a very much nicer colour compared to the outside – great!
Part Four – Create A Blur Effect Outside Of The Circle (10:50 min)
To create the blur, I first created a so-called stamp visible (CMD+Alt+Shift+E), which copied everything that was visible onto a new layer. With this layer selected, I went to Filter-Blur-Radial Blur. There, I selected an amount of 20 (this will depend on your image) and Zoom as the blur method. Once more, I used the drag and drop method to create an appropriate layer mask. Great Blur!
Part Five – Add A Monochrome Colour (12:20 min)
To make the image, the outside of that circle has to be monochrome. At least, that’s what I thought hehe. So, first I created a new layer by hitting CMD+Alt+Shift+N and then hit G to get the Paint Bucket Tool. If, instead, the Gradient Tool comes up, just hit Shift+G. With this tool selected, I chose a nice colour on the right and filled the new layer with it. I then changed the Blending Mode to Hue and created a layer mask to remove the effect from the centre.
Part Six – Add Birds To The Sky (13:50 min)
First, you will have to download bird brushes. You can make them yourself, but that is a lot of work and (for the size of these birds) not really necessary in my Photoshop tutorials. So, here you can find some cool brushes you can just download for free. Once done, I created a new layer (CMD+Alt+Shift+N) and painted the birds in with a black colour. To make sure the birds don’t look too sharp, I added a nice Gaussian Blur by going to Filter-Blur-Gaussian Blur. All done!
Remember, shortcuts make your life easier and can speed up your processing a lot! Here is what I used in this image:
CMD+Alt+Shift+E to create a stamp visible
B for the brush
CMD+Alt+Shift+N to create a new empty layer
CMD+I to invert anything
CMD+J to duplicate a layer or a selection
Shift+G for the paint bucket tool
G for the gradient tool
If you like my images, make sure to check out my portfolio!
Don’t forget to get out there and take some pictures yourself! I hope you enjoy my Photoshop tutorials, see you next time!