How to Use Photoshop to Edit Your Night Landscape Images – Lake of Reflections | Photoshop Tutorials
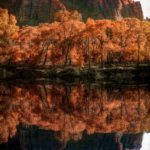
Welcome back to another one of my Photoshop tutorials! As I did not have the chance to post every week the last month, it is now time to step up the game again! Being in America right now, I can promise you stunning landscape coming up. Today, I will show you how I processed an image taken long after sunset – the location is close to a city named Provo, around an hour away from Salt Lake City.
Night photography is great for many reasons. For example, when you release the shutter you usually do not know how the picture will look like because… Well, because it is dark! In this particular case, I was quite amazed, to say the least. So, let’s jump right in. Remember, if you like the video, make sure to subscribe for more weekly Photoshop and Photography action!
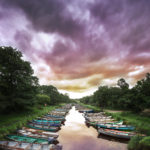
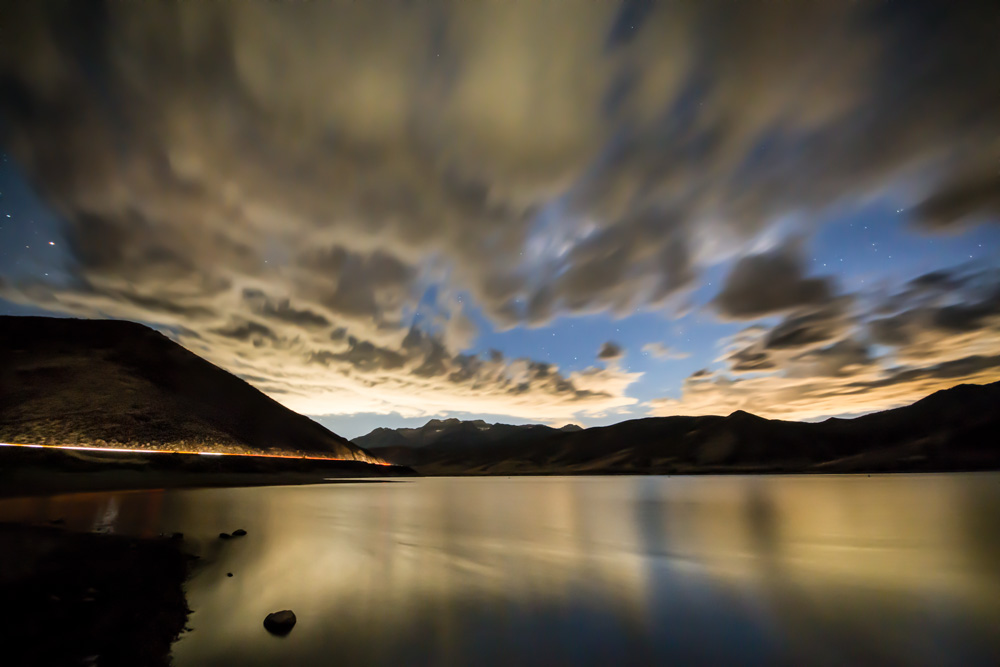
As the original was very close to the final image, here is the final one without the original:
Part One – Adjusting the Lighting of the Sky (0:40 min)
To start off, I duplicated my background layer by hitting CMD+J on the keyboard – in case I mess up I can always go back to the original and recover things if I need to. So, after this, I created two Curve Adjustment Layers, one where I increased the brightness and another where I decreased it. I then hit CMD+I for both which hides the effect completely and turns the layer mask black. Hitting B on the keyboard to get the brush I then painted white where I wanted each brightness adjustment.
Part Two – Removing the Noise (2:10 min)
As the image was taken at night, I did have a lot of noise (the grainy stuff in the picture). With clouds like these, I preferred a smo0th sky, so let remove this noise, even though I have shown you too often already in my Photoshop tutorials haha.
First, I created a so-called stamp visible, meaning I copied everything that is visible onto a new layer (CMD+Alt+Shift+E). Then I went to Filter-Camera Raw Filter-Details Tab. There, I removed the noise using the sliders available. To get some of the details back into the clouds, I used the Clarity Slider on the first tab. Using a layer mask (just as described before) I then made sure I only make the effect visible where I wanted it to be visible.
Part Three – Adding some Atmosphere (4:50 min)
The clouds were very yellow and I would have preferred a little more red in them. So, let’s add it! Therefore, I created a Hue/Saturation Layer and went into the Yellow Channel. There, I just ever so slightly changed the Hue to a red-ish tone. Then I used a layer mask to make the effect visible in the clouds and the water.
Remember, shortcuts make your life easier and can speed up your processing a lot! Here is what I used in this image:
CMD+Alt+Shift+E to create a stamp visible
B for the brush
X to change between background and foreground colours
CMD+I to invert anything
CMD+J to duplicate a layer or a selection
If you like my images, make sure to check out my portfolio!
Don’t forget to get out there and take some pictures yourself! I hope you enjoy my Photoshop tutorials, see you next time!