
How to Use Photoshop to Enhance Your Landscape Photography – Final Path | Photoshop Tutorial
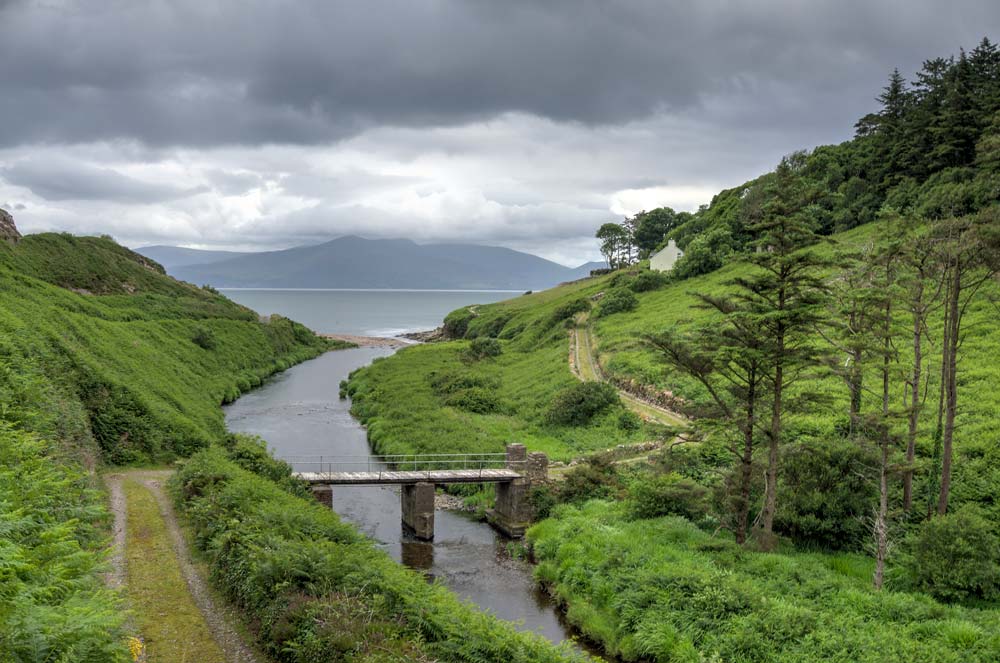
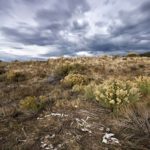
Welcome back! Are you new here? Well, in my Photoshop tutorials I show you how you can take any normal image and turn it into something special. Today, it is all about the Irish beauty – I took the below image some months ago while I was on a Photography trip with my buddy Shane. We did not plan on stopping there, the place literally just stopped up at the site of the road. We hit the breaks and couldn’t believe that such a beauty is just there. Well, it might be an actual very famous spot and I just do not know!
As it was a quite gray day, there was not too much light and I had the wide angle lens attached at the time – but did not realize that the shutter speed was just around 1/20. This is usually the minimum speed for handheld images – but I ended up getting some blur in the final HDR picture. Still, I am very happy with the outcome!
Remember, if you like the video, make sure to subscribe for more weekly Photoshop and Photography action!
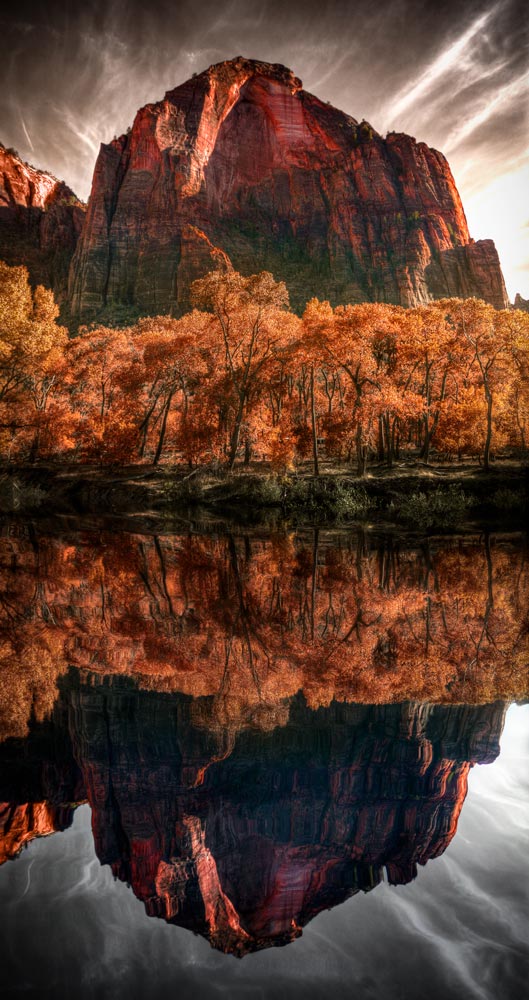
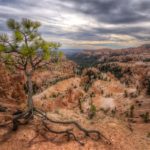
Here is the final image:

And here is the original:
This Photoshop tutorial is all about playing with colors, using mainly Hue/Saturation layers. Of course, there are many ways of changing the color, so choose whatever you like most! In the end, it is your landscape Photography!
Part One – Adding More Color to the Grass (0:50 min)
While green alone is amazing, I think we might be able to spice up that landscape just a touch. I was thinking on some nice red/brown/yellow colors in there – for this, I started with a Hue/Saturation layer which I got by clicking on the symbol on the right-hand site. There, I dragged the Hue slider a little to the left. Usually I could have selected the color range first to make sure I only affect the grass, but in this case, I wanted to make changes to centered areas within the grass, so this was not really needed. After changing the Hue, I inverted the Layer Mask (CMD+I on the keyboard) and used a Brush (B) with a white color to bring out the effect where I wanted. I used a vast number of such adjustments and played around for hours in the original processing – in the video I kept it relatively short, hehe.
Part Two – Intensifying the Colors (2:45 min)
Once the colors were in the image, I wanted to make them a little stronger. At the same time, I wanted to add a little more contrast as well – an easy way to do that is by adding a so-called Orton Effect. I started with creating a so-called stamp visible, which essentially copies everything that is visible onto a new layer (CMD+Alt+Shift+E). Once done, I changed the Blend Mode of that layer to Soft Light and went to Filter-Blur-Gaussian Blur. You can see the preview of the change you are making in the background, so choose to your liking when you do something like that.
Part Three – Paint Color into the Sky and the Clouds (5:10 min)
This part is always fun for landscape photography! I created a new layer (CMD+Alt+Shift+N) and set the Blend Mode to Color. I then used a brush with a color that is already in the image (hit Alt and select a color) and started painting it in.
To make the color blend a little better, I just double clicked on the layer with the color and changed the Blend-sliders at the bottom. To make it look as natural as possible, I did this multiple times using many color layers. Followed by a combination of Layer Masks, I made the effect visible where I felt like it.
Part Four – Add a Small Light Source (7:20 min)
The scene turned into an evening scene, which meant that a light source would look great in the clouds. Nothing too large, just a little bit more light to give the impression that the sun is somewhere behind the clouds. For that, I created a stamp visible (CMD+Alt+Shift+E) and went to Filter-Render-Lighting Effects. There, you can insert a light source and choose the intensity as well as the position. For me, I kept it quite low and placed it in the sky.
Part Five – Remove Noise from the Image (11:00 min)
There was a little issue with that image – It was a handheld HDR image (Never heard of HDR? Read this first) and I might have moved a little too much – so it is not super sharp. Also, as if this would not be enough, there was a good amount of noise! To remove it, I created another (!) stamp visible (CMD+Alt+Shift+E) and went to Filter-Camera Raw Filter. There, I went to the Details Tab and moved the noise slider until I was happy. At the same time, I also increased the clarity to bring some of the contrast we lost during the noise reduction back into the image. Done!
Remember, shortcuts make your life easier and can speed up your processing a lot! Here is what I used in this image and most of my Photoshop tutorials:
CMD+Alt+Shift+E to create a stamp visible
B for the brush
X to change between background and foreground colors
CMD+I to invert anything
CMD+J to duplicate a layer or a selection
CMD+Alt+Shift+N to get a new layer
On a Windows PC, just replace the CMD with Ctrl.
CMD+G to group things
If you like my images, make sure to check out my portfolio!
Don’t forget to get out there and take some pictures yourself – time for some landscape photography? I hope you enjoy my Photoshop tutorials and this landscape image in particular and I see you next time.
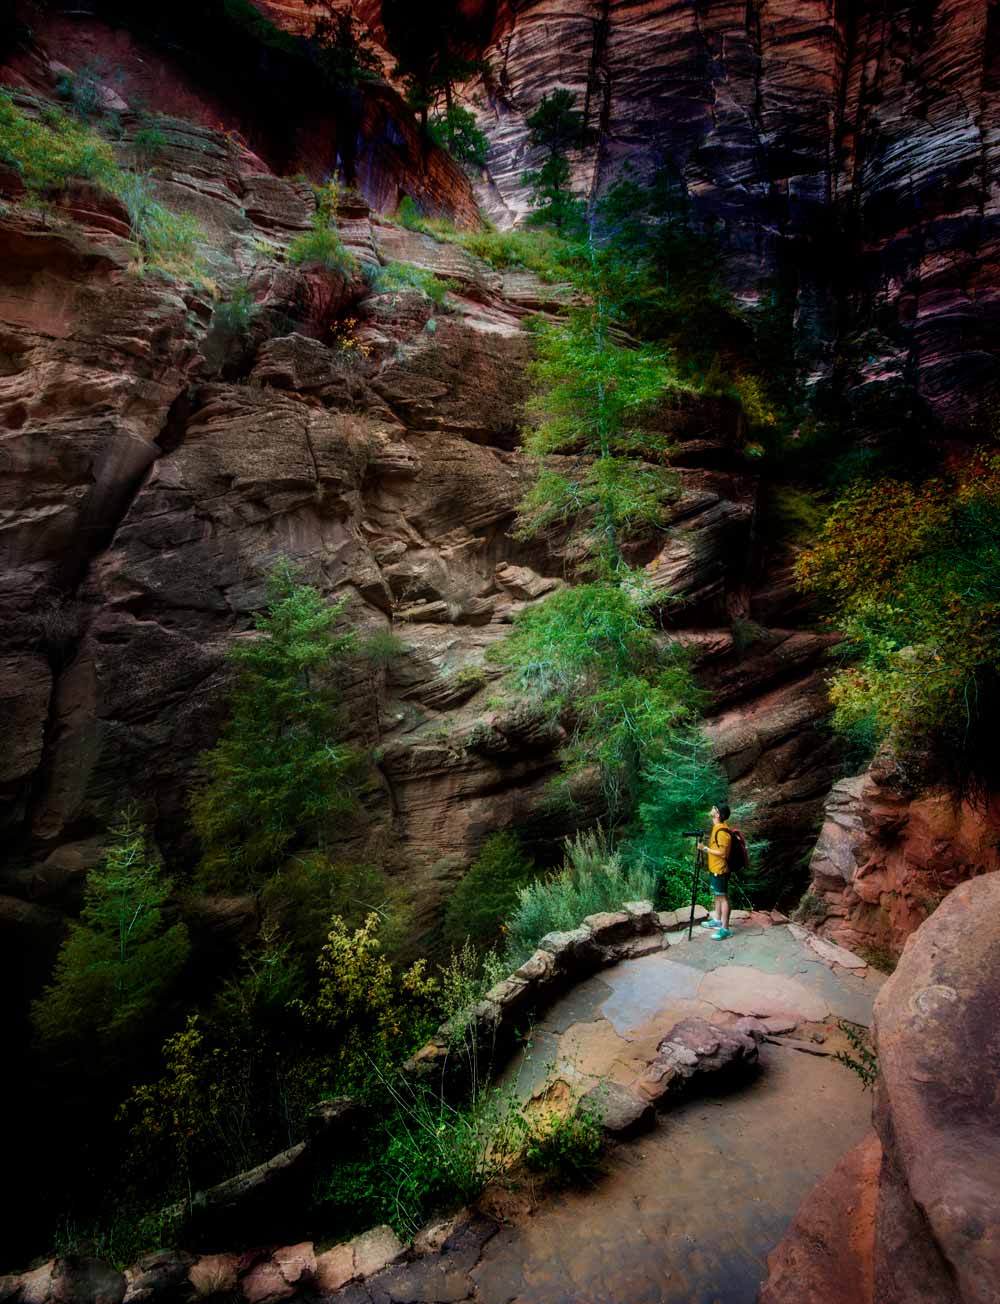
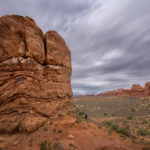
PS: Here are some other examples of where I used similar techniques to create landscape images. You can find way more and I explain in detail how I create them – just check it out here.


Nice Image collection
Thank you Niki! Glad you stopped by 🙂
Thanks for your great tutorials