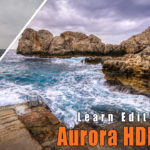
Learn Editing With Aurora HDR 2018 – Example: Italy’s Rainy Beach
Welcome back to another example on how to learn editing with Aurora HDR! Today is more of an exercise than a full-fledged portfolio picture, but you will still love it!
Remember how I usually say that you need more than one image to create an HDR? Well, this is not completely true. You can also use a single file and go through a process that is called tone mapping – in which case you create a so-called pseudo-HDR. If you have never heard about HDR photography, then check out this article that explains everything that you need to know.
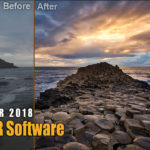
For the below image, we will use Aurora HDR 2018, which is currently the best HDR software out there in my opinion. If you like the Aurora HDR software and want to know more, check out my review here – if you love it, use the promo code ‘LETSIMAGE’ at checkout to get 10% OFF. So, let’s jump right in!
Here is the final image:
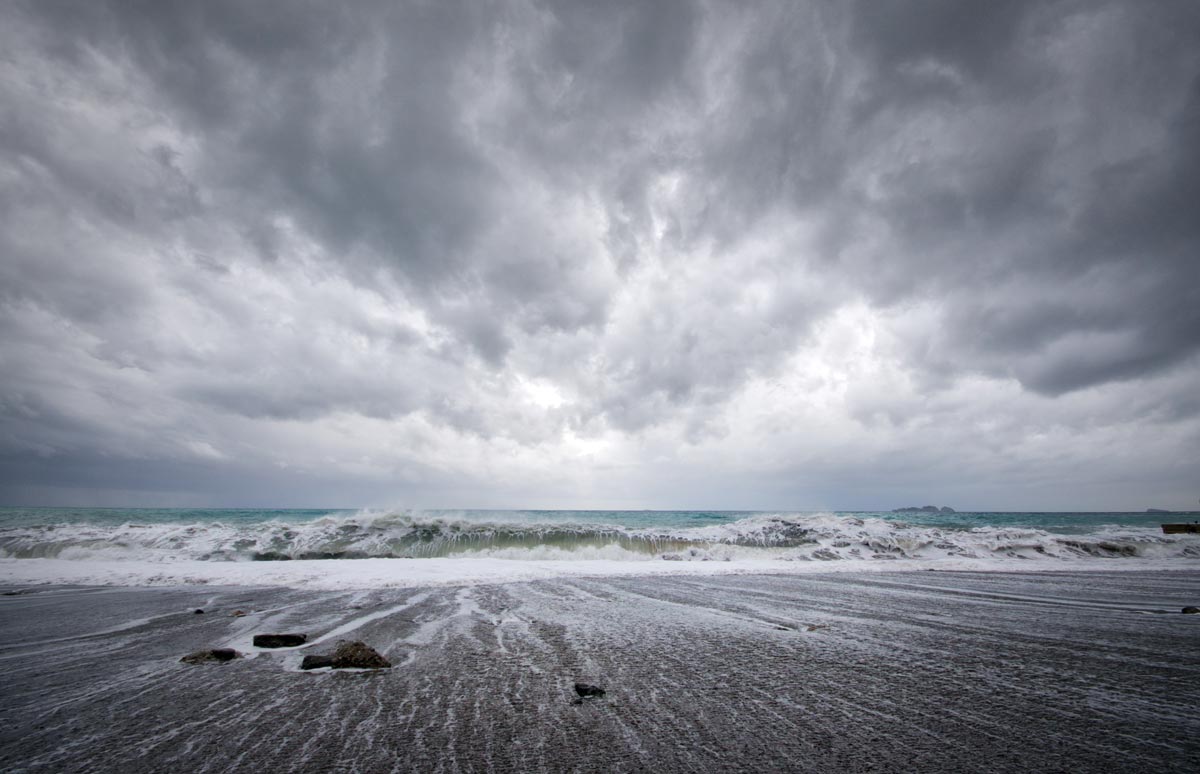
And here is the original:

Step One – Increase the Saturation in Aurora HDR (2:40 min)
While the image came out great straight after tone mapping it (simply drag and drop the single image file into Aurora HDR), there are some things we need to do. Having said that, you will see they are easy and fast when you learn editing with Aurora HDR. To start, we need to get some work done to draw the eye of the viewer towards the center of the photo. For this, we will increase the saturation, create a vignette, and change the light in general a little bit.
For the color part, simply create a new adjustment layer on the top right-hand corner and increase the saturation slider. Once done, hit the brush symbol next to the new layer and use the gradient tool to place the area with increased saturation over the center of the image. This is so simple, test it for yourself! Step one, done,
Step Two – Change the Lighting of the Photo (3:30 min)
The overall image is quite bright, so let’s bring the brightness down a little in the foreground. For this, I created another adjustment layer and reduced the highlights. While this calmed the image down a little, the next step was to darken the foreground as well. This was easy though – a new adjustment layer, reduced exposure, and a gradient mask to place the darkness in the foreground. The last step for the light was to create a vignette. I did this by using a new adjustment layer, on which I used the vignette slider to add one. Easy going!
Step Three – Reduce the Contrast in the Clouds (6:40 min)
After the image as done, the clouds had a little bit too much contrast. Usually I am a huge fan of a little bit of drama, but in this case, I did not like it too much. The fix is simple as you might guess by now – I added a new adjustment layer where I decreased the contrast. Once the clouds looked Ok, I used a gradient mask (you can find this within the little brush menu next to the layer) and added the reduced contrast to the clouds. Aaaaand done!
I hope you enjoyed this post and it can help you learn editing with Aurora HDR. If you are looking for the beginners bible of HDR photography, check out my guide here.
If you like my images, make sure to check out my portfolio! Also, if you like photography, get out there and shoot! Anything, anytime.