How to Create a Sunset in Photoshop – Example: Path to Tomorrow | Photoshop Tutorial
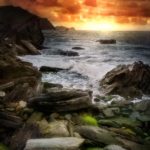
Welcome back! Today, I will take you with me to an area close to the Arches National Park in Utah, United States. The park itself is “made” out of tons of amazing stone structures – which I will show you later, hehe. Today, it is all about an area that is really close to the park – one where there is nothing else than bushes and rocks. The view is incredible, especially because there is this strange color combination made of green of the ground and red of the rocks.
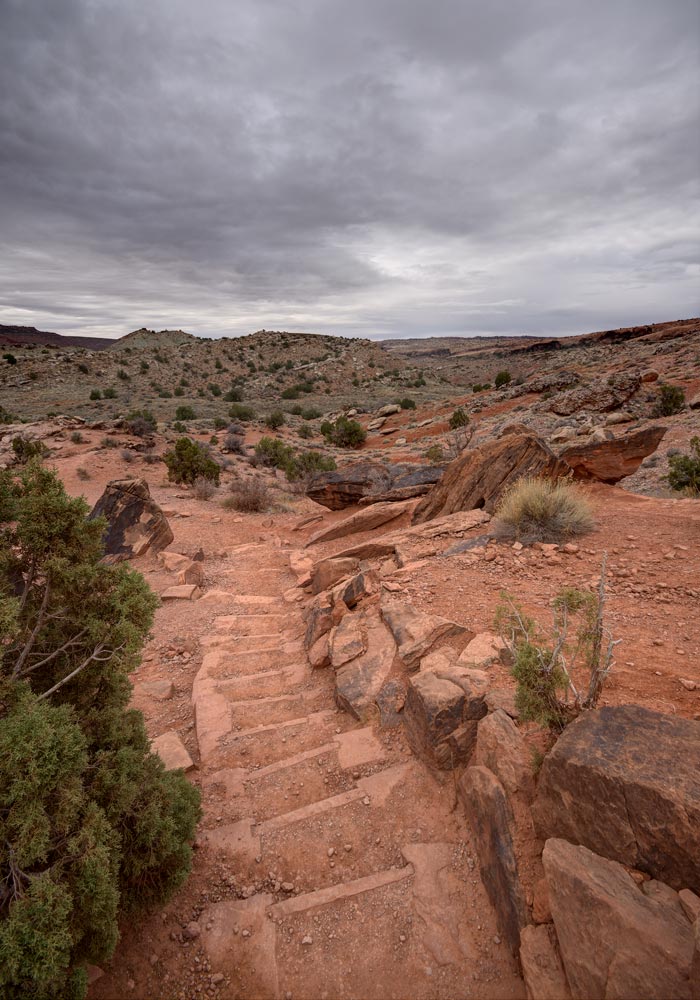
I have spent some time there with a couple of friends of mine, and we tried to explore as much of the area in the short time we had. We were relatively unlucky with the weather at first, which is why today’s image was taken on a quite overcast sky. While taking the image and looking at all the red, I thought how nice it would be if I were there during a sunset. As we did not have the time to stay, I decided today to just create a sunset in Photoshop.
Remember, if you like the video, make sure to subscribe for more weekly Photoshop and Photography action!
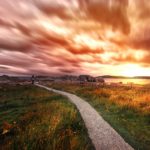
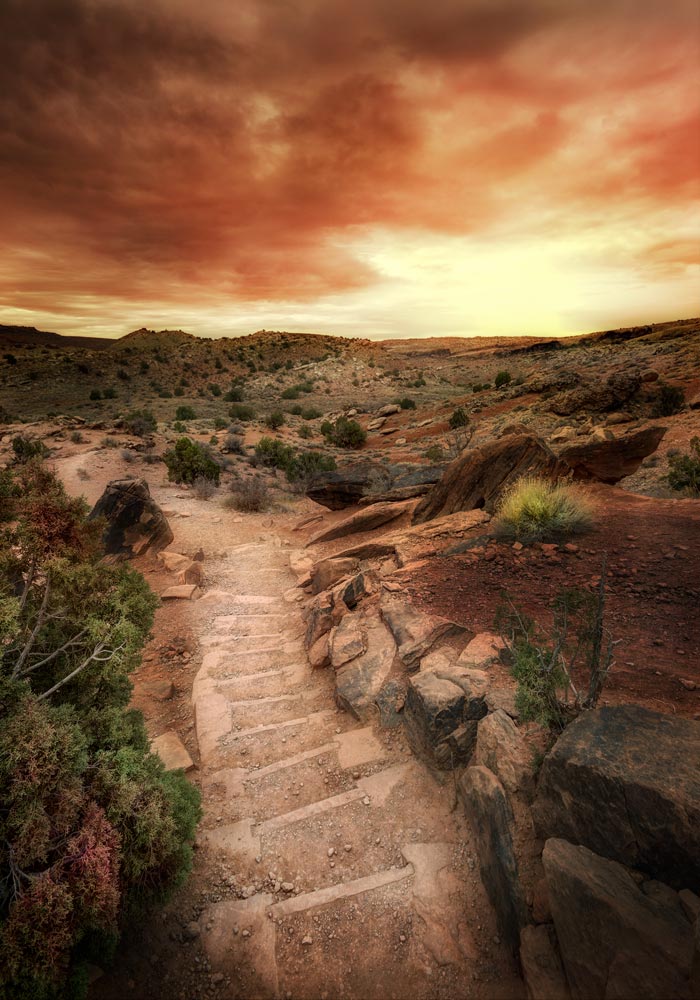
Here is the final image:
And here is the original:
Part One – Darken the Scene in Photoshop (2:15 min)
As a start, I had to darken down the whole image a lot. In the end, my plan was to create an evening scene, so logically we can not have that much light in our image. To do this, I used simple curve adjustment layers which I used to reduce brightness. I made sure I only have the increased darkness in the areas I wanted using layer masks.
You have not worked with Photoshops layer masks before? Check out my quick tutorial on how to use layer masks in Photoshop first here.
So, I created the curve adjustment, hit CMD+I on the keyboard to hide the effect from the image, after which I used a white brush on the black layer mask to bring the effect back into the image. I did this a couple of times throughout the image.
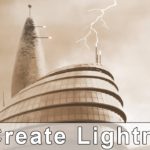
Part Two – Create a Light Source in Photoshop (4:10 min)
To create a sunset in Photoshop, we do need a sun. Adding a sun into an image is quite easy once you know how to do it. For this, I hit CMD+Alt+Shift+E, which copies every adjustment we have made onto a new complete layer – this is called a stamp visible. Once I had this, I went to Filter-Render-Lighting Effects.
There, you can add a light source for your image – I chose a nice yellow one which I placed somewhere at the back and at the horizon. Once I was happy, I hit enter. Now, using a yellow light source turned the whole image into this yellow tone. I removed this from certain areas in the foreground using a layer mask on the layer with the light source.
Part Three – Add more Colors to the Sky (7:00 min)
Apart from the yellow, we do need more colors in the sky to create a convincing sunset. For this, I created a new layer by pressing CMD+Alt+Shift+N on the keyboard. If you are on a Windows PC, replace CMD with Ctrl. I set the blending mode if this layer to color and chose a nice red color. I then hit G on the keyboard to get my gradient tool (or Shift+G if this does not work) and dragged from the top down on the layer. I then selectively removed the color using a layer mask from the foreground.
I did this twice more, one time for yellow and one time for orange. In these cases, I created the layer, applied the color and inverted the layer mask using CMD+I. I then used a brush to bring the color out in some areas of the sky.
Part Four – Finish and Clean Up (14.00 min)
To finish the image, I darkened down some more areas (as explained before) and also placed some more attention on the bush on the left. For this, I created a stamp visible (CMD+Alt+Shift+E) and went to Filter-Camera Raw Filter and used the Clarity function. I then used a layer mask to bring the effect out only in the bush area.
Further, in the end, I realised that the image was altogether a little bit too red. To remove this red color cast, I created a curve adjustment layer and went into the red channel, where I dragged the curve down a little. I then applied this change only to the foreground to remove the red there – which actually made the image look so much better! And that was it, all there is to create a sunset in Photoshop!
Remember, shortcuts make your life easier and can speed up your processing a lot! Here is what I used in this image and most of my Photoshop tutorials:
CMD+Alt+Shift+E to create a stamp visible
B for the brush
X to change between background and foreground colors
CMD+I to invert anything
CMD+J to duplicate a layer or a selection
CMD+Alt+Shift+N to get a new layer
CMD+G to group things
G for the gradient tool
On a Windows PC, just replace the CMD with Ctrl.
If you like my images, make sure to check out my portfolio!
Don’t forget to get out there and take some pictures yourself – time for some landscape photography? Have you been to the Arches National Park yourself? Show me your images!! I hope you enjoy my Photoshop tutorials and this sunset image in particular and I see you next time. Have fun when you edit landscape images in Photoshop.