
Understand Your Camera – The Manual Mode
Welcome to the final step to understanding the big three of your camera – Shutter Speed, Aperture, and ISO. This page is all about the manual mode. By now, you have a good idea about each different component and can use them independently. Now it is time to throw them all together in a bucket to see how they interact!
The Manual Mode
The manual camera mode is the ultimate test to see if the big three – aperture, shutter speed, ISO – are clear enough to be used together. In this camera mode, you will be able to control it all! The camera will not take any decision from you and you have to decide what is the best setting for every single image.
I think the best way of helping you mastering this particular mode, is to give you use cases that you can relate to. So, here go three use cases that should help you to get the jinx of this mode. Afterwards, I will go into when you can use the manual mode and when you do not have to (don’t tell other professionals, some of them would complain hehe).
Scenario One – Fog and Rain
The below image was taken in Ireland at a location that is called Glendalough. The conditions were horrid – fully overcast, rain, fog… Just simply the complete opposite of what you would call lovely. After editing the image I was happy though (see the editing here).
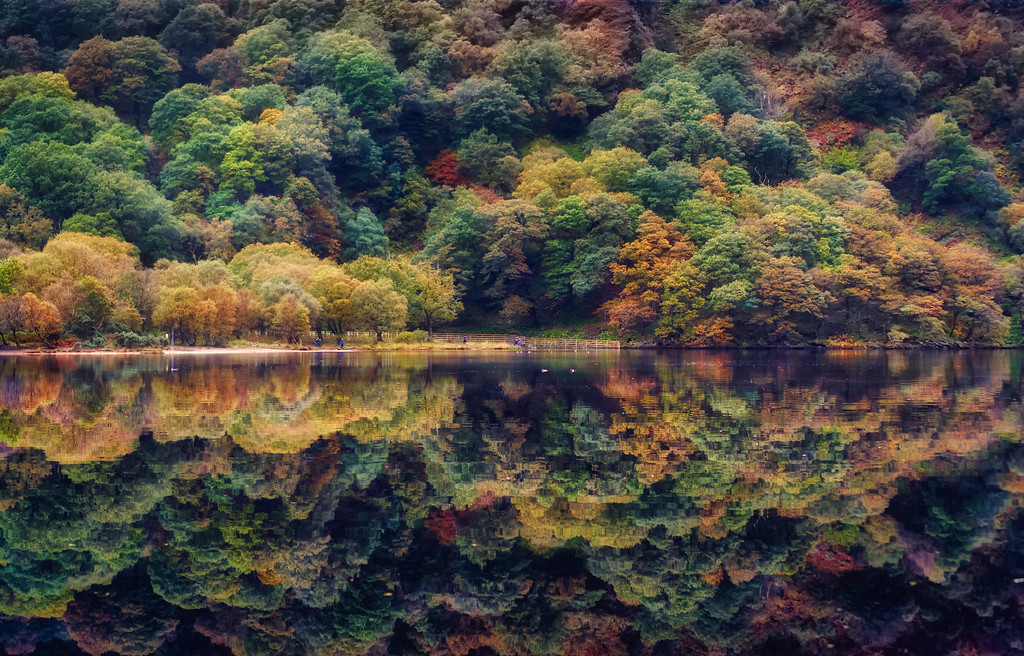
So in manual mode, this would have been my thought process. Remember, the goal is to use Aperture, Shutter Speed, and ISO together, so let’s do this.
First, I want everything to be in focus. To do that, I have to use the aperture function – so I set my camera to a larger aperture, something like f/16. This is done – next, I want to make sure the image is simply nicely exposed. While keeping the ISO set to 100, I play with the shutter speed to see what would give me the best result – I just look at the viewfinder to see the live preview of the changes I make. Once the image looks good, I check what the shutter speed would be. If it is above 1/20th of a second, I go for it and check it right away. If I have the feeling anything is blurry, I will need to make the shutter faster. How can I do this if the aperture and the shutter speed are set in a way that the image looks good? With the ISO. If I change the ISO from 100 to 200 and make the sensor more light sensitive, I can half the shutter speed from 1/20th to 1/40th. Perfect! That is enough to take the shot hand-held. The other option would be to use a tripod. Done, nailed it, let’s go home to the warmth!
I hope that makes sense – each of the big three – shutter speed, aperture, ISO – interact in a way that you can change one to increase or decrease the other. Let’s have a look at another example.
Scenario Two – Trey Ratfliff
Some months ago I joined Trey Ratcliff here for a photo walk in … many places, actually (check out the trip here :)). So this is some sort of a portrait with a blurred background – how would we do that in manual mode?
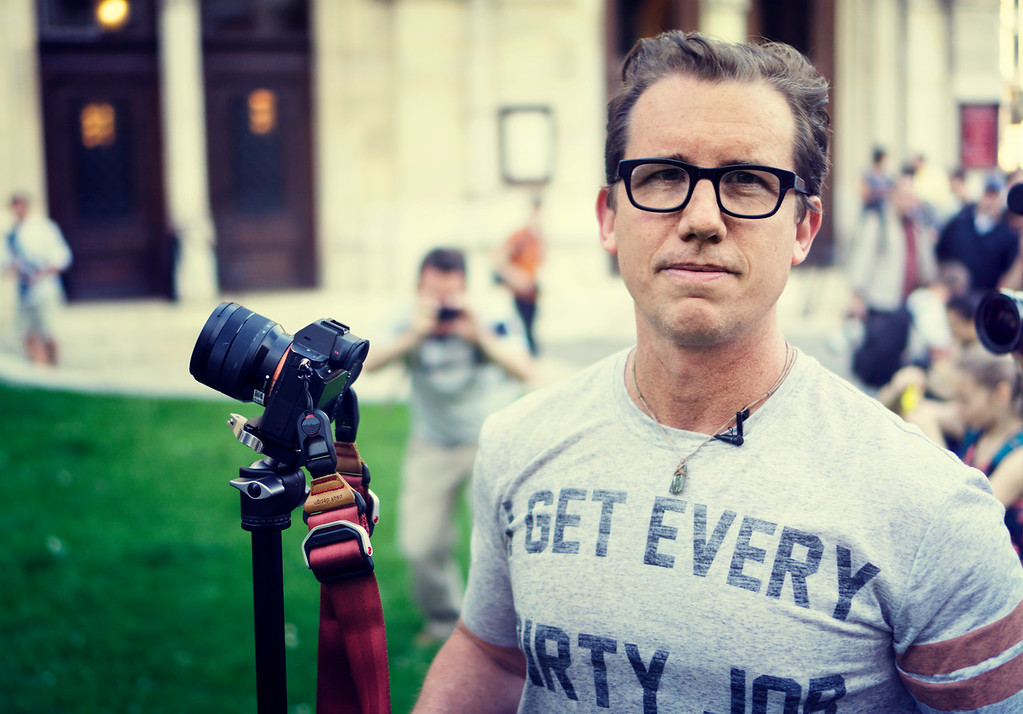
Again, I would think first about aperture, simply to make sure I set it in a way that the background of my subject is blurred. Therefore, I start with setting an aperture of f/1.4. While leaving the ISO at 100 for the best image quality, I play with the shutter speed until the image looks well lit. Checking the shutter speed, I make sure I can do the shot hand-held and then hit it. If I can not do the shot hand-held, I have the option to increase the ISO if I need to to get a faster shutter speed. Done!
Scenario Three – Throw in Some Animals
This image below has been taken with a zoom lens to get close enough – but the tricky part here was that I needed to freeze motion as best as possible. This will happen often if you are into sports photography or like to shoot birds. So how would we approach that in manual mode?
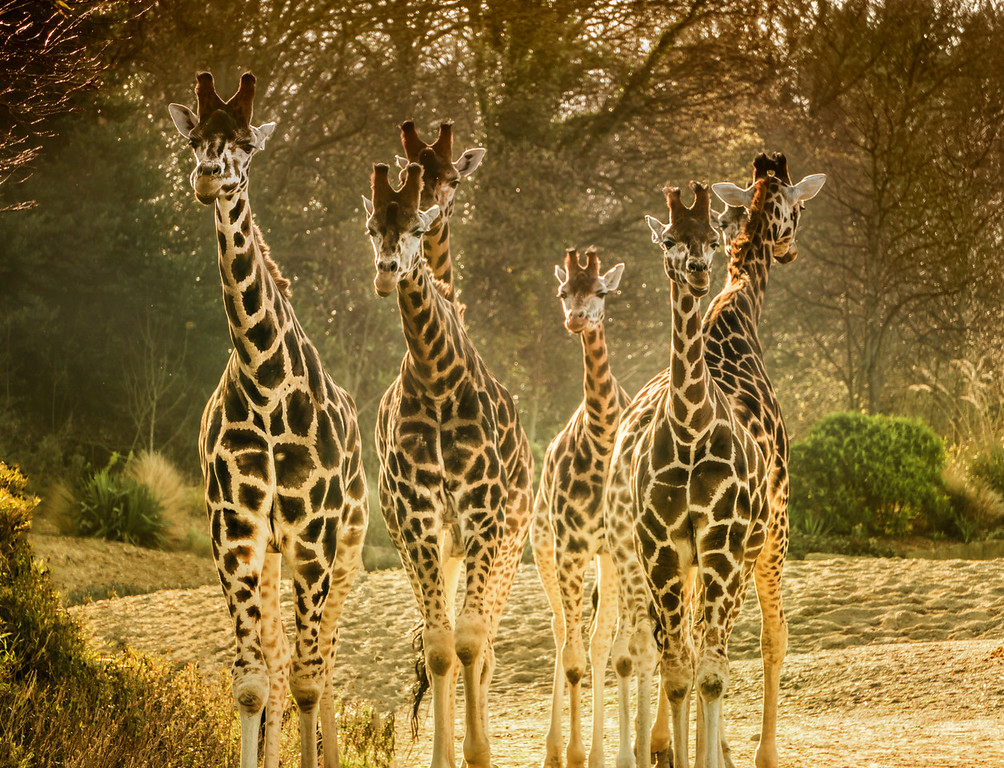
This time, I would start with the shutter speed. I would set my shutter speed to something like 1/500th of a second or higher if possible (when you want to freeze motion, the higher the better!). Once done, I start to change the aperture – in this case – to anything that works to get me the shutter speed without decreasing the depth of field too much, and then I adjust the ISO as needed. Aim, fire, done!
When to Use Manual Mode
There is, of course, no rule as to when you have to use manual mode and when you can not at all. My suggestion is the following:
Use the manual mode when you learn the functions of your camera for a while. It is absolutely perfect to understand the interactions between the big three – aperture, shutter speed, and ISO. You will get a feel what happens when you change one, how it influences the others… And once you are done, use it when you feel like.
Personally, I rarely shoot in manual mode. Very rarely. Instead, I am in aperture priority mode for 98% of my images – as I am shooting HDR often, this is just what makes sense for me and what I can work with best. Never heard of HDR photography? Read all you ever need to know here. So really, up to you when you use manual mode 🙂 If you ever do, hehe.
Anything else?
Not really. As usual, this is the point where you simply have to take the camera and go out there to do it! Practice will help a lot and you will so goooooood everytime you figure something out and apply it to your photography.
Remember, if you liked the article and the video, consider hitting the subscribe button on the YouTubes here. Every week I teach how to edit images and take them in the first place, so why not stay tuned? Also, I would appreciate a share if you learned something! Something didn’t stick? Jump back!
Read on here to learn about Aperture
Read on here to learn about ISO
Read on here if you are ready for the Shutter Speed