5 Tips On How To Use Curves in Photoshop + Giveaway!
Welcome back! After some time traveling, we are back in action and can bring you the good stuff! So today, we will go over 5 Tips On How To Use Curves in Photoshop – and while we are at it, we will give away a Peak Design Everyday Sling Bag with a value of $150!
The Giveaway
Never heard of Peak Design? You should have! They make some of the best camera bags out there. Check out their page here if you want to see their full range. And no, I am not affiliated with them, I use their bags and love them!
If you want to have a chance to get the free one that we give away here, there are some simple rules that will throw you in the pot:
- Be subscribed to the channel (it is a subscriber giveaway, after all haha)
- Share this Photoshop tutorial on any social network and mention where you shared it
- Tell me why you started doing Photography on the side/professionally – be nice and elaborate if you can!
The Giveaway is open for visitors from Europe, Canada, and the United States.
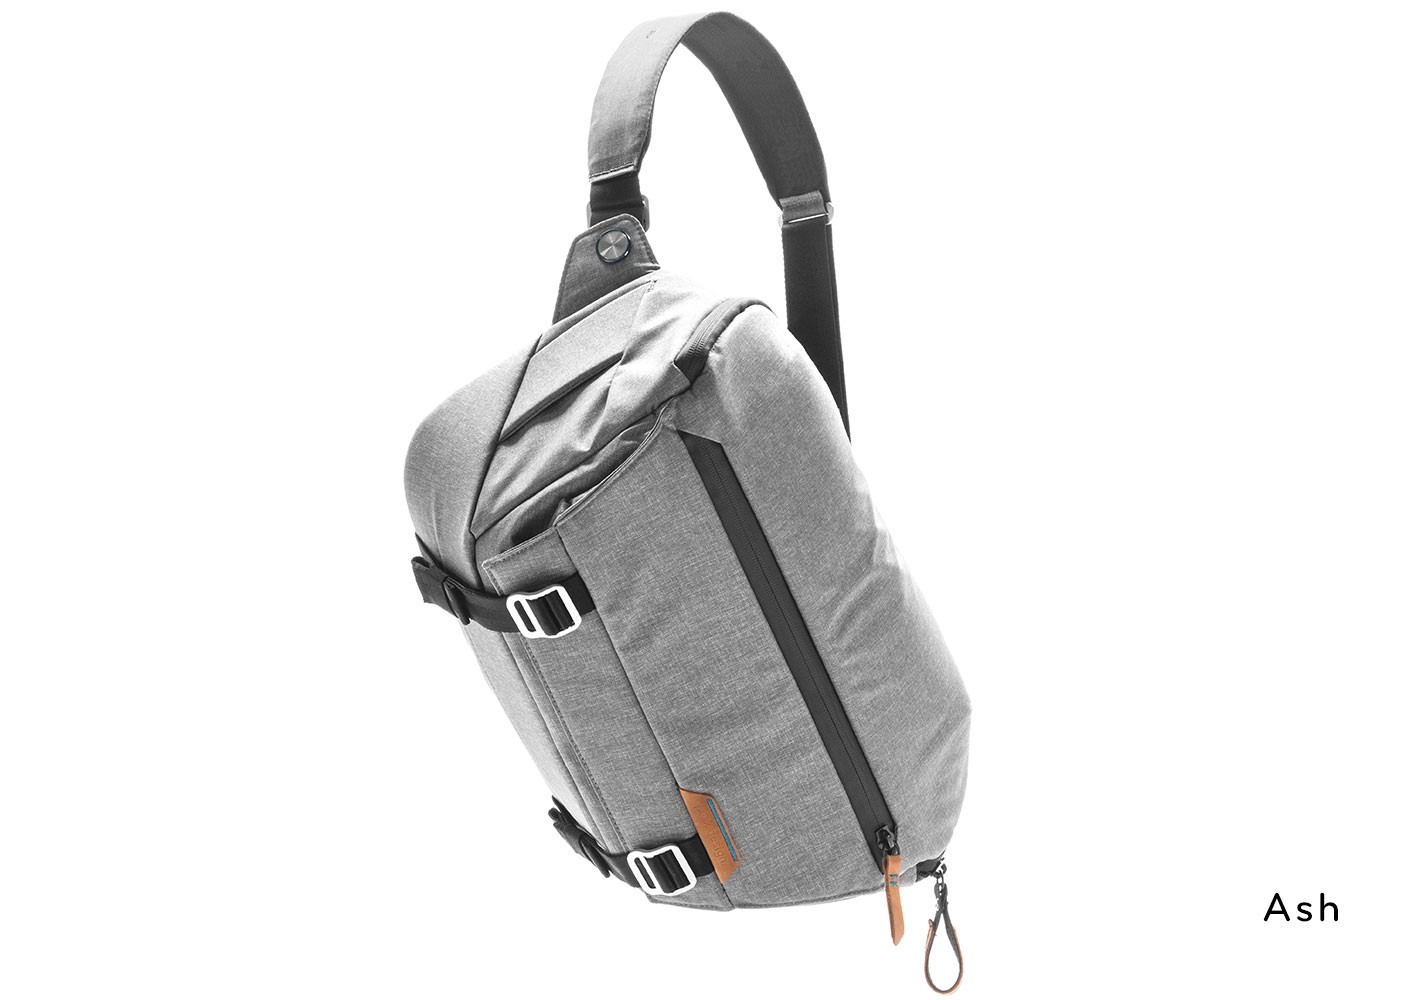
So, now to the matter at hand – what do we do with curves in Photoshop? Let’s jump right in!
5 Tips On How To Use Curves in Photoshop
#1 Lighten / Darken Your Image (1:25 min)
THE most basic function and probably why this tool came to be one of the tips on how to use curves in Photoshop is the ability to darken and lighten your image. Once you get used to it, you will do this all the time without thinking about it!
So, after creating a curve adjustment layer, lift the curve to lighten the image, or drag it down to darken it. Now, this will affect the whole image, but with just one more step you can select where an adjustment should be visible. Once you made a curve adjustment, just select the mask from the adjustment layer and hit CMD/Ctrl + I. This will invert the layer mask and you can then use a white brush to paint the effect into the image.
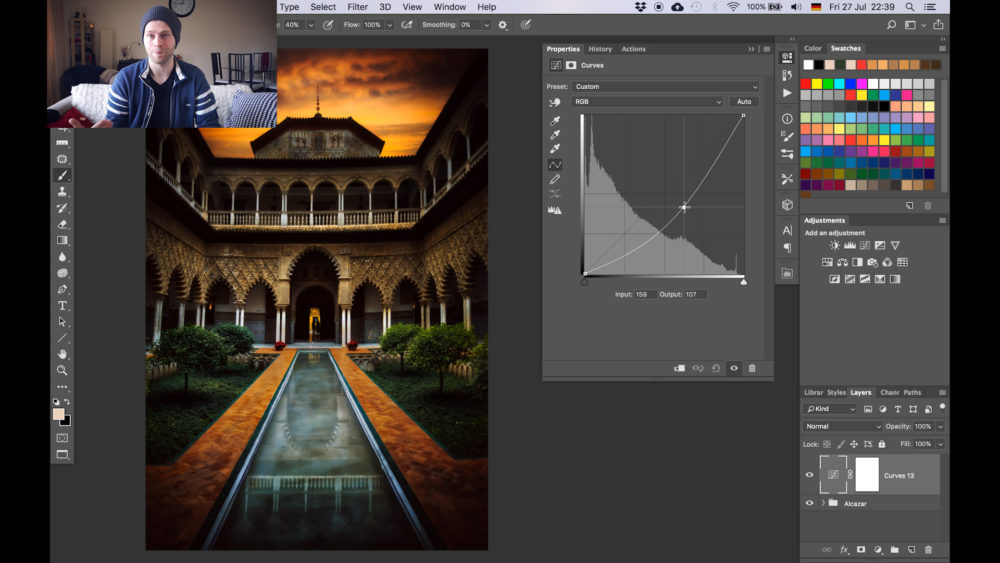
#2 Change Contrast Using Curves In Photoshop (2:05 min)
The next thing that you can do with curves – something that they are perfect for – is to enhance or reduce the contrast. For this, simply create a curve adjustment layer and create an “S” shape. This will make the darks darker and the brights brighter! Play around with this until it works for you and your image, but once you get the hang of it, enhancing the contrast will be no problem for you.
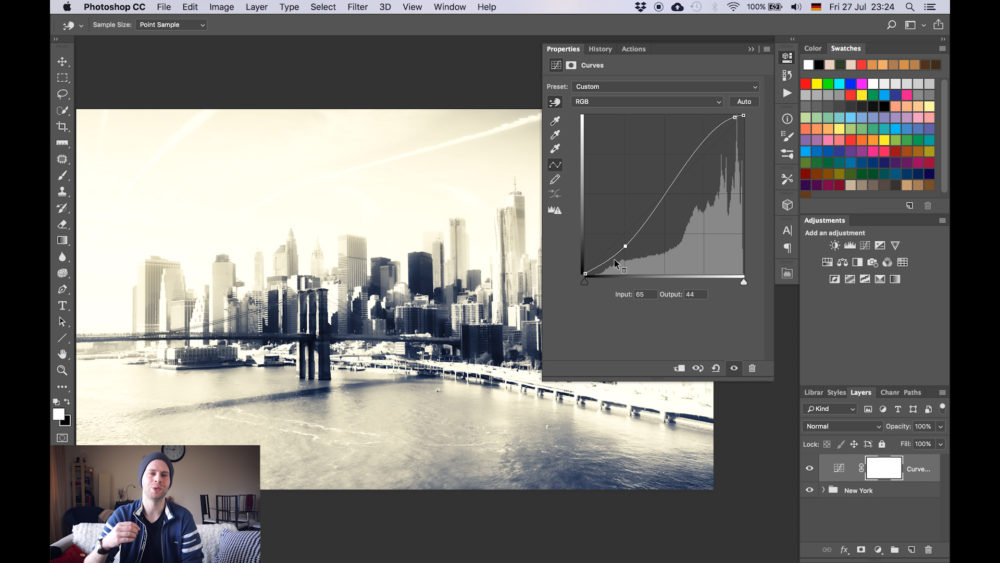
#3 Remove The Colour Cast With Curves (2:40 min)
Sometimes when you take a photo, it can look a little bit too red or green. Unless on purpose, such colour cast can be removed using curves in Photoshop. Perfect #3 for tips on how to use curves in Photoshop.
For this, create a curve adjustment layer and change the channel from “RGB” to any of the three channels “Red”, “Green”, or “Blue”. Say, as an example, there is a red colour cast in the image. Change the channel to red and pull the curve down. This will reduce the red in the image and therefore reduce the colour cast.
You can do this with any combination of the three channels. There are many other ways of doing the same, but I like curves because they can do so much using the same technique.
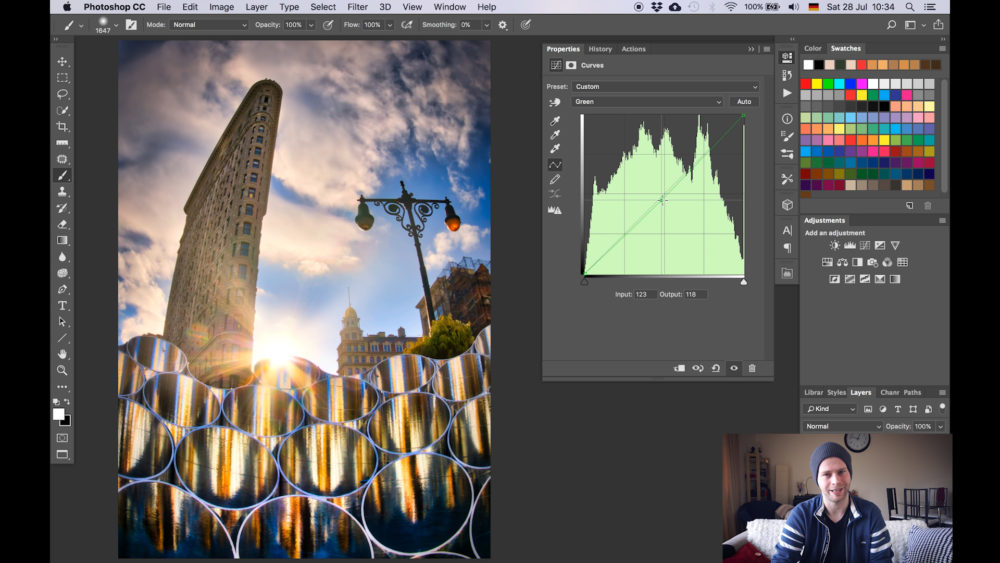
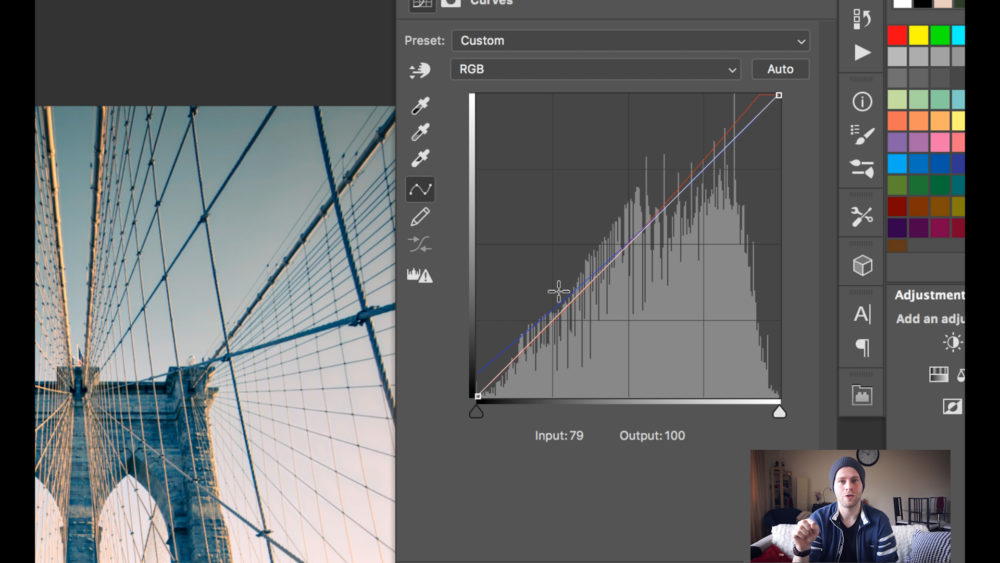
#4 Bi-Color Tuning With Curves (3:40 min)
When watching Hollywood movies, you can often see specific color themes in scenes. For example, the famous Orange / Teal look. This is being done by adding blue to the darker areas and orange to the brigther ones. You can do the same with photos to recreate this super cool look. I call it Bi-Colour Tuning here – but it is simply a colour grading technique. Not sure why I always have this terminology in mind, I think when I learned Photoshop I read it somewhere and never forgot it haha. Forgive me if the naming in the video is confusing.
For this, create a curve adjustment and switch to the red channel. Drag the top right corner of the curve to the left slightly. Change to the blue channel and move the bottom left corner of the curve up slightly. Done! You have added red to the bright areas and blue to the shadows. You can do this with any colour combination using the three channels available within curves.
#5 Create A Vignette Using Curves In Photoshop (5:15 min)
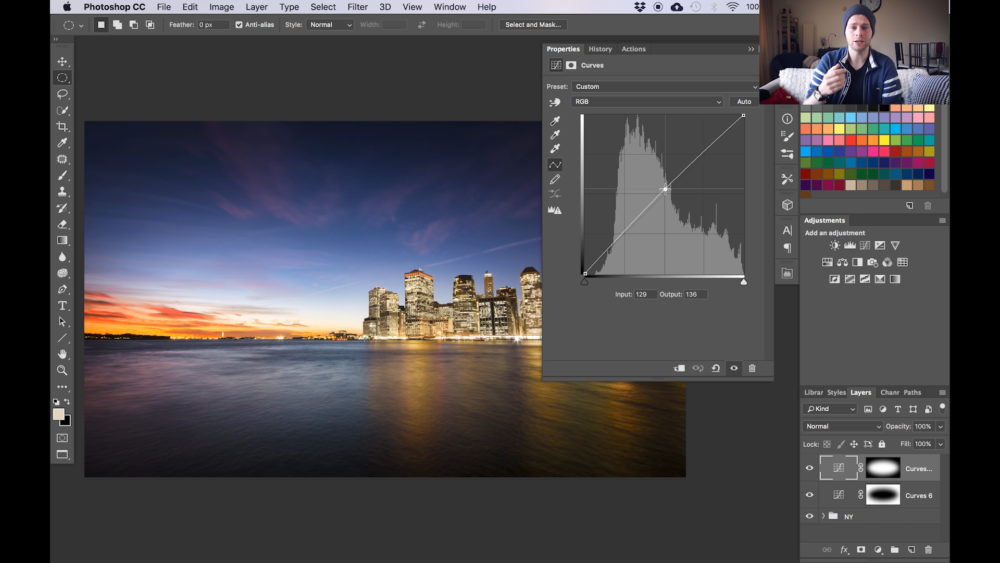
I have mentioned this technique many times in my videos, but it has to be in the list here as it is a technique I literally use with every single image I edit. Instead of writing it all again, check out these videos where I explain all there is to know about it. Or of course, watch the video above! Here are 3 techniques as to how to create vignettes, if you want to learn more!




Hi, that was a great tip of curves, I basically used it for contrast & vignettes, thanx for sharing.
I could not find the comments tab on YouTube so I m commenting here, hope I win the sling bag ?… painting was my hobby back in school days but once I started job in shipping industry couldn’t give time to paint, hence, I started photography, cause somebody told me that photography is painting with Camera..