Welcome back! It is time to create another HDR photo super fast using Aurora HDR 2019. If you have never used Aurora, here is a complete walkthrough to get started. Remember that if you are interested in the software, you can save 10% here using promo code “Letsimage” at checkout #totalsellout.
If you are just getting started with HDR photography, here is a completely free ever-evolving guide to get you up to speed.
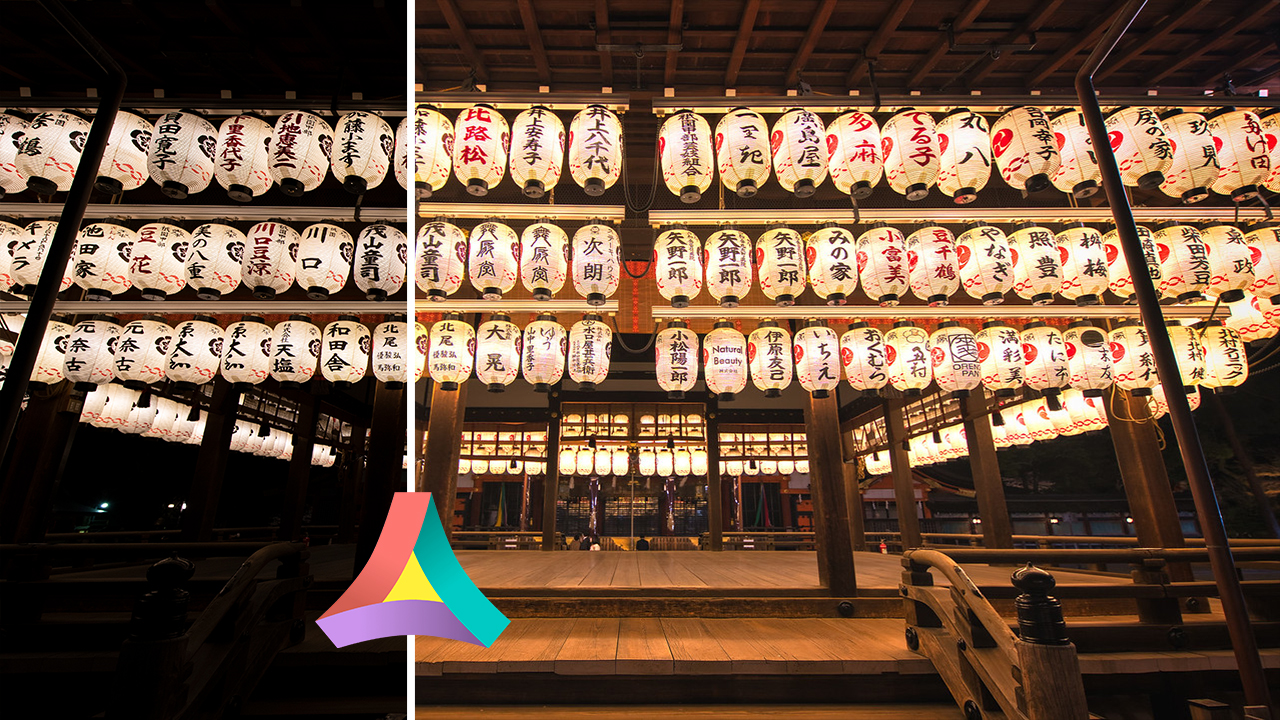
Now, here is the before and after for todays edit:
[bais_before_after before_image=”https://letsimage.com/wp-content/uploads/2019/09/original-0-SMALL.jpg” after_image=”https://letsimage.com/wp-content/uploads/2019/09/final-0-small.jpg”]
As you may have guessed, this is yet another photo taken in Japan earlier this year – I do apologize for the plethora of Japan images over the last weeks, but I am stuck in this place in my head and like to dive into the photos whenever I can.
Now, for this editing, there was barely anything to do. Why? Well, for one, I used one of the presents (or “looks” how they call them in Aurora) to get me a mile through the process. There are those that do not like using presents – I however find them most useful. While I agree that one should learn how to create a look without one initially, there is a time when they simply save… time.
So, after using the preset, I only had to add a vignette – and that was it! Below is the proper final image as you can find on my portfolio.


