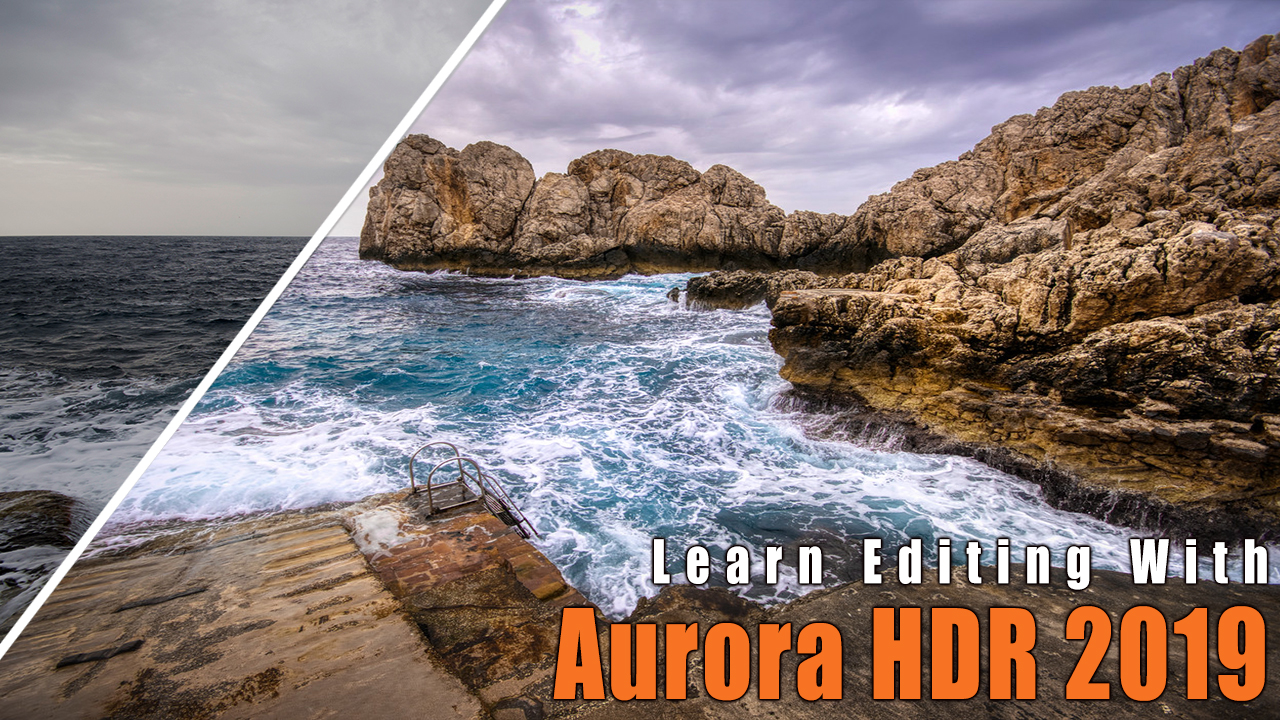

Welcome back to the next Aurora HDR 2019 editing tutorial for beginners! Today, we will use this great HDR software to edit an image I took in Capri, Italy, to really bring out the colours and make the image pop.
If you are interested in Aurora HDR 2019, you can get it here with a discount of 10%! Just use promo code “LETSIMAGE” at checkout.
Should this be your first encounter with HDR Photography and you are interested, here is my ultimate guide for beginners explaining everything – what it is, how it works, what you need, examples, and more.
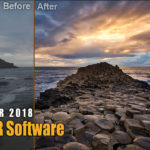
So, here is the before/after comparison:
[bais_before_after before_image=”https://letsimage.com/wp-content/uploads/2019/02/sorrento-rocks-original.jpg” after_image=”https://letsimage.com/wp-content/uploads/2019/02/after-aurora-hdr-2019.jpg”]
Lets go through the steps together to really understand Aurora HDR 2019.
Part One – Add Photos To Aurora HDR
First things first, we need to import the photos into Aurora. This is simple and easy, just drag and drop them in! As I was using the camera hand-held, I ticket the little symbol for Auto Alignment – something you always want to do when not using a tripod. One of the most common mistakes when creating HDR Photos is ghosting – if you have never heard of this, check out this post where I go into much more detail.
So, as I have moving waves moving from one exposure to the next, I need to make sure ghosting doesn’t happen. Luckily, Aurora HDR 2019 has a one click solution – just tick the “Ghost Reduction” box and you are good to go!
Part Two – Use Aurora HDR Looks
Sometimes, I am unsure as to where I want to take an image. Aurora has some great looks (essentially presets) that can help you out there. The awesome thing is that you do not need to pick and stick – you can choose a look and then adapt the look after your liking.
I chose a look called “Warm Landscape”. This was great as it brought out some colour in the sky and the water, but it pushed the rocks a little too much into the red. This can easily be fixed! Once the look is chosen, move into the right hand side panel and adapt the settings as needed. For me, I went into my HSL and LUT sections and took the reds out a bit.
Part Three – Add a Vignette
Lastly, I wanted to make sure the attention of the viewer is really in the centre of the image – this can easily be done with a vignette. There is a super easy-to-use vignette section on the right panel, simple sliders will help.
That is it! I hope you enjoyed this editing episode and will give it a try, too! If you are looking for more start-to-finish editing examples, check out what I have!