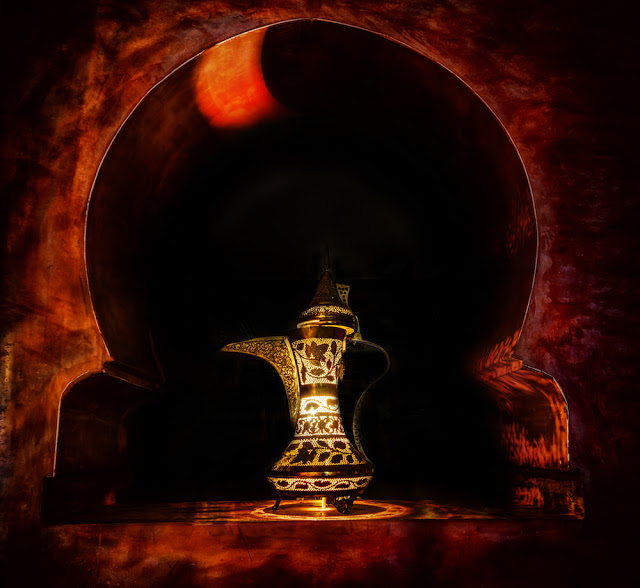
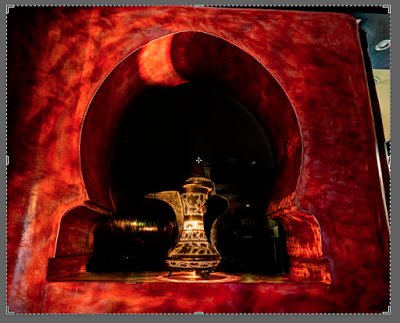
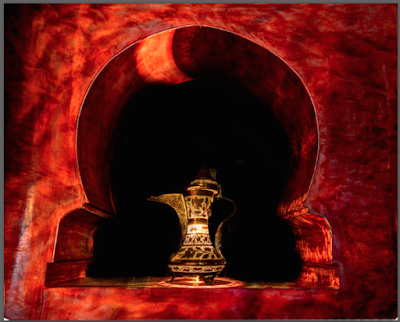
I recently went to a restaurant called Dada, a Moroccan restaurant in the hearth of Dublin. The place is quite amazing so I talked to the guys there and organised a day where I could come in and take some pics. This is one of the shots I got from there:
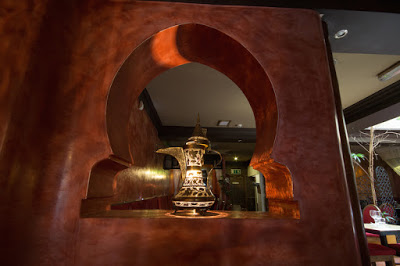
The original was quite different, there you go:
It was a little bit of a challenge to get it the way I wanted, but with some photoshop magic everything is possible. So thats how I did it.
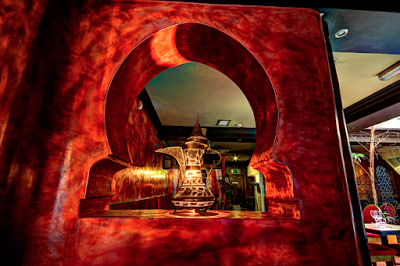
As it was a HDR, I loaded my 3 exposures in Photomatix and created this HDR version:
Should you be new to HDR photography, have a look at my Introduction to HDR Photography before you read ahead 🙂
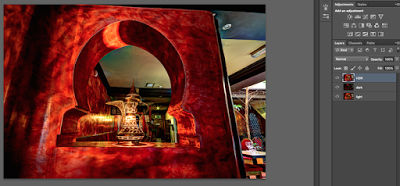
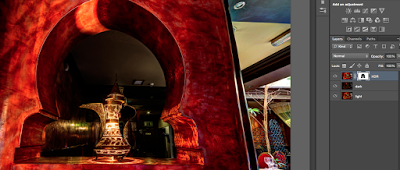
Once I had my HDR, I loaded the -2 exposure and the +2 exposure versions together with the HDR one into photoshop as layers. I loved what photomatix did to the walls, just awesome! I put the HDR on top, getting this set up:
If you haven’t dealt with Photoshop layers yet, read this first!
I selected Edit-> Auto align layers, something one should always be doing at the beginning.
When I checked the dark version and decided that I wanted the background behind the lamp to be dark – completely dark. So I selected the HDR layer, created a layer mask and pressed b to get my brush. I brushed through the areas behind the lamp to get the dark background.
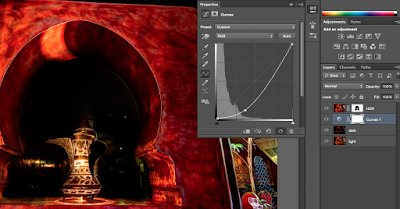
That wasn’t dark enough!! So I selected the second layer, clicked on the curve adjustment and reduced the brightness for this layer a little further.
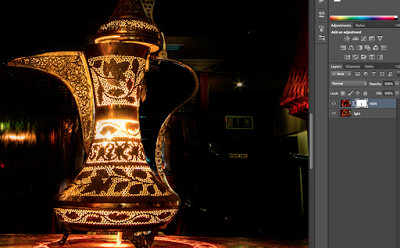
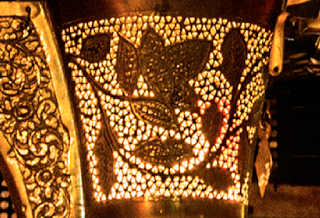
Close enough for now. I didn’t like anything else from the dark layer, so I selected the HDR and the dark layer with all masks and merged them. The background of the lamp wasn’t what I wanted yet, but I worried about that later. Next I had a look what was cool about the light layer – which was actually just a little bit of the lamp. You see, in the HDR image the lamp became all pixely and craycray – in the normal light version this wasn’t the case (at least not that much).
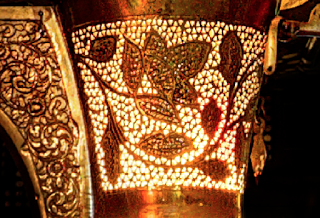 |
| HDR version |
 |
| Light version |
Note, I had to zoom in 200% to see that, but I like detail in an image. Thats what can make a difference between nice and great.
So, with the HDR on top and the light beneath, I created a layer mask and brushed the lamp through.
Loved it. I combined everything with CMD/STRG+Shift+E. There was, first of all, the obvious problem of cropping the thing. So first I used the normal crop tool and cropped away.
Then I selected Edit-> Free Transform and activated the Warp Mode (top right, looks like a radar, hehe). A grid will appear and you can pull parts of the image freely. Great tool!!! I pulled away and got this:
Nearly there! I wasn’t quite happy with the transformation as it looked a little bit off for some reason. Now here is some gold for you. Where you found Free transform, you’ll find a thing called pupped warp.
The way it works: you select anchor points all over the image. You basically pin the image and fix it on these points so that these anchored points are not changing at all. Now, then I selected the top left and right corner and dragged them around until I was happy.
Nice. The stuff behind the lamp is still too visible, so lets darken that. I selected the brush tool (yes, without a layer mask) and selected burn as the mode. Then I just darkened the area behind the lamp.
Ok, looks good. The last steps were more contrast, more vibrance, vignette and final cropping. The first two are in the normal adjustment panel. The vignette was done by duplicating the layer, darken one like hell and brush through the parts I wanted bright. Thats it! I got
Like my Images? Check out my portfolio for other great examples of HDR Photography or have a look around here to see more of how I process them.
Please follow me on all social media known to mankind to stay tuned 🙂 Facebook for example:
https://www.facebook.com/letsimage
-Phillip

