Welcome back, everyone! You are thinking about getting Luminar Neo – or you did already, and you want to jump right in and get started unleashing your creativity and bringing your photos to the next level. Awesome! in the above video, I will run over everything you need to know about Luminar Neo to do exactly that in no time! We will focus on layout first, then functions, and use an example as we go along. After this, you can jump right in.
If you like Luminar Neo, get it here and use promo code ‘LETSIMAGE’ at checkout to save 10$/€!
Let’s start. There are three important areas within Luminar Neo that you can switch to whenever you like. The Catalog, the preset area, and the editing area.

Luminar Neo’s Catalog
Starting with the catalog, you can add your photos, which will sort them into the respective categories on the left side. Whatever images you add to Luminar Neo, they will show up in the center area of the screen. On the top right, you can adjust which photos to see and how small or large you’d like to see them in the grid. On the lower left side, you can add a folder, or create an album.
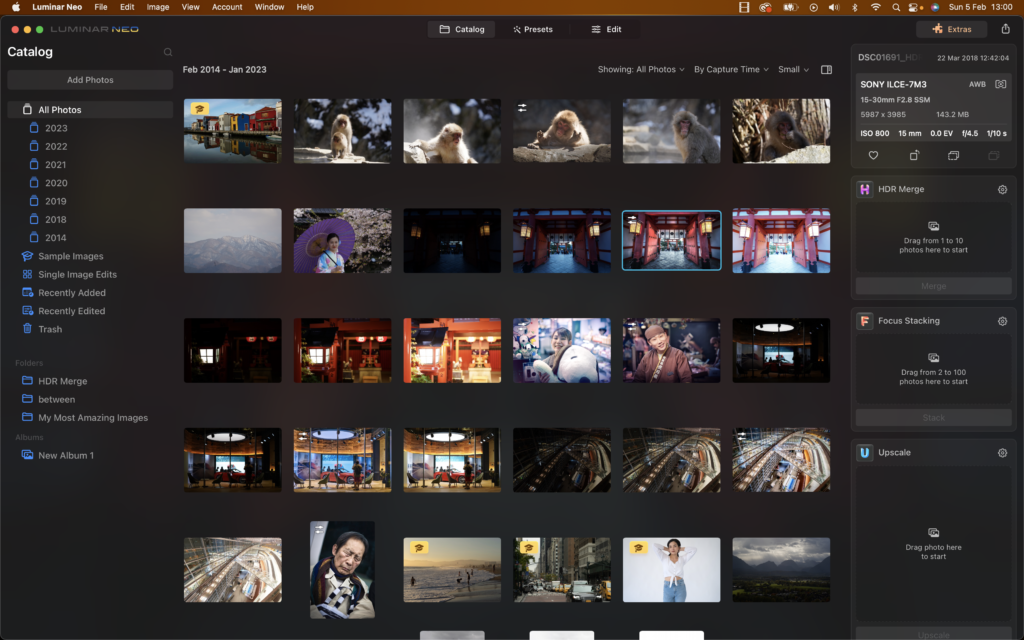
A folder is an actual folder that you have on your computer. So if you would have a folder on your desktop called ‘’my most amazing images’ or ‘need to edit this’ and you add that folder to Luminar, then the folder shows up here and the images within it would show up in Luminar. An album in Luminar Neo is different, as this is just a collection of Photos for organization purposes. A use case would be if you have two folders for two photo shoots you did, but you want to pull out all the portrait street photos that you might want to edit – you could do that by adding them into an album without affecting the location on your computer.
On the right-hand side, you have Luminar Neos Extras – which is what they call their extensions. You can use them to create high dynamic range photos from bracketed photos, load photos in for focus stacking, or upscale photos to increase resolution. You don’t have to get those extensions, but you can get them by clicking on extras at the top right.
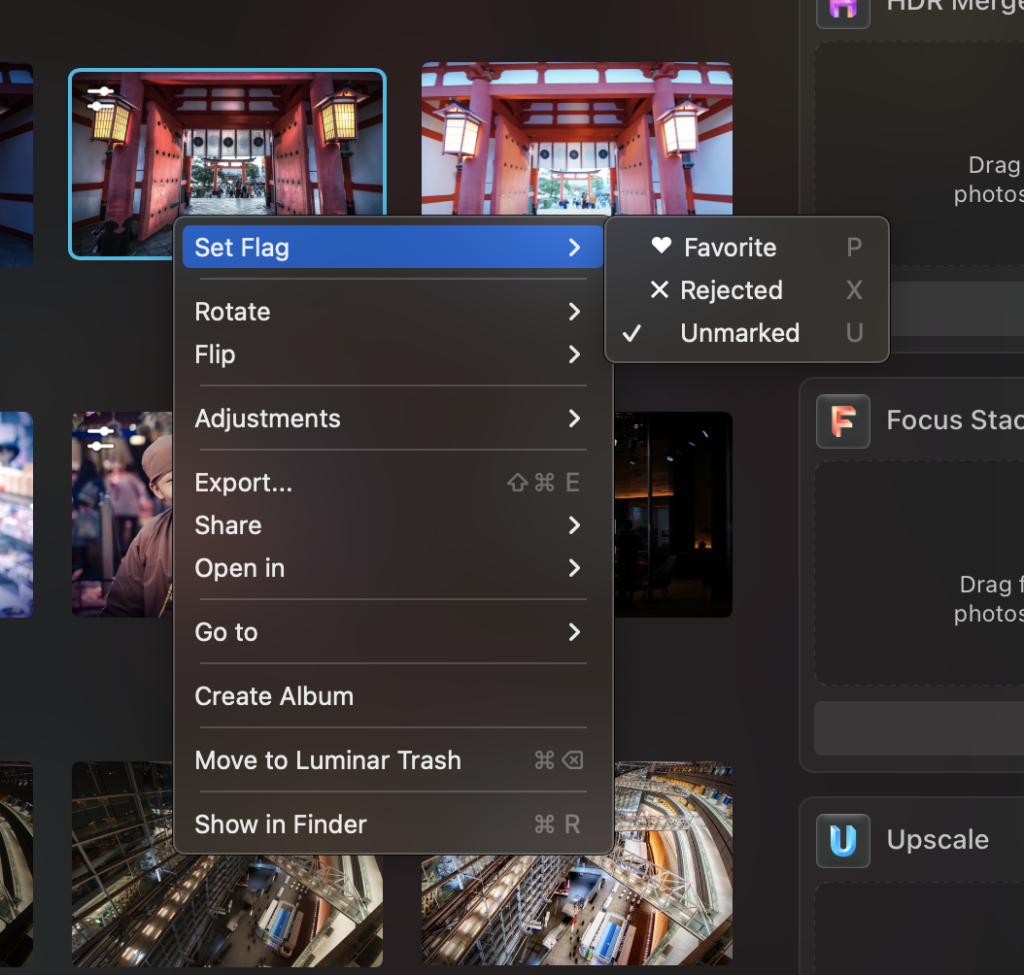
So, select ‘Add Photos’ and select the ones you want to add. Once you added your images, you can right-click and reject them for easy deletion later, or mark them as favorites by clicking the heart or hitting P on your keyboard – you can then show only your favorites by selecting them either on the top navigation bar or the left-hand side category. Double-click on an image or hit the space key to enlarge the photo.
Luminar Neo’s Preset Section
If you’re new – a preset is a set of adjustments that will automatically be applied to your image, with one click, like a template – and therefore quickly transform it depending on what that preset does. On the top right, Luminar Neo will suggest some present categories for your selected photo. You can also scroll down to see more categories, or see all at the bottom right.
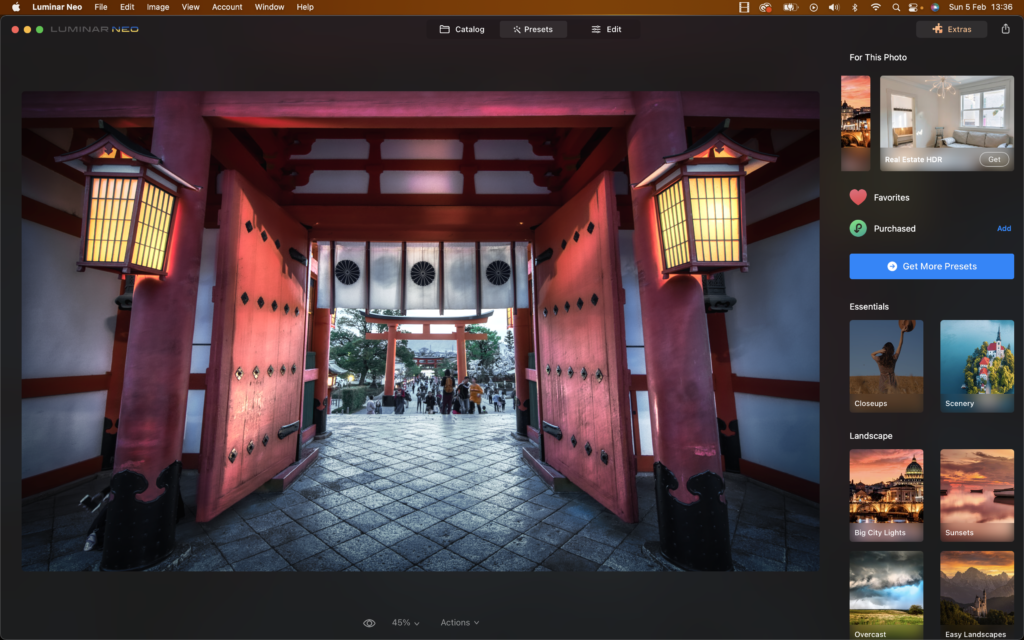
You can click on a preset category to show all the presets within it. Selecting one will then apply the adjustments within it to your photo. To see the before and after, select the eye symbol, and to revert to the original select the arrow next to the preset you selected.
Luminar Neo’s Editing Section
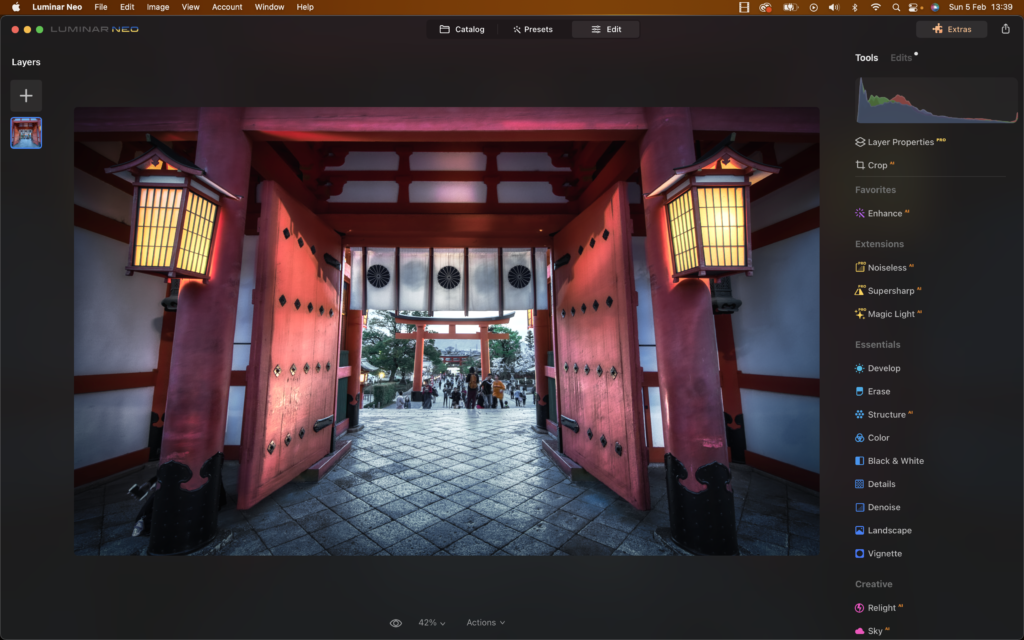
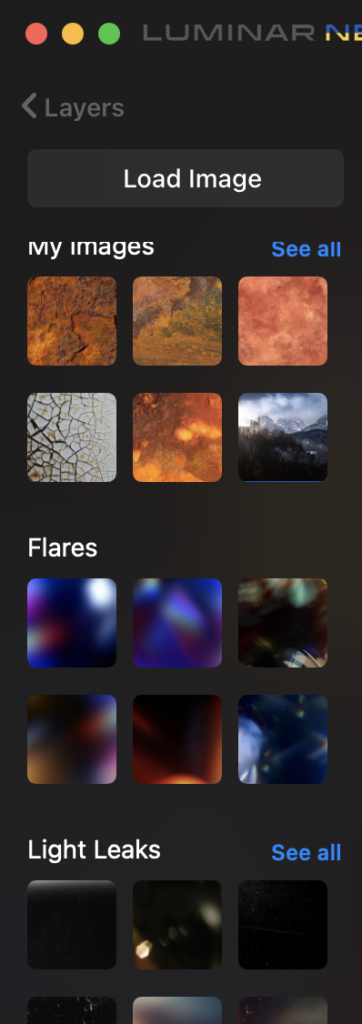
Now, say we don’t use a preset, let’s move on to the editing section. The layers section on the left allows you to add … well, layers. You can click the plus icon and either add your own images, or choose from things like light Leakes, flares, bokeh, and so on.
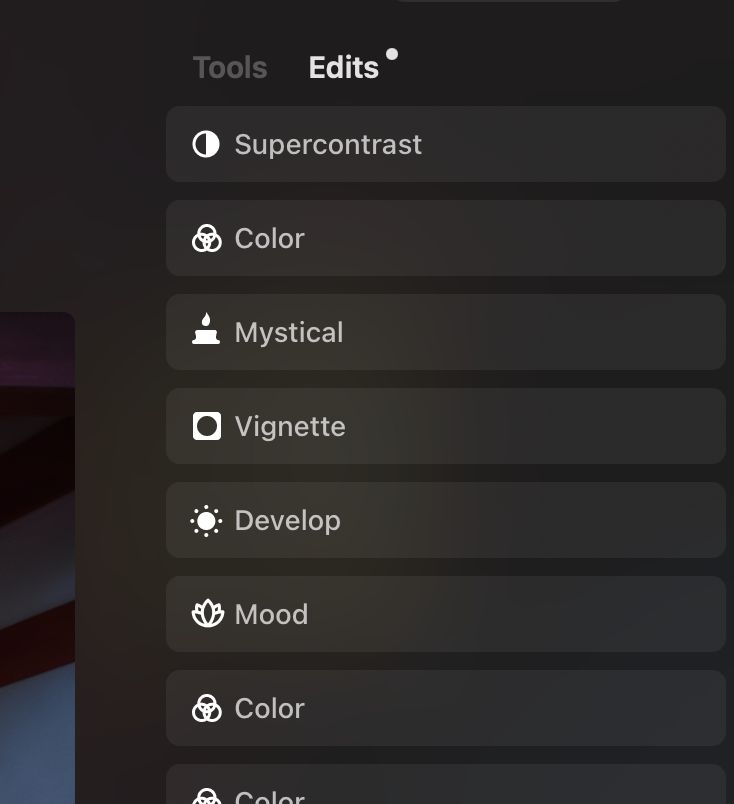
On the right, you have all your tools – categorized by more extensions, essentials, creative, portrait, and professional adjustments. Selecting an adjustment will open its settings. The essentials category contains things like the develop module which is usually a great start to any edit, letting you adjust brightness and colors. Note, if I click the header of the adjustment again, it’ll close and move over to the top right, under edits. Any edit you make will show up there, so you can go back later and change things if you need to.
Now, to name a few more, essential adjustments contain noise removal, vignetting, golden hour color addition, and so on. The creative category lets you add things like sun rays, change the skies, LUTS to adapt the color style, fog, or create a glow as needed to soften things up. The portrait section lets you enhance bokeh, adapt face and body if you so desire, and use the popular high-key editing. And lastly, you have the professional section with things like the clone stamp tool, color harmony, and dodge and burn. I will make a full video about all the tools soon but for now, this overview should help you to dive in and simply try them out!
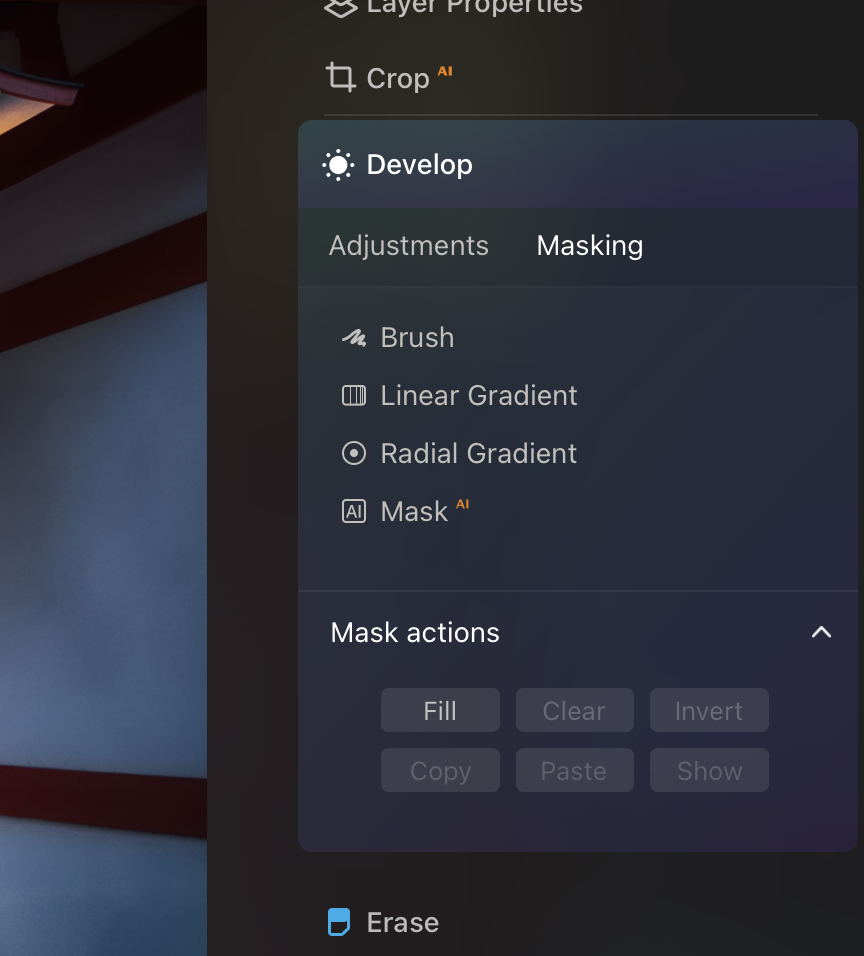
Most adjustments have simple sliders, and once you change something, you’ll find the option to hide the adjustment and to revert it on the top right of it. You can also choose from a variety of masking options to ensure your adjustment only shows up where you want it to. Cool enough, there’s an AI tool here that helps create the mask you need – with it, you can select different elements in your image automatically. If you prefer manual work, you can of course choose to brush your mask in, use a gradient, a radial mask, and more. Mask actions allow you to show your mask, revert it, fill it, or copy and paste it.
Now, if you find yourself using the same adjustments again and again, you can right-click on them and keep them as favorites, in which case they’ll show up at the top of your adjustment list.
In the video above, I also go through a complete editing example. Follow along!
Remember, if you like Luminar Neo, get it here and use promo code ‘LETSIMAGE’ at checkout to save 10$/€!
Happy editing and I catch you in the next article!
Phill