You are well versed in Photoshop – or a total beginner – or anything in between! For today’s post, I thought I bring together some Photoshop Tips and Techniques that I gathered over time, and that helped me a lot – but that arent super known. SO, even if you are a Photoshop super-user or a novice, there should be at least one tip in here that you haven’t heard of before. Let’s see, right?
If you watched the video above, you know what’s going on – but if you haven’t yet, here is a breakdown of what I will talk about!
The Orton Effect
The Orton Effect is a simple technique that makes your images look dreamy – or fantasy-esk. Back in the day, it was done by manually developing and overlapping two images, but thank tech this is now a breeze in Photoshop. Look at how dreamy this photo is!

Blend If
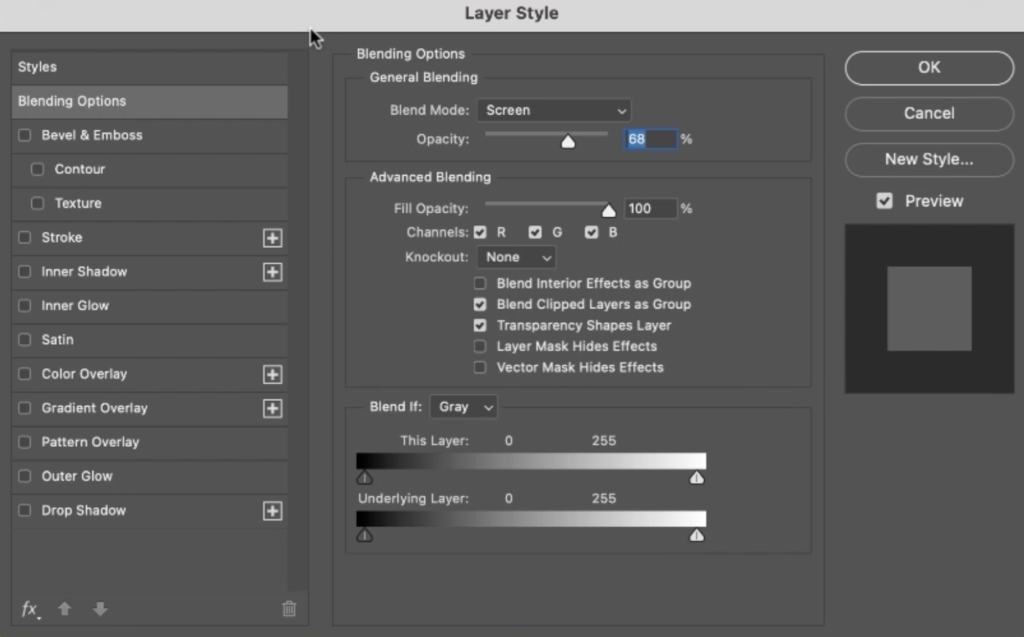
Layers are the backbone of Photoshop. If you haven’t worked with them before, check out this video to get the basics. SO, sometimes you make an edit on a layer that affects your whole image – but you just want that adjustment shown in your highlights. Most people would add a layer mask to that layer and start to paint effect into the highlights. That works – but there is an easier way. If you open the layer options and use the Blend If function, you can just hide or show the layer depending on the brightness of either itself or the layer beneath.
Double Workspace Window
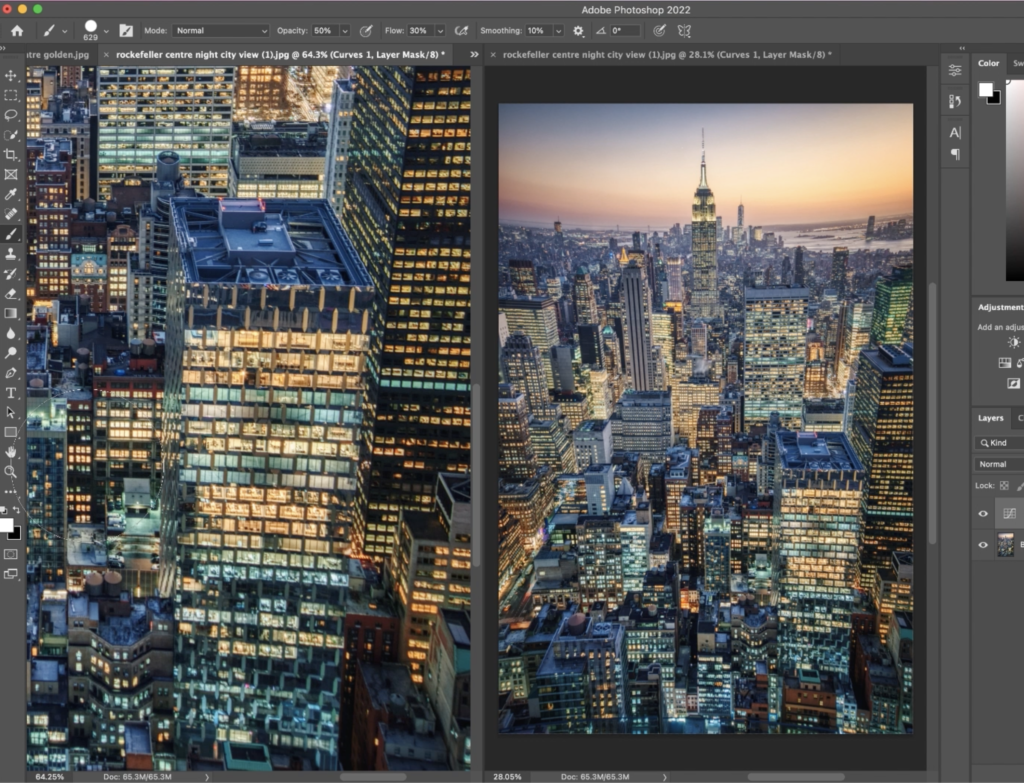
Zooming in and out of an image while you work is normal. But depending on what you are doing, it can be annoying to have to zoom out all the time to see how your edit affects the overall image. Wouldnt it be much nicer to have a window to zoom in and do edits and one to see the overall effect on the photo? You can easily do this by opening the same document twice in Photoshop – with two windows, you can use one for zoom edits and one to observe the overall.
A Better Spot Healing Brush Tool
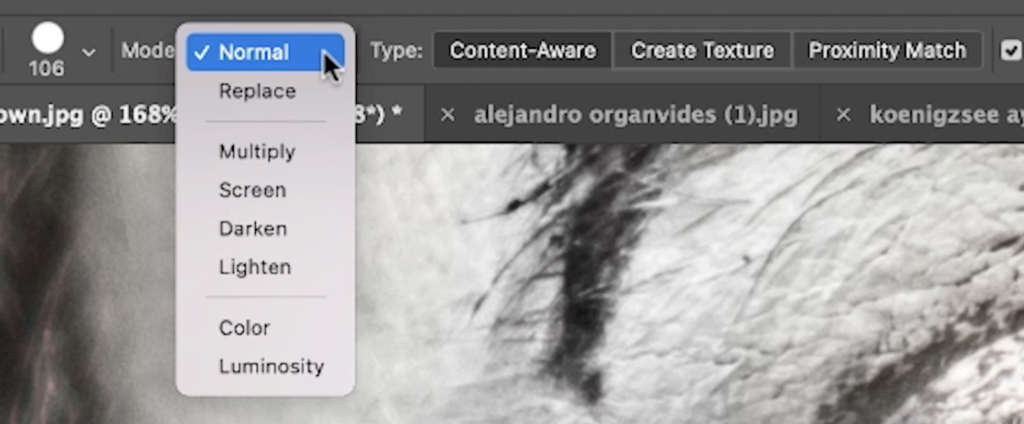
Photoshops Spot Healing Brush Tool is powerful – but sometimes it can cost you your last nerve. Depending on what you are trying to heal, you can get a bit of a smudge that just looks dirty. This happens often when the tool doesn’t get the texture right, right? However, in specific situations, you can enhance the tool by changing its mode! Check it out and see for yourself in the video.
Quick Highlight and Shadow Selection
Often we want to make edits that should only affect the dark or bright areas of our image. For this, we need to somehow select those areas – and if you’re looking for a quick and half-dirty way of selecting the highlights or the darks, then this quick keyboard combination is your friend.

Creating an Autumn Effect
A green forest is cool and all – but autumn can look so much cooler sometimes hehe. So, if you need to turn any image into an autumn-colored one, a single channel mixer adjustment layer can do that for you.

Removing Halos and White Outlines
In HDR Photography this is quite a common issue – but it also happens during shoots or general editing – a halo or a white outline around an object. I tried soooo many things to remove those, never knowing that the clone stamp tool can do this in a heartbeat.
Canvas Movement
When you edit and you’re zoomed out enough, you cannot move your canvas around. This is fine for most people, but I like to move it every now and again for various reasons (perspective, cropping preview, etc.). One Photoshop setting will allow you to move the canvas as you like.
Keyboard Shortcuts
I’m sure I don’t have to say much here to convince you that these shortcuts will save you tons of time! From new layers to opening the export window, this section in the video has something for everyone.
Quick Layer Check
You need to look at your before and after – but your original layer is all the way down your layer list! I know many people that would now disable all layers above the original one, but that takes forever! Instead, one key on the keyboard will allow you an instant before and after comparison.

Rotate Your Canvas
Are you using your brush a lot? Many brush users prefer to brush from left to right or so, but not really up to down. However, depending on what you do, you might need to – unless you rotate your canvas! The rotate tool will help here – and Mac users have it even easier!
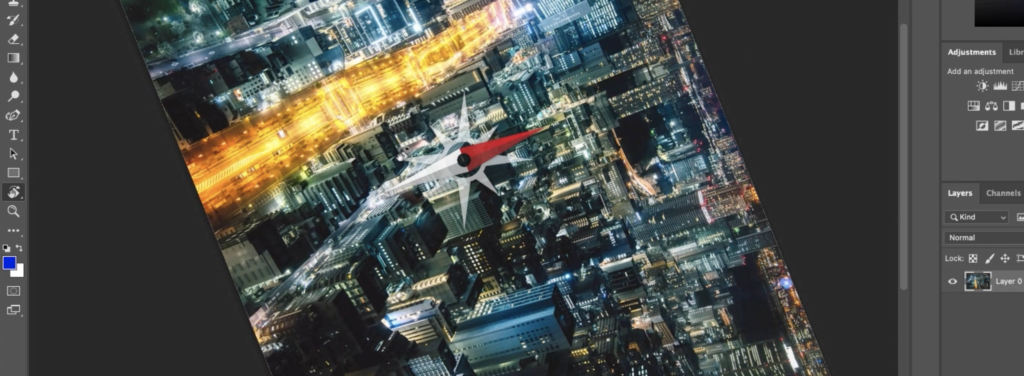
The Hidden Banana Tool
Photoshop can be a little … Grey. So, why not add a banana? Yes, you read right – a banana. I leave it to you to find out hehe.
Photoshops Super Resolution
You need to print a photo – LARGE. But for whatever reason, the dimensions of the photo are just too damn small! No problem, just use Photoshops super-resolution feature and double the resolution of your photo. Done!
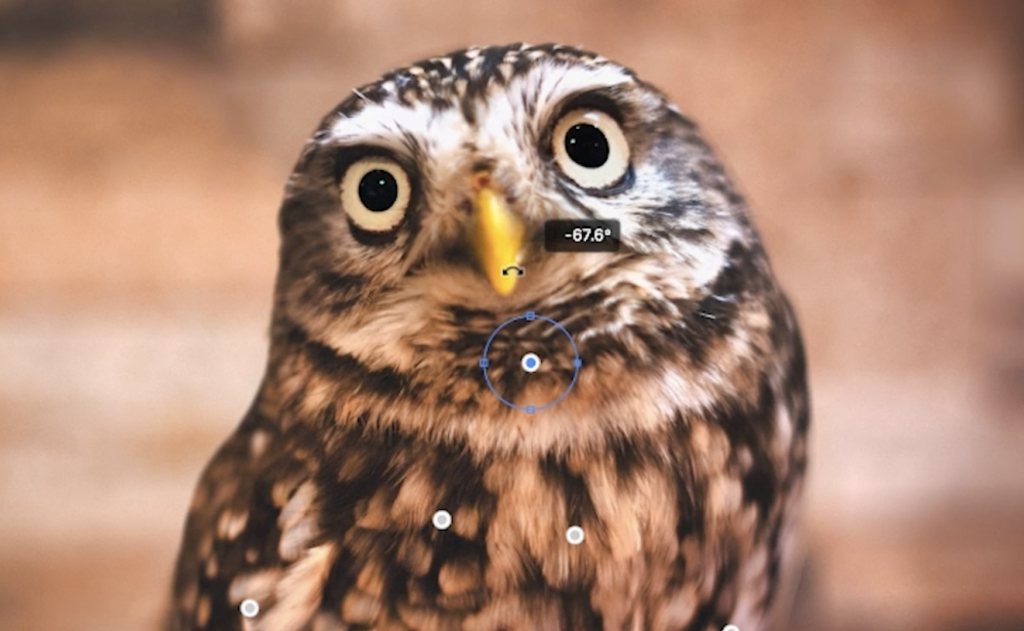
Change Body Position With Pupped Warp
Do you need to adjust the position of a body part? No problem! With the pupped warp tool, you can adjust heads, arms, legs, and whatever else!
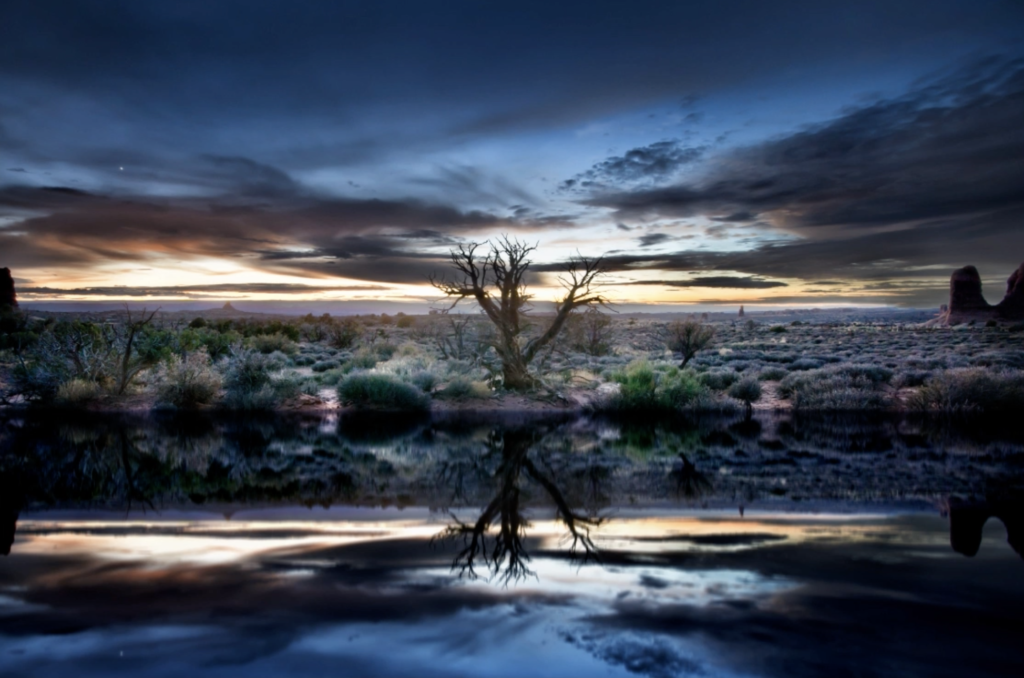
Creating a Simple Reflection
You know it – you have an amazing scene, but the foreground is just super boring! No problem, because I will show you a 2 min method of creating a simple reflection in Photoshop.
Quick Color Check
There are several ways you can look at your image within Photoshop – all with different backgrounds. I show you how I use them to check if I have overdone any color – but you might want to use it differently!
Using Curves the Easy Way
Curves seem intimidating at first, but once you used them for a while, they become quite amazing! However, you don’t even have to use the curve itself to … use the curve. Confused? Check out the section in the video and learn how you can do magic with curves the easy way.
Straighten Your Images
Ok, so your camera wasn’t straight when you shot your photo – happens. But instead of trying to eyeball it when you crop your photo, you can simply let Photoshop do the job of straightening your image!

