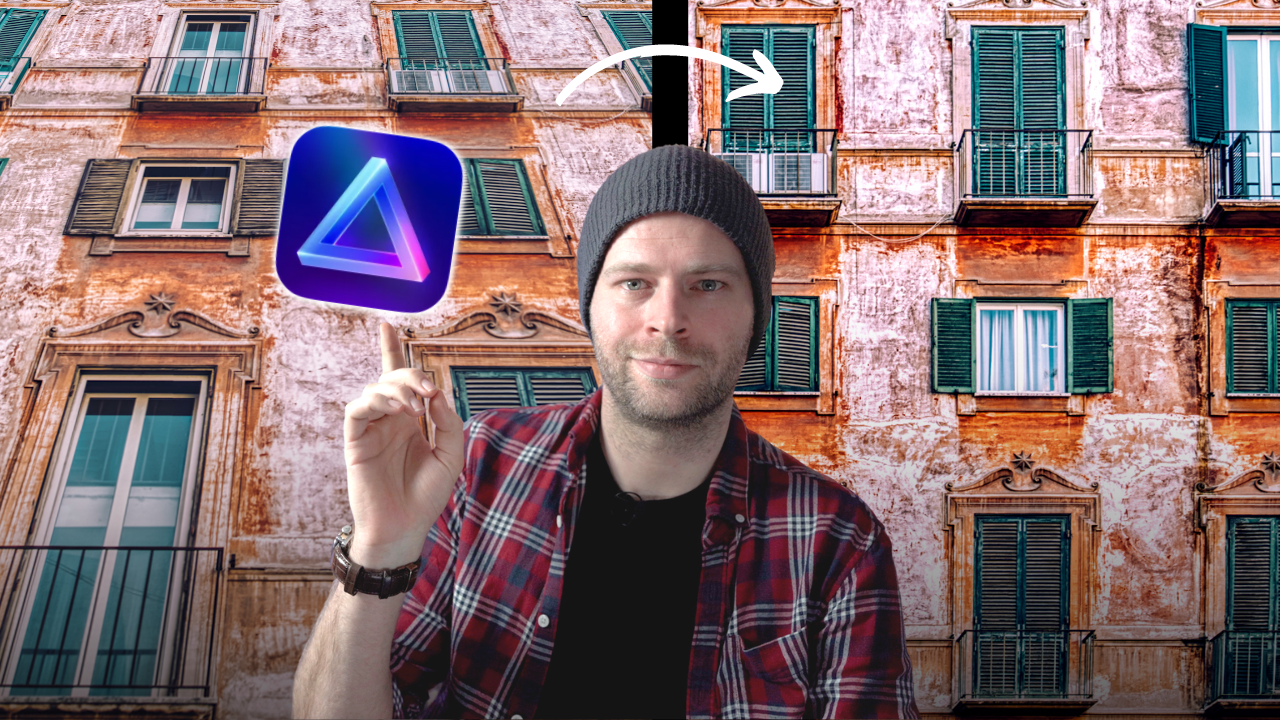
Photo Perspective Correction In Luminar Neo – Welcome back! Today we’re talking about photo perspective correction in Luminar Neo! If you’re anything like me, you’ve taken a photo or two (or a million) and noticed that your perspective is slightly off at times. It happens to the best of us, but fear not! With Luminar Neo, fixing that wonky perspective is a breeze.
Join me as I take you through the step-by-step process of using Luminar Neo’s photo perspective correction tools to straighten out those wonky lines and make your photos look sharp and symmetrical. Trust me, you’re going to love the results.
I’ll show you how to use the horizontal and vertical transform sliders to fix the perspective of your photos and how to use the lens distortion slider to remove that pesky fisheye effect. Plus, I’ll give you an example of how to use photo perspective correction to create better photos in general.
You’ll be amazed at how much better your photos can look with just a few simple adjustments. So, if you’re ready to take your photos to the next level, join me in this fun and informative video where we explore photo perspective correction in Luminar Neo.
So sit back, relax, and let’s get started! Oh, and hit that like and subscribe button if you want to see more awesome content like this. Let’s go!
Get Luminar Neo here! Use the promo code “LETSIMAGE” at checkout to save 10%!
Here are some other resources if you want to learn more about Luminar Neo:
- Ultimate Luminar Neo Beginner Guide
- 6 Things I dont like about Luminar Neo
- The Noiseless AI Extension and how good it really is