How to Use Layer Masks in Photoshop
Welcome back! If you are just starting out in Photoshop, you may be a little bit confused as to what do all these buttons and options do. I know I was. Even now sometimes hehe. So, one of the greatest and most useful things (in my opinion) in Photoshop are layer masks. Today, I will show you how to use layer masks in Photoshop. Remember, if you like the video, make sure to subscribe to the channel for more weekly hot photoshop action.
What are Layer Masks?
As the name suggests, layer masks are a function to mask a layer completely or in parts. So how does this work? Imagine you would have a picture in Photoshop. In this picture, you realise that the sky is not that great – which is a pity indeed. But you have another picture, where the sky is beautiful and could actually fit on the other one. And that is where layer masks come into play. With layer masks, you can hide parts from one layer and instead show parts from other layers.
How do Layer Masks Work?
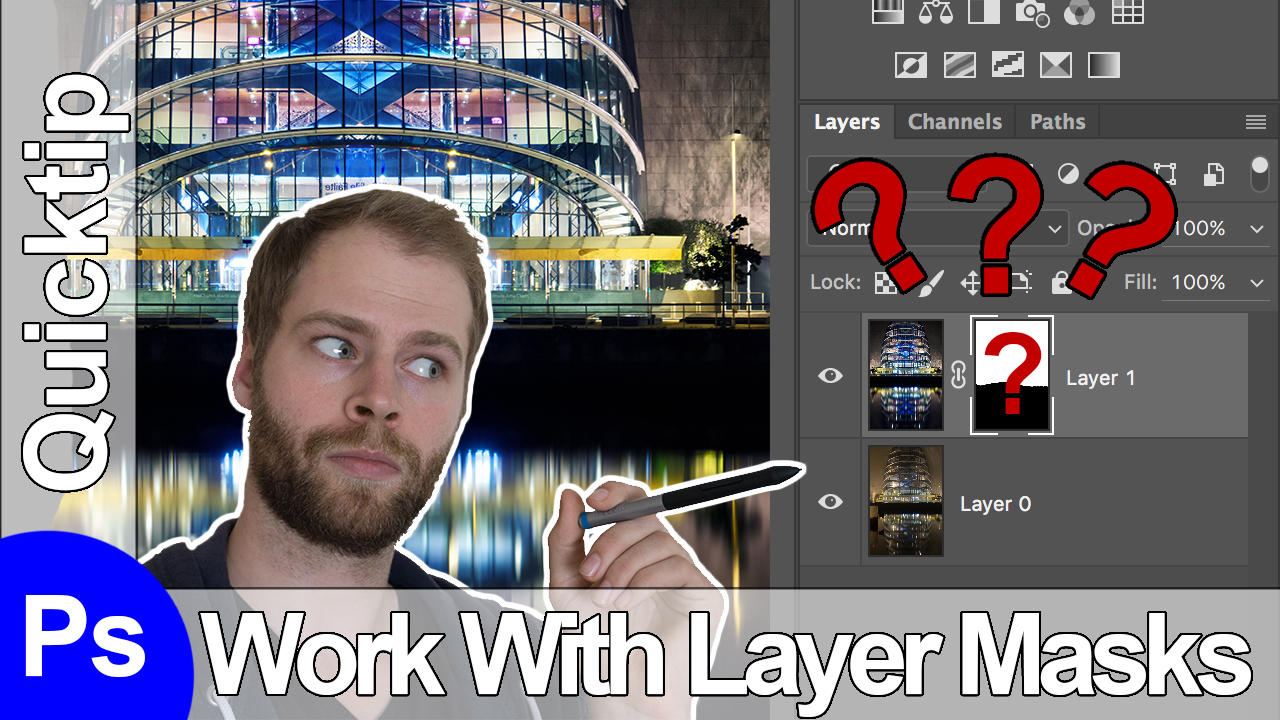
If you have two images in Photoshop (one on top of the other, check the video at XX:00 min), then you can select the top image by clicking on it. On the bottom of the screen (right site), there is a symbol which looks like a small version of the Japanese flag. Press it. Find the layer you had just selected previously. Next to it, there will be a white additional ‘layer’. This is in fact your layer mask. Here is what you have to know.
- A completely white layer mask means that everything from the layer is visible
- A completely black layer mask means that nothing from the layer is visible
So if you press the layer mask symbol, then it will be white. As mentioned, this means that all is visible and nothing is hidden. Here comes the thing: Use a brush (press B on your keyboard), press D (which will get you the default colours black and white on that brush) and have a look in the lower left if the little top square is black (have a look at the video if unclear hehe). If so then this is what you can do.
If you paint with black on a white layer mask (the layer mask must be selected, not the layer itself!) you will hide this layer wherever you paint
Here is an easy way to remember this: you can hide in the darkness, but the light reveals. Same principle for the layer masks. So painting black will hide the layer where you paint – and whatever is beneath this layer (such as another layer with a different image) will be visible. This is one way of doing it, there is another one.
You can also go the other way around. As before, imagine you have one picture on top of the other – or two layers, same thing. Do the same as before, select the top one and create a layer mask. On default, this one will be white again. Now, on your Keyboard, hit CMD+I. The layer mask will become black, because you have inverted it (I for invert). The layer with the layer mask will suddenly be invisible. Remember, a completely black layer mask hides everything from this layer. But hiding the full layer is mostly not what you want. How can you get parts of that layer to be visible again? You may have guessed – by painting white on a black layer mask. Use the brush (B), press D (default colours on that brush) and paint white with the layer mask selected. Wherever you paint, the layer with the layer mask will show up again.
BUT, while this may sound all black and white, it isn’t! Here is why layer masks are awesome!
- If you have a white layer mask and paint black, but with only 50% opacity, then you hide only 50% of the layer with the layer mask and 50% of the underlying layer will appear. Endless combinations!
- Layer masks also work on adjustments! Yes, you can have one for a curve, saturation adjustment, whatever!
- Layer masks also work on grouped layers!
If you have just started out on Photoshop, play around until you are happy enough that you can use layer masks in the described way. They are incredibly useful and, and independent on the kind of images you take (portrait, landscape, whatever) you will need them at some point. If you need more information on how to use layer masks in photoshop, have a look at the video above or just check out any of my full processing examples – I use them all the time. Really, all the time.
I am using them all the time, but here are some of the images I have created using layer masks:
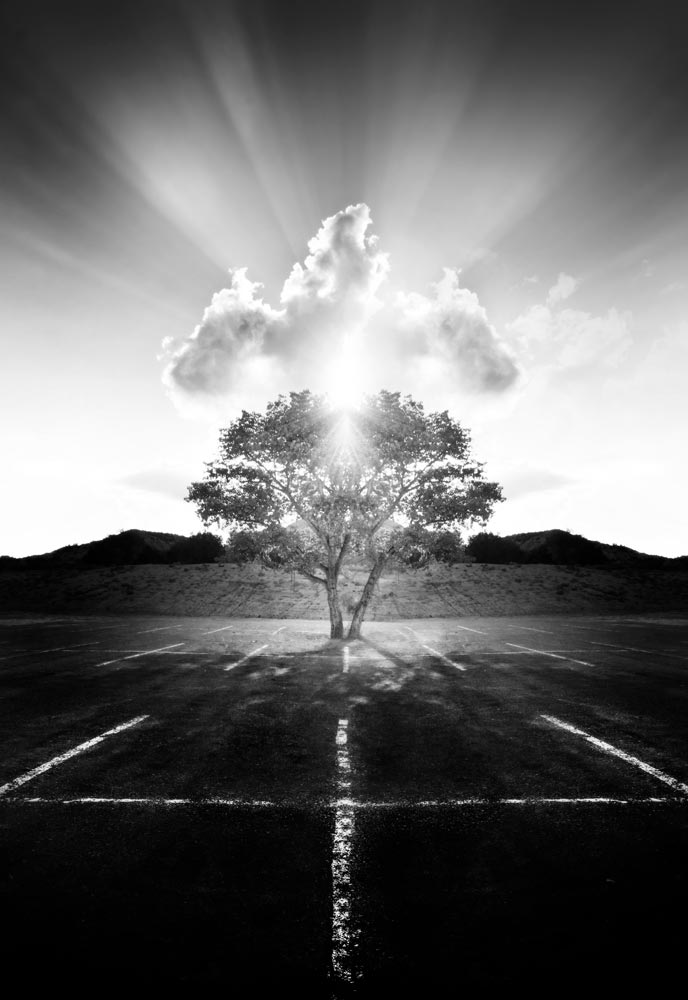
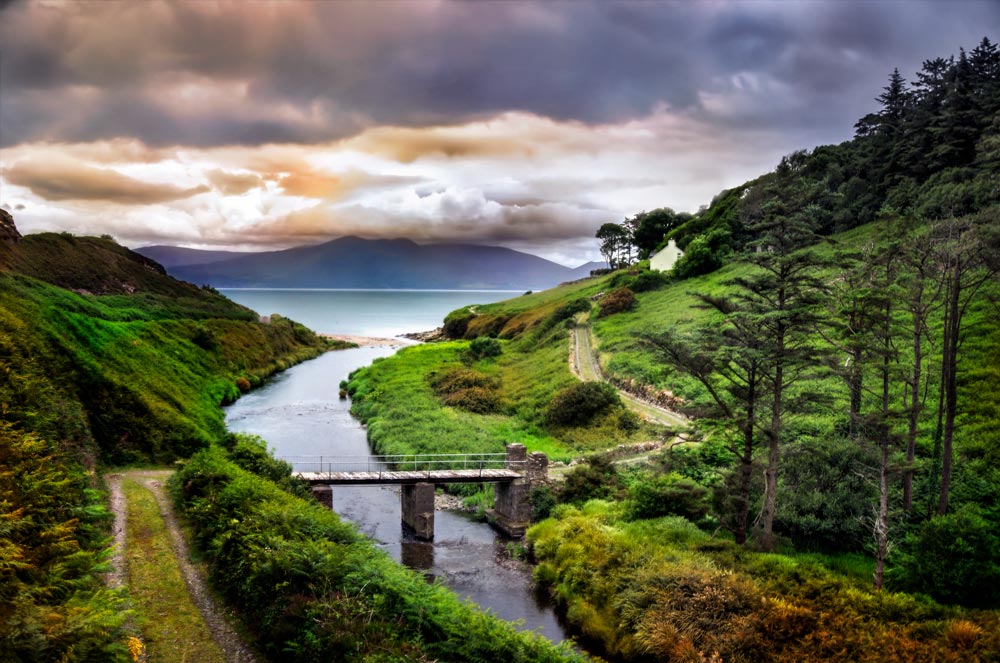
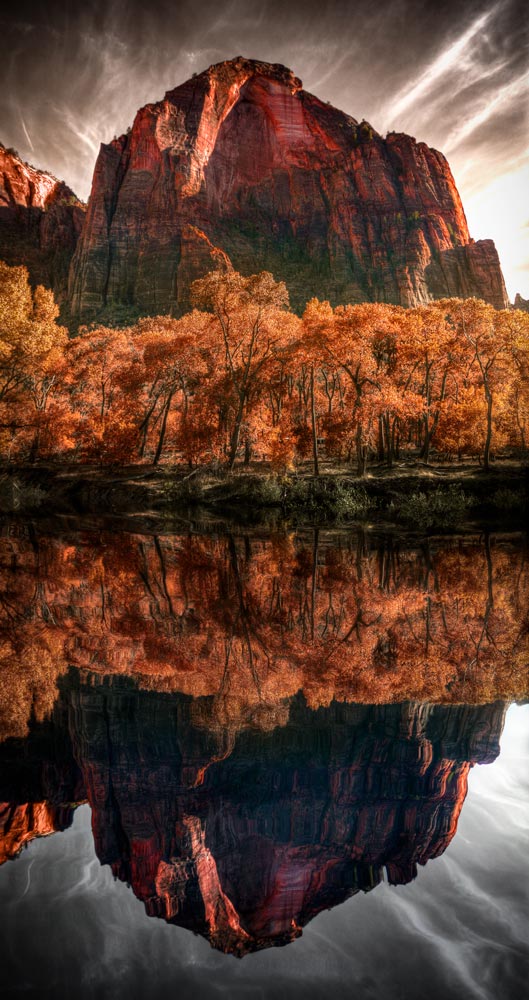
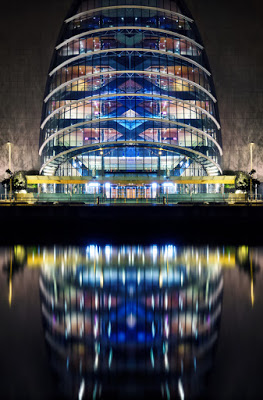
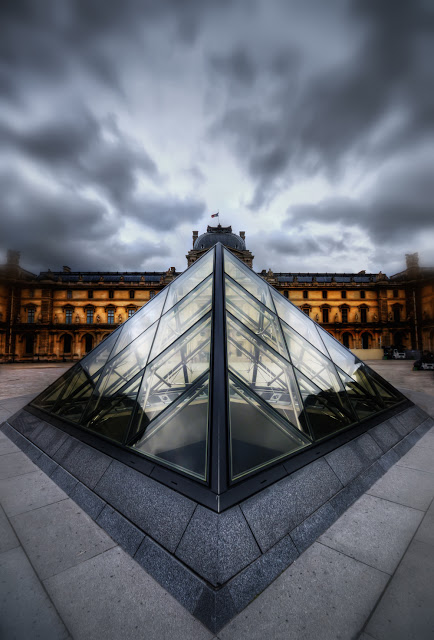
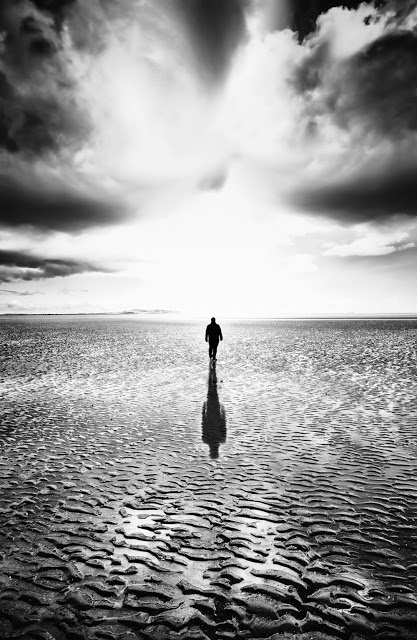
Like my Images? See them all over at my portfolio. I hope you enjoyed this tutorial on how to use layer masks.
Don’t forget to get your there and take some pictures yourself!



19 Replies to “How to Use Layer Masks in Photoshop | Photoshop Tutorial”
Comments are closed.