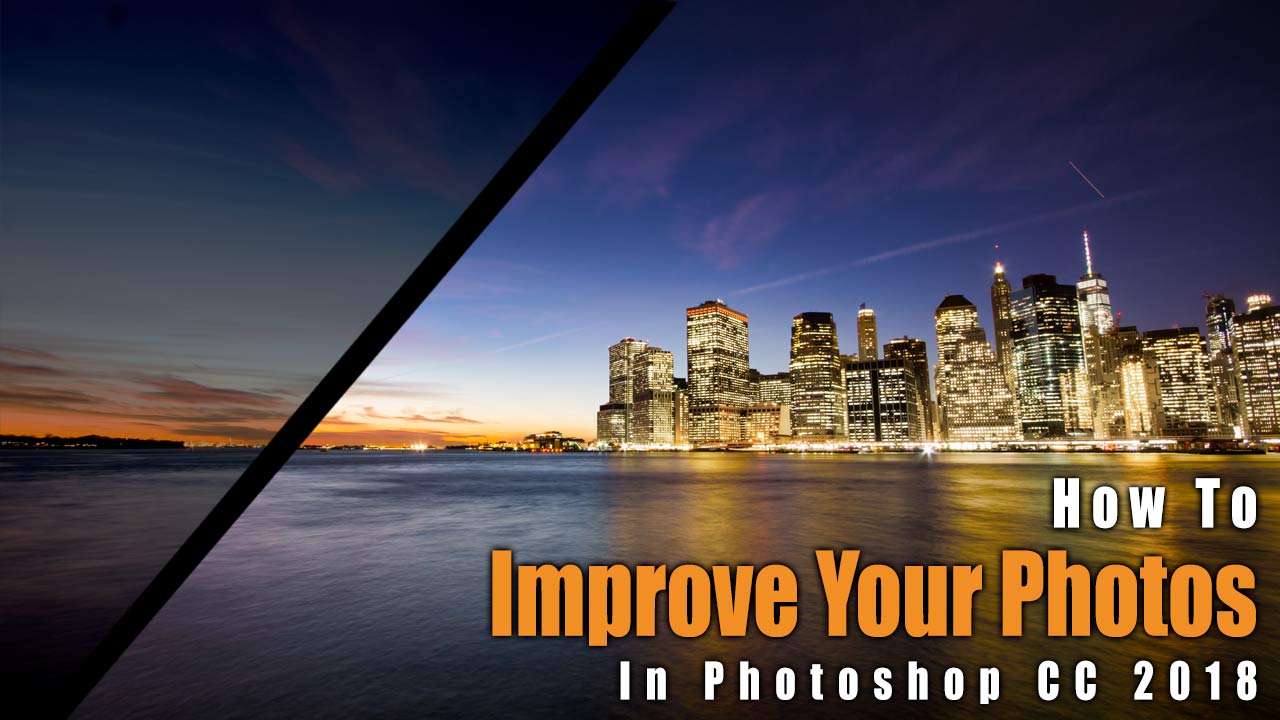
How to Improve Your Photos in Photoshop – Example: A Night in New York | Photoshop Tutorial
Welcome to your full example on how to improve your photos in Photoshop! First off, I am sorry that I could not post recently – long story short, my house got sold and I had to move and find something else as fast as possible. Well, I got myself a nice penthouse and I am back in action, permanently and twice a week!
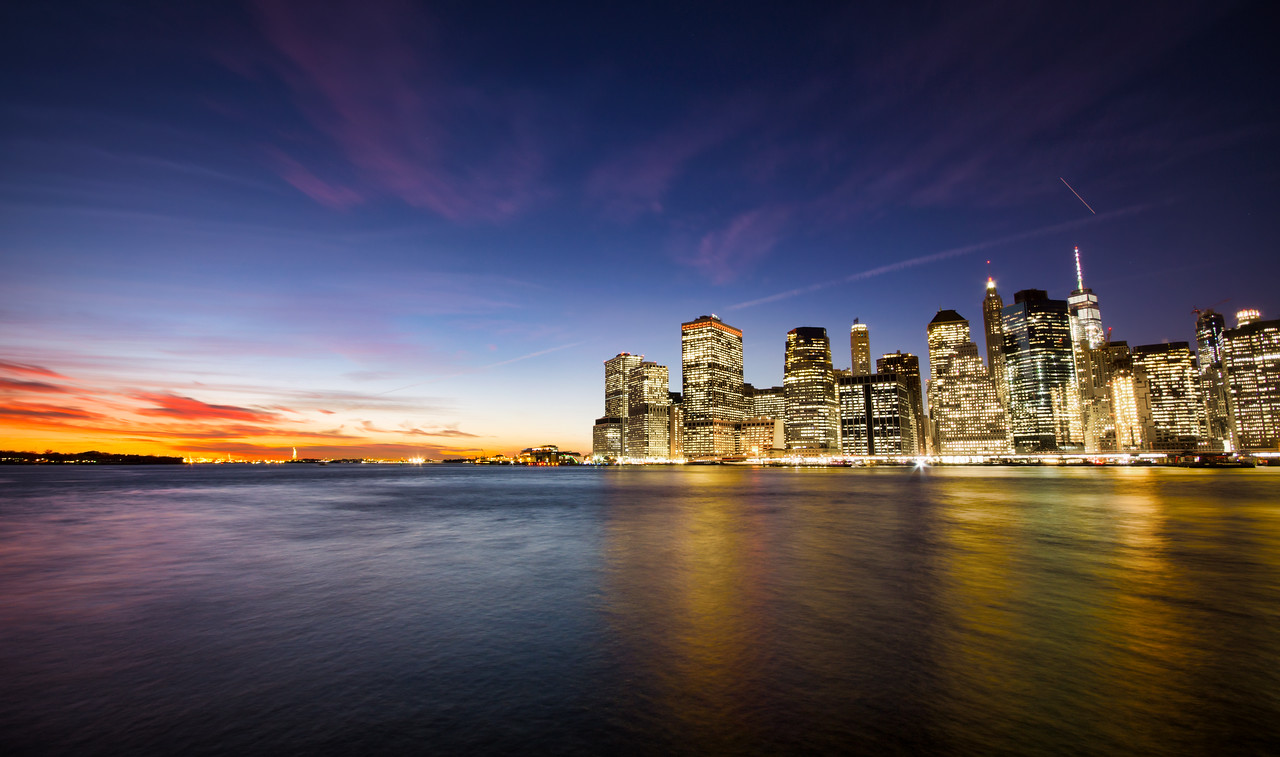
So, today we will have a look at how to use Photoshop to quickly fix your photos, using an example image that I have taken in New York recently. You will love this one – easy, fast, no difficult adjustments or techniques, just a pleasant edit all together. Let’s jump right in and learn how to improve your photos in Photoshop.
Here is the final image:
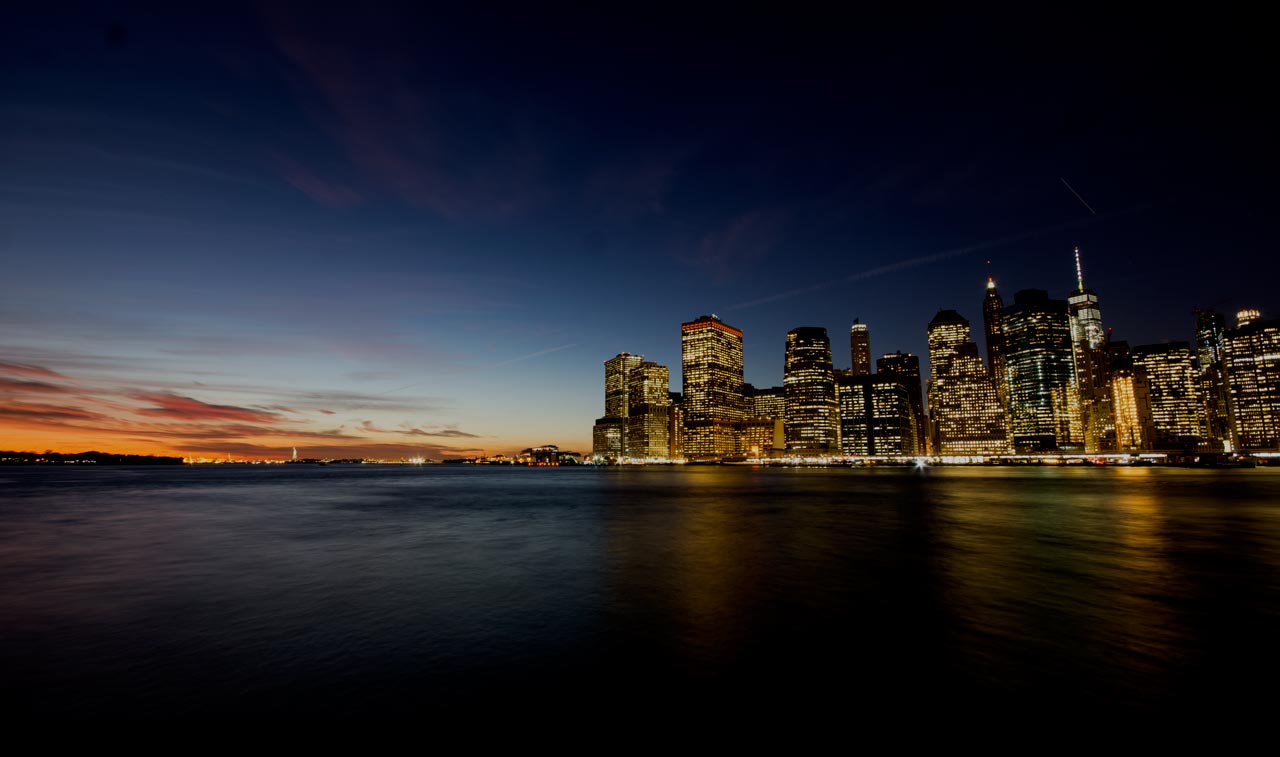
And Here is the original:
Step One – Make the Colors Pop in Photoshop (2:00 min)
To start off to how to improve your photos in Photoshop, we simply need to enhance the colors in the image a little bit. For this, create a Hue/Saturation Layer and increase… well, the saturation. Once done, you will see right away that the image comes to live!
Step Two – Fix the Light in Photoshop (3:00 min)
To make sure the attention of the viewer is somewhere along the center line of the image, we need to bring this area up a little. Therefore, simply create a curve adjustment layer and bring it up. Once done, hit CMD/Ctrl I to invert the layer mask associated to the adjustment layer – which will hide the effect. This is intended, so now we have to make it visible in the areas that we would like it to be in. Hit M on the keyboard to get the Marquee tool and draw a rectangle around the middle area that needs to be lit up. Hit Shift Backspace and fill the area with white, then hit CMD/Ctrl D to deselect. Perfect, lastly move to Filters-Blur-Gaussian Blur to blur the area a little and blend it in. Done!
Step Three – Fix Color Cast in Photoshop (4:20 min)
As we enhanced the saturation at the beginning, we now have a little bit too much yellow in the buildings – which needs to be fixed. It is super easy though – create a Hue/Saturation Layer and change to Yellow. Once done, reduce the saturation and increase the lightness. This is basically it, besides having to use a layer mask to paint the effect into the buildings only.
Easy, right? This is the pleasure of Photoshop, it can be super easy and super fast, but you can also do all sorts of super complicated stuff. Keep learning and show me what you create 🙂
Remember, shortcuts make your life easier and can speed up your processing a lot! Here is what I used in this image and most of my landscape and outdoor Photoshop tutorials:
B for the brush
X to change foreground colors
M for the Marquee Tool
CMD Alt Shift N to create a new layer
CMD I to invert
CMD Alt Shift E to get a stamp visible
On a Windows PC, just replace the CMD with Ctrl.
If you have not used Photoshop before, I suggest checking out my complete review first to get started.
If you like my images, make sure to check out my portfolio! Also, if you like photography, get out there and shoot! Anything, anytime.