
How to Edit Landscape Images in Photoshop – Example: Utah’s Vast Nothingness | Photoshop Tutorial
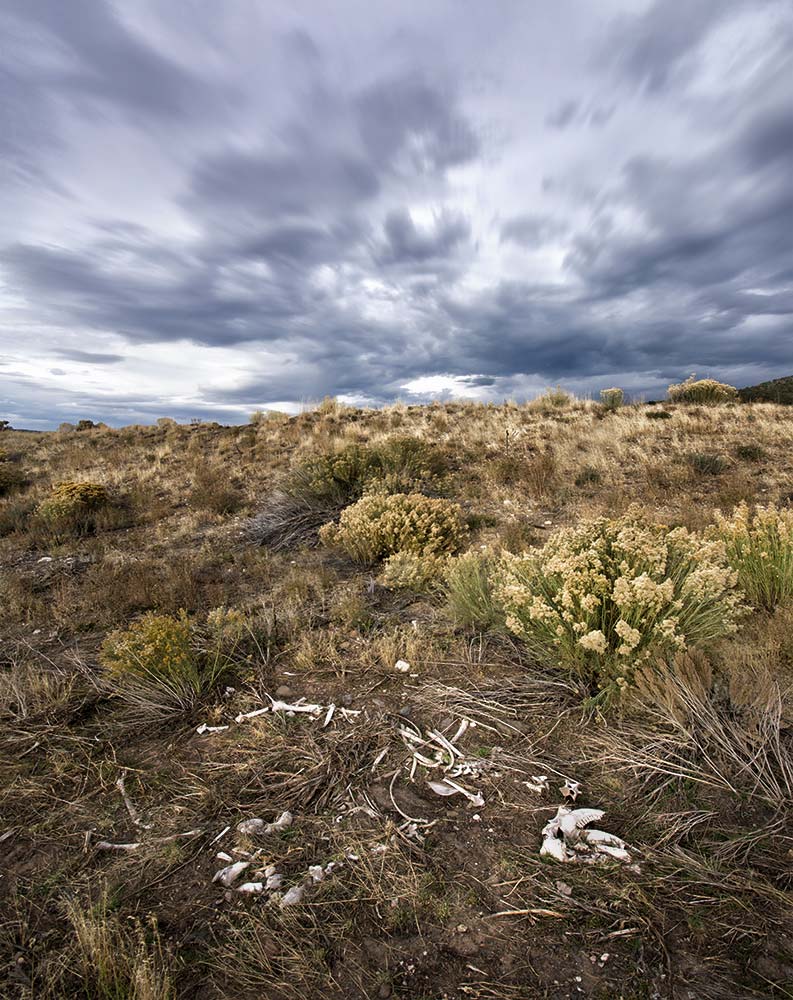
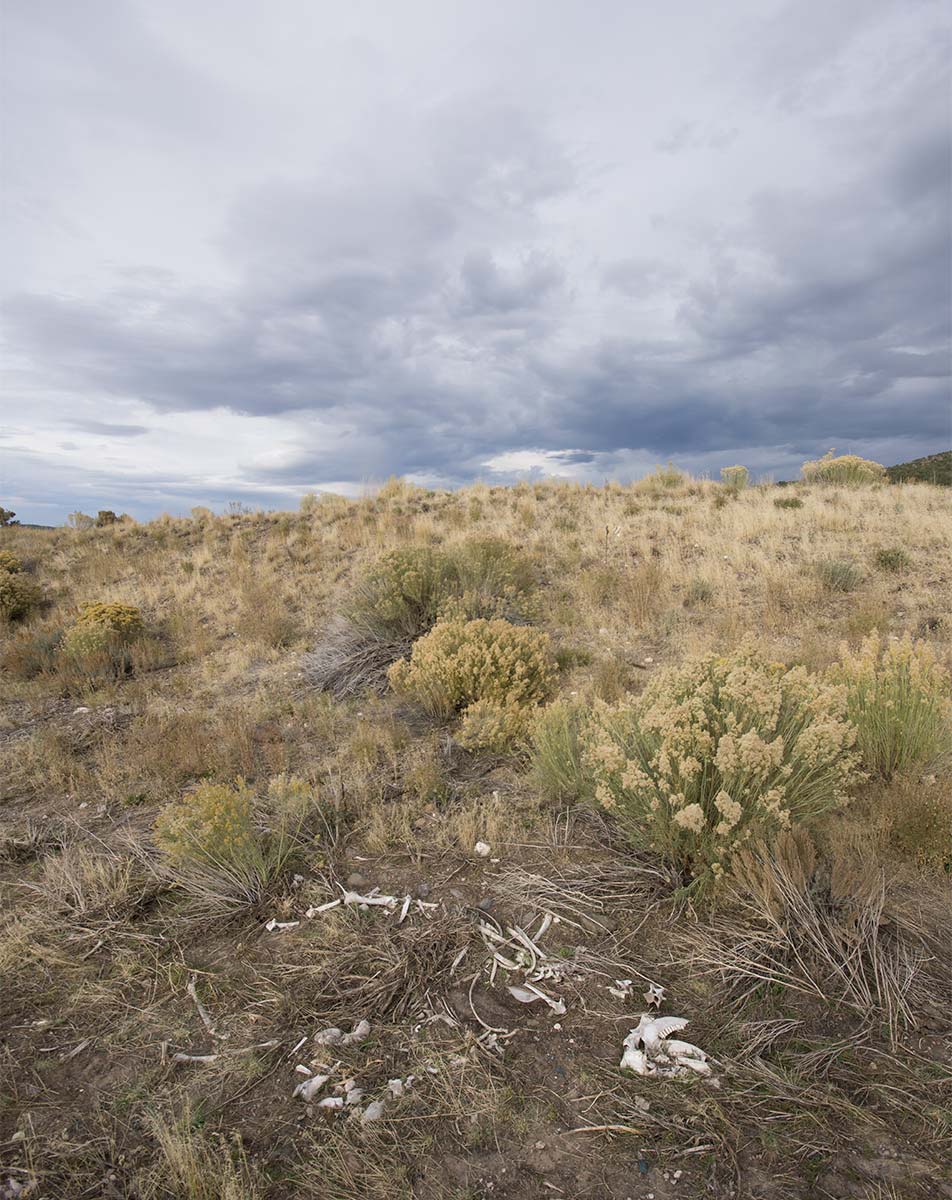
Welcome back! You might remember that I lived in Utah for a little bit, where I used every chance I got to go out and admire the landscape. This time, I want to share an image with you that crept me out a little – While walking through the countryside (no particular place), I found this skeleton in the middle of nowhere. What fascinated me, was the full scene: just bushes and grass, dead stone, and these bones. I took a shot and got out of there, hehe.
So, today I will show you how I took this image into Photoshop to do some basic cleanup – darkening the sky and giving it the impression of moving clouds, making the skeleton larger, and adding clarity to the image. Let’s jump into Photoshop!
This is the final image:
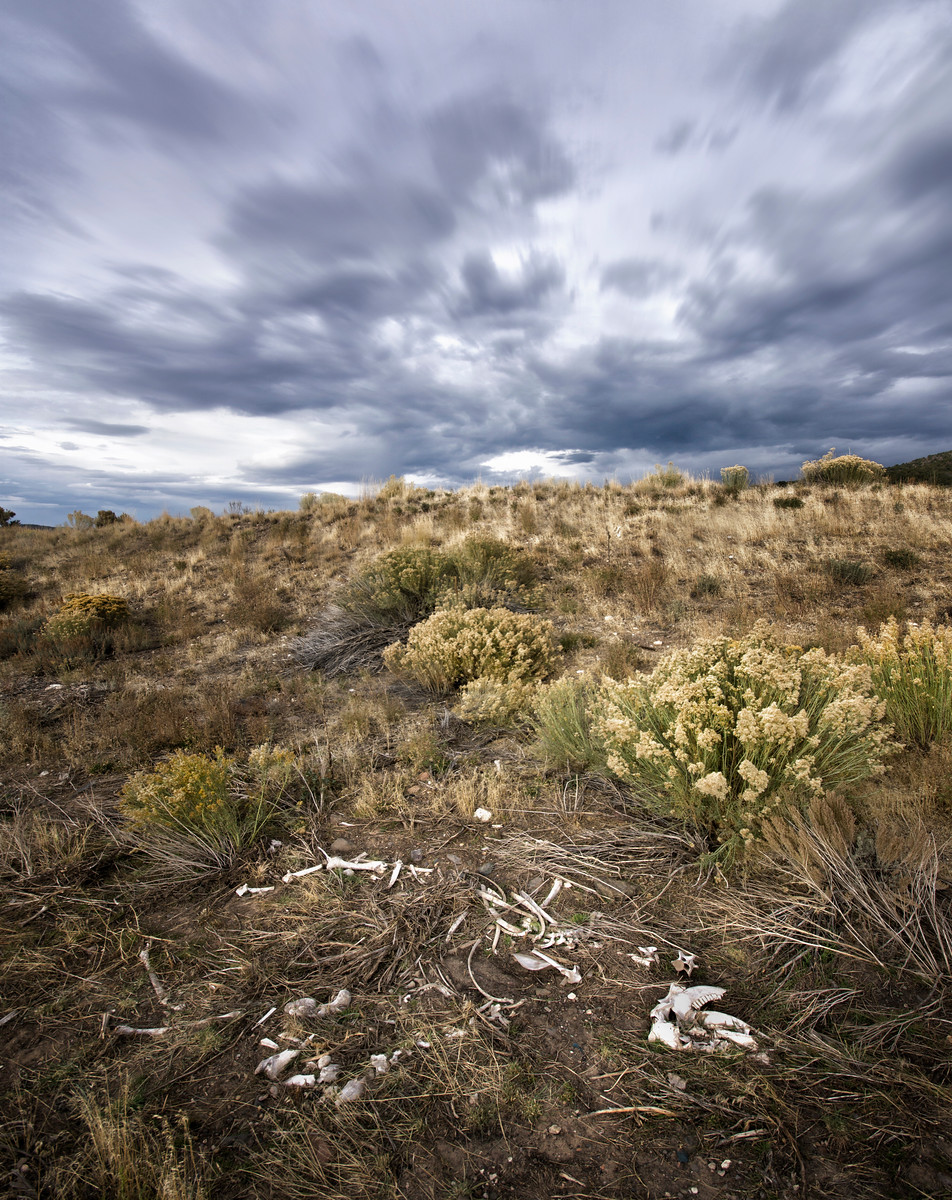
This is the original image:
Part One – Darken the Sky and Add Motion Blur in Photoshop (2:00 min)
The sky was a little bright, so I simply darkened it down using a curve adjustment layer. In the curve, I reduced the brightness of the mid tones and used a brush to place the effect only in the sky.
To create the motion blur, I made sure all my information are on a new layer (called a stamp visible, use the key combination CMD/Ctrl Alt Shift E) and went to Filter – Blur – Radial Blur, and added a blur that I found appropriate. Once done, I added a layer mask and inverted this one (CMD/Ctrl I), followed by brushing the effect into the sky. Done.
Part Two – Resize the Foreground in Photoshop (4:00 min)
To make the skeleton a little more visible in the foreground, I decided to simply make it larger. For that, I used my Lasso Tool (L) and selected the foreground area, and then used the transform tool (CMD/Ctrl T) to change the size as shown in the video. Just make sure the edge of the foreground and the sky is nice and smooth, and it is all done!
This was a totally super fast and simple image processing example, but sometimes that is all you need to take your image this extra step.
Remember, shortcuts make your life easier and can speed up your processing a lot! Here is what I used in this image and most of my landscape and outdoor Photoshop tutorials:
B for the brush
X to change foreground colours
V for the move tool
G for the bucket tool or the gradient tool
CMD J to duplicate a layer or a selection
CMD I to invert a layer mask
CMD Alt Shift E to get a stamp visible
On a Windows PC, just replace the CMD with Ctrl.
If you like my images, make sure to check out my portfolio!


One Reply to “How to Edit Landscape Images in Photoshop – Example: Utah’s Vast Nothingness | Photoshop Tutorial”
Comments are closed.