How to Edit Landscape Images in Photoshop – Example: Utah Vista | Photoshop Tutorial
Welcome back! Today it is time for me to look back to a time when I went to Utah to have a go on all the national parks that are so nicely aligned there, haha. Well, looking back is simple as it just happened 5 months ago, but you know how things slip your mind. Anyhoosle, this image had been taken on the way to the arches national park on a seemingly random stop on the site of the road. I find the vista incredible, just nothing other than rock and bush as far as one can see. This is so different from what I know from Ireland, where you also have wide vistas but mountains are something that is not too common here. So, today it is all about how to simply edit landscape images in Photoshop.
Remember, if you like the video, make sure to subscribe for more weekly Photoshop and Photography action!
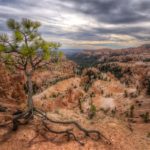
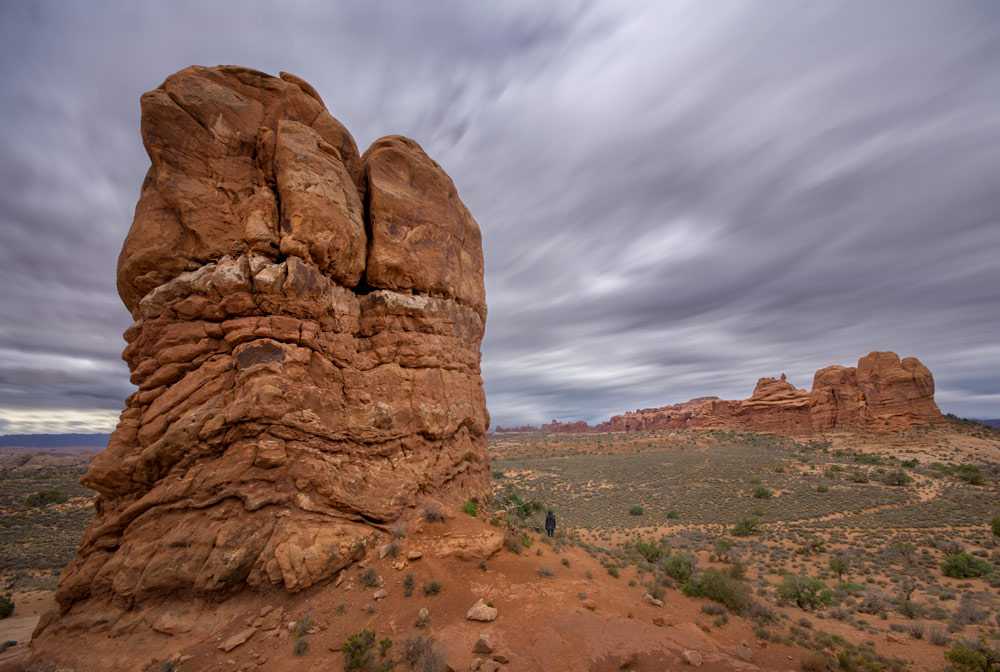
So, here is the final image:
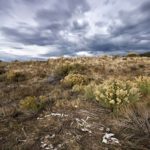
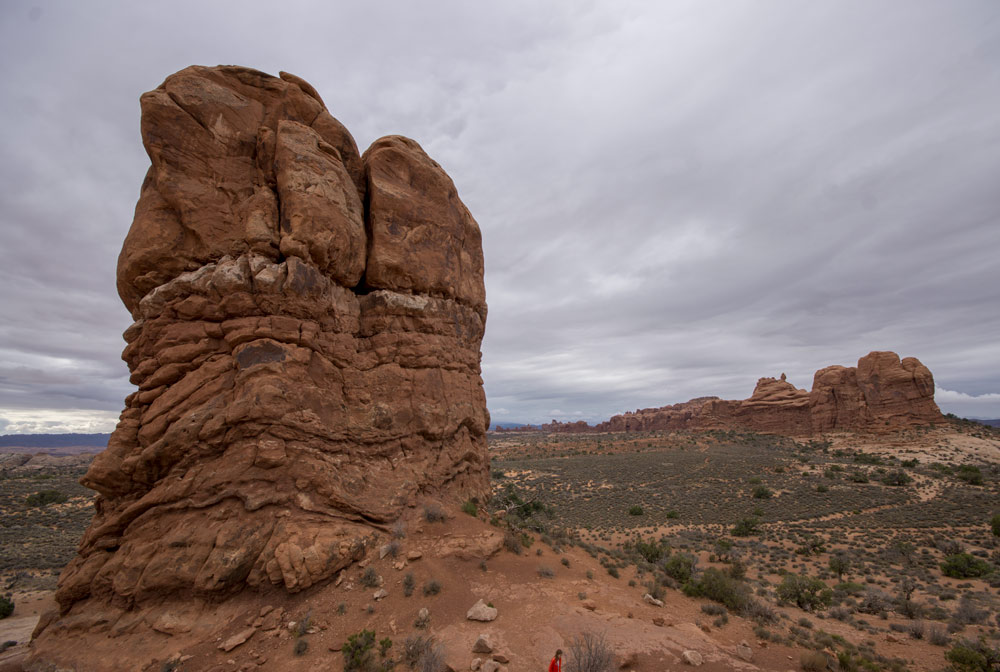
And here is the original:
Part One – Increase the Brightness and the Tonal Contrast in the Mountain Area (2:50 min)
To start with, I wanted the mountain to stand out a little more. Therefore, I started with a simple curve adjustment layer, in which I dragged the curve upwards to increase the brightness. I then used a layer mask and the brush to make sure I only make the brightness increase visible in the mountain areas. Once this was done, there was a choice to make. Either I work on the colors of the mountain manually, or I use a filter from the Nik collection. Well, guess. I created a stamp visible (CMD/Ctrl + Alt + Shift + E) and went to Filter-Nik Collection-Color Effex Pro-Tonal Contrast. Once more, a layer mask served me well when getting the effect only into the mountain.
Part Two – Blur and Darken the Sky (7:00 min)
The sky is the biggest part of the image, proportionally that is. And luckily, there are some great clouds that we can work with here! So, I started out with a selection of the sky, simply made using the quick selection tool (W). Once I had this, I hit CMD+J to copy only the sky onto a new layer. To get the nice blur, I went to Filter-Blur-Radial Blur and chose a nice amount of about 10 px, but this will depend on your image. Just make sure you have the zoom method activated.
The problem with this was that the mountain got some of this blur – but not to worry. I made the sky layer invisible, made a perfect selection of the sky again, and hit the layer mask symbol that then took the selection as the basis of the mask. I then copied the mask to our sky layer by hitting Alt and dragging the mask to the sky layer. Now that the sky is blurred and on its own layer, you can do whatever you want – for example, reducing the brightness in my image really made the sky stand out. And that was literally it! Short and quick, but a good way to learn how to edit landscape images in Photoshop.
Remember, shortcuts make your life easier and can speed up your processing a lot! Here is what I used in this image and most of my landscape Photoshop tutorials:
B for the brush
X to change between background and foreground colors
V for the move tool
CMD+I to invert anything
CMD+J to duplicate a layer or a selection
CMD+Alt+Shift+N to get a new layer
CMD+Alt+Shift+E to get a stamp visible
W for the quick selection tool
On a Windows PC, just replace the CMD with Ctrl.
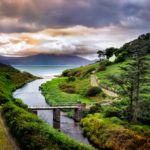
If you like my images, make sure to check out my portfolio!
Don’t forget to get out there and take some pictures yourself – Have you been to Utah? Show me your images! One day I hope I get the chance to go back and see all the corners I have missed the first time. I hope you enjoyed this video on how to edit landscape images in Photoshop.