
How to Create a Sunset in Photoshop – Example: Northern Ireland | Photoshop Tutorial
Welcome back! I am sure many of you have been in the same situation – the right place at the wrong time. What I mean is, that you find yourself in a great spot but it is neither sunset nor sunrise and the weather makes the whole scene dull. This happens to me all the time, sometimes because I am with friends that want to keep going, and sometimes because there are other places I would rather be during sunset/rise. In any case, this is why I decided to make an episode where I show you what you can do with these images that were taken at the perfect place, but at the wrong time. So, how about we create a super colourful sunset in Photoshop from scratch?
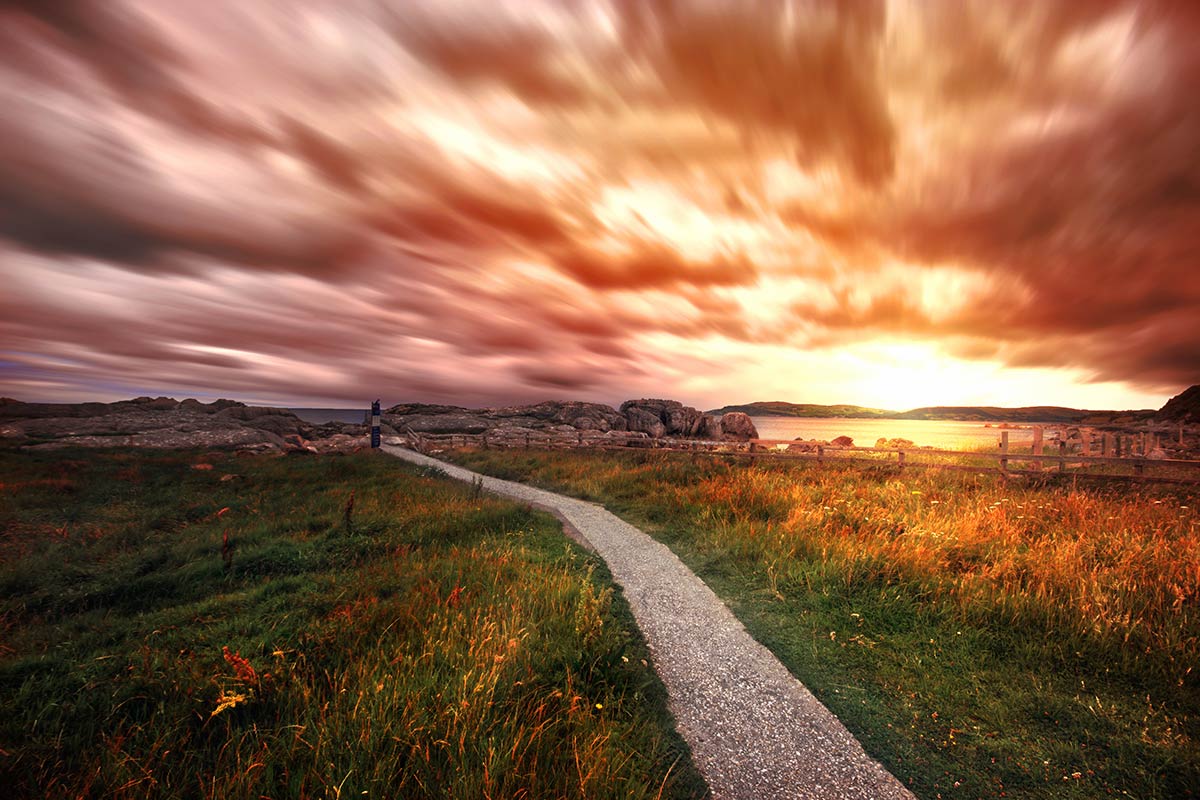
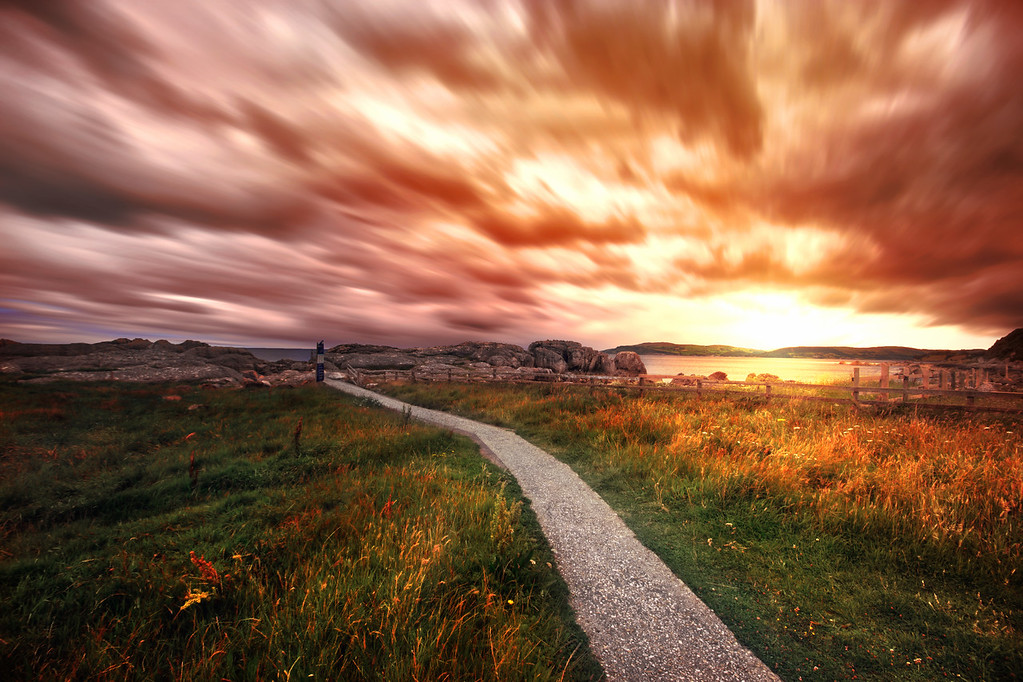
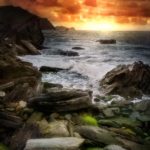
This is the final image:
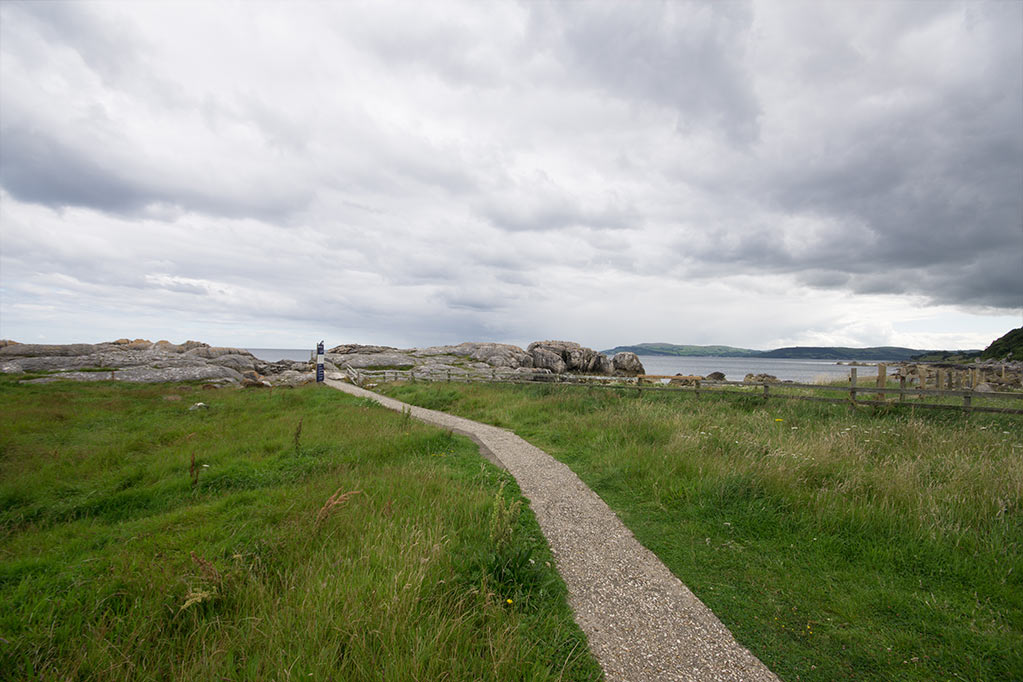
And this is the original:
Step Zero – Get the Image Ready in Aurora HDR (1:00 min)
To get the image we use in Photoshop I took three images – one where you can see the sky well, one where you can see the foreground well, and one that was more or less in between. I needed to combine these to one image where everything is equally exposed and well visible. There are several ways of doing this, like a different software, or Photoshop itself. If you are interested in doing this in Photoshop, have a look at Photographer Jimmy McIntyre.
I like to use a third party software called Aurora HDR, which exists for one purpose only – to create HDR images. So the first step as you can see in the video was to pump the images into Aurora HDR and take it from there. I used a preset that is rather neutral and exported it from there to use in Photoshop. Aurora HDR is currently on sale, check it out.
Step One – Blur the Sky (5:00 min)
I wanted to give the impression that the sky is moving – or the clouds, rather.Usually, you can take a long exposure image that gives the same effect, but when I was there I just did not have the time to set this up properly, so let’s do it in Photoshop.
First, I needed to select the sky properly – I was lucky in this case as the sky and the landscape were really nicely separated and I could just use the quick selection tool and make a selection of the sky. With that, I copied the sky to a new layer (CMD/Ctrl J) and created a layer mask on it. Why? The sky needs to go a little further down as I will blur it upwards, so I have to move it further behind the landscape.This might sound confusing, but have a look at the video and it will be super clear. So, I unlinked the layer mask from the sky and moved the sky down using the move tool (V). I then dragged the top upwards to fill the image again. With the same sky layer still selected, I went to Filter-Blur-Radial Blur and blurred with an amount of around 10. Done!
Step Two – Add the Light Source to the Image (8:55 min)
Adding a sun or a general light source can be super easy in Photoshop, and is obviously essential to create a sunset in Photoshop! First, I created a layer that has all the information on it, called a stamp visible. For this, I hit CMD/Ctrl Alt Shift E, and with the new layer selected I went to Filter-Render-Lighting Effects. There, I added a point light and hit Ok. That is it! I really love this little function, so useful!
Step Three – Add Colour to the Image in Photoshop (11:30 min)
While adding the light gets us half way there, we need to give the whole image a little more of an orange glow. To do this, I created a new layer (CMD/Ctrl Alt Shift N) and filled the layer with orange. I then changed the blending mode to soft light and used a layer mask to paint the effect in areas where I like it. I did the same thing with another colour for the outer regions of the clouds. But hey, do not stop there! I wanted to be reasonably fast in the image, but you can (and maybe even should) add as many colours as you feel like!
Step Four – Darken the Image (20:00 min)
This is simple and fast – and without it, the image would not work. I created a curve adjustment layer and dragged the slider down. I then used a layer mask to get the effect where I needed it. Baehm! We just have created a sunset in Photoshop in no time!
Remember, shortcuts make your life easier and can speed up your processing a lot! Here is what I used in this image and most of my landscape and outdoor Photoshop tutorials:
B for the brush
X to change foreground colours
V for the move tool
G for the bucket tool or the gradient tool
Shift Backspace to fill a layer mask with black or white
CMD J to duplicate a layer or a selection
CMD I to invert
CMD Alt Shift N to get a new layer
CMD Alt Shift E to get a stamp visible
On a Windows PC, just replace the CMD with Ctrl.
If you like my images, make sure to check out my portfolio!

One Reply to “How to Create a Sunset in Photoshop – Example: Northern Ireland | Photoshop Tutorial”
Comments are closed.