It Is That Easy To Create The Perfect Panorama In Luminar Neo
Watch the video tutorial below:
Why Choose Luminar Neo for Panorama Creation?
Luminar Neo offers a user-friendly interface with advanced tools that make it easy to create high-quality panoramas. Unlike Photoshop, which can sometimes struggle with seamless stitching, Luminar Neo ensures that your images blend together perfectly without noticeable overlaps or lighting issues.
Step-by-Step Guide to Creating Panoramas in Luminar Neo
1. Start with the Right Photos
Choose photos that have consistent lighting and overlap slightly. This will help Luminar Neo stitch them together seamlessly.
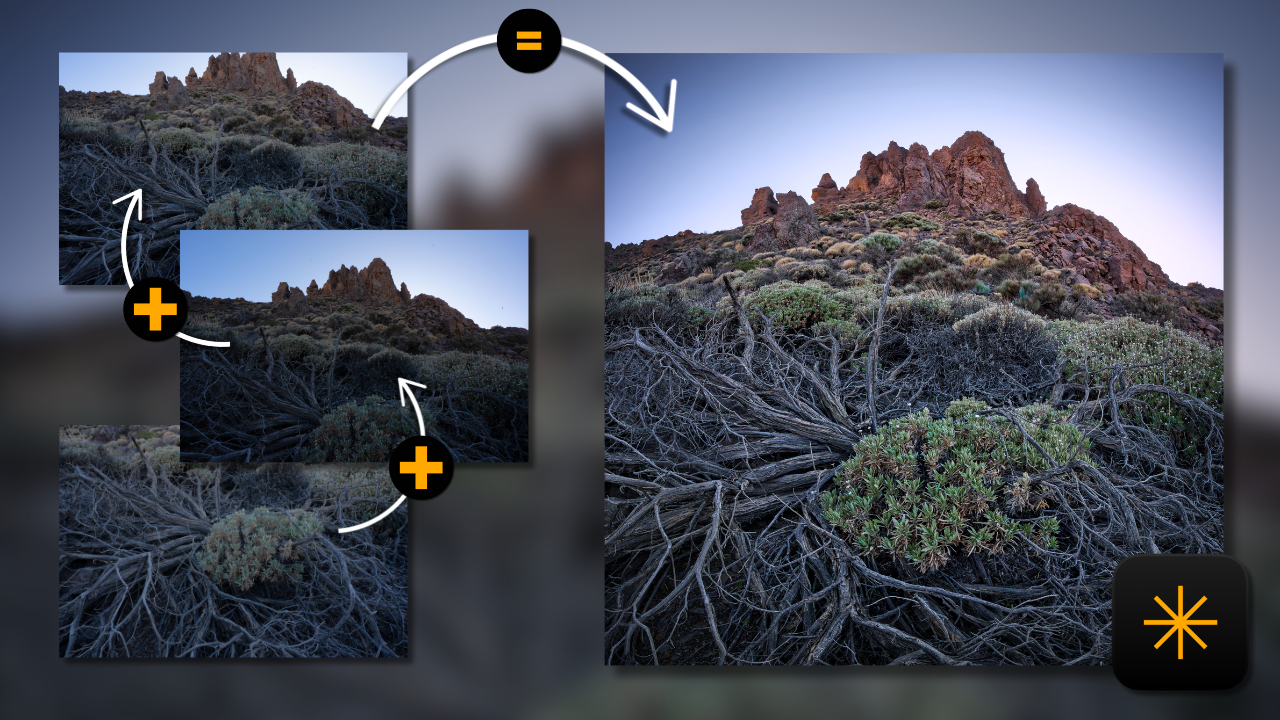
2. Stitching the Photos Together
Simply drag and drop your photos into the panorama stitching box in Luminar Neo. Adjust the perspective and crop to your liking. This process is quick and straightforward, making it ideal for both beginners and professionals.
3. Advanced Editing Techniques
After stitching your panorama, you can enhance it further by adjusting the shadows, highlights, and colors. Luminar Neo’s tools allow for precise edits that make your panoramas pop. Check the video to see it in action!
4. Exporting Your Panorama
Once you’re happy with your edits, export your panorama in high resolution. Luminar Neo makes it easy to save your work in various formats, ready for printing or sharing online.
Try Luminar Neo Today
Interested in trying Luminar Neo for yourself? Use my affiliate link and save 10% at checkout with the code LETSIMAGE: Get Luminar Neo.

