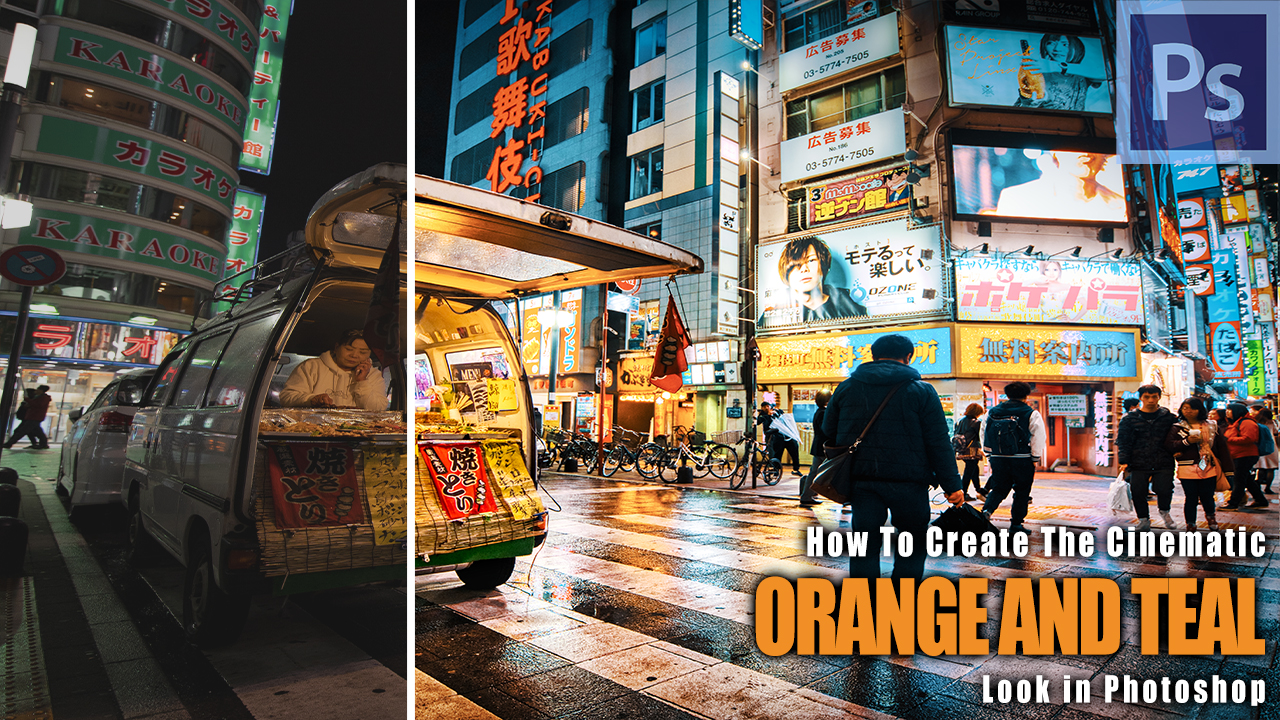
Welcome back! I am sure you are watching movies, right? I would be astonished if you don’t – but did you know that a huge part in making most of them look cinematic is the so called Orange and Teal Effect?
In essence, the dark areas in the shot are kept in a blue-ish tone, while the lighter parts are touched by a bit of orange. You see it in tons of movies and I really love it! Many night images that might otherwise be lost actually look cool with this specific look applied.
So, but how do we apply the cinematic orange and teal effect in Photoshop? Simple, read on friend.
Here is the before/after slider:
[bais_before_after before_image=”https://letsimage.com/wp-content/uploads/2019/08/original-small.jpg” after_image=”https://letsimage.com/wp-content/uploads/2019/08/jaoan-night-food-truck-final-small.jpg”]
It is extremely easy to apply the orange and teal look in Photoshop. Of course, the extend of it depends on your image, but here are the general steps:
- Make a copy of your background layer (Mac: CMD+J or Win: Alt+J)
- Go to Filter -> Camera Raw Filter
- Head to the HSL Adjustment section
- Switch to the Hue tab
- This will depend on the image a little, but generally
- Change the Blues to between -40 & -50
- Set the Greens and Yellows to -100
- Switch to the Saturation tab and increase the Orange to +50
- Hit Ok
This is all you have to do to create the general orange and teal look in Photoshop. You can take it some steps further if you like (I did in the video), but this is not a must.
There ya go! Remember that the exact values depend on your image, but I strongly recommend to give this look a try. I certainly dont regret it in this photo, hehe.


