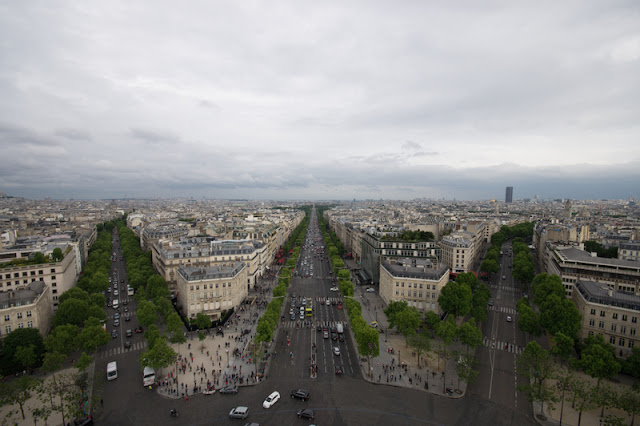
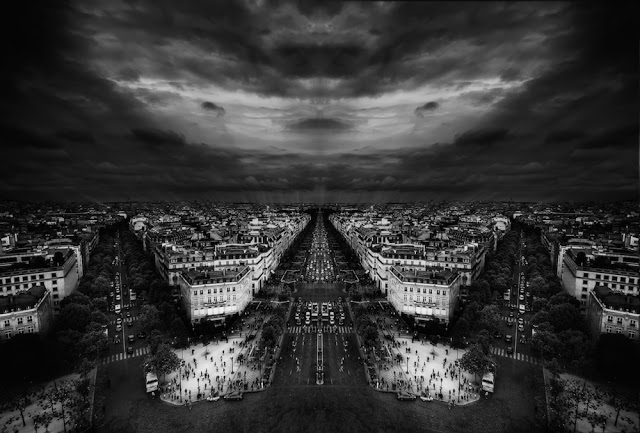
Time to show you how I made the background image I use for most pages, including this blog. So the full original looks like this!
I took the original on top of the Arc de Triomphe (yes, I did pay to get up there for christ sake), see and embrace how boring it is:
Some people don’t like black and white very much and that is fine – when I saw this leading lines and the clouds I straight away wanted to make one out of this! So thats how I did it.
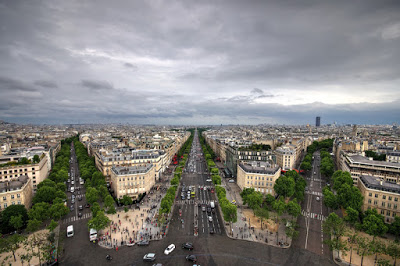
First I created a HDR version of the original. Never heard of HDR? Read this first. I just had one exposure because tripods were not allowed on top of the Arc, so I fed this one to Photomatix (let the software deal with it, hehe). The problem with just one image to create an HDR is, that the software will reduce and increase brightness and exposure in this one image to light up all areas of the image. Doing so, you’ll get a lot of noise in bright areas but we can deal with that later. So, the HDR version looked like this
which is quite similar to the original, just a bit better sky. So, in this case I just loaded the HDR version into Photoshop. Never worked with Photoshop before? Have a look how I explain photoshop layers first then!
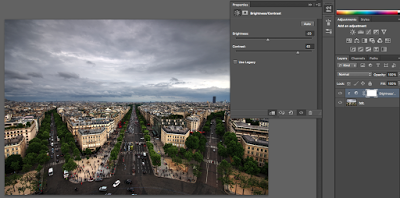
First thing, more contrast.
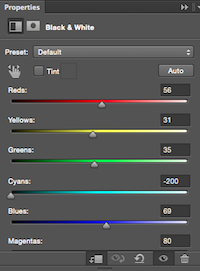
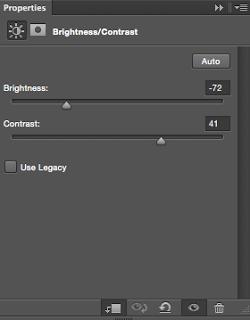
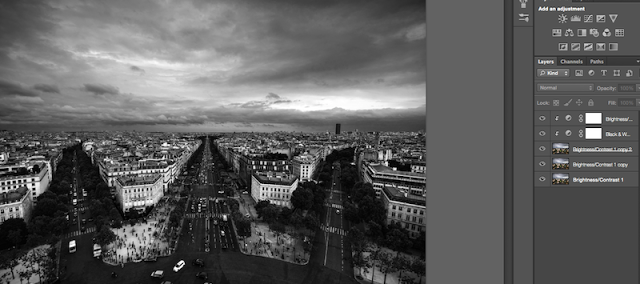
As it was supposed to be a black and white version, so never mind the colours. I merged adjustment layer and tripled the resulting layer. After selecting the top layer, I selected the black and white adjustment in the adjustment panel and removed all cyan. Took some brightness away as well and increased the contrast.
These things were just for the city, I didn’t worry about the sky yet.
After some more contrast increase I was happy with the city for now. I then used the stamp tool and eraser to get rid of the cars and the lines in the round about – it was far too busy there for me.
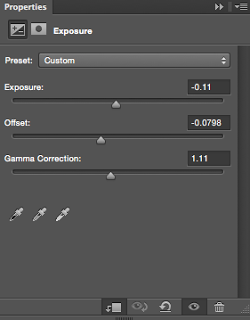
Now it was time to deal with the sky. I merged everything with CMD+E and tripled the resulting layer. I selected the top one and reduced exposure, increased contrast and used the level adjustment as seen below.
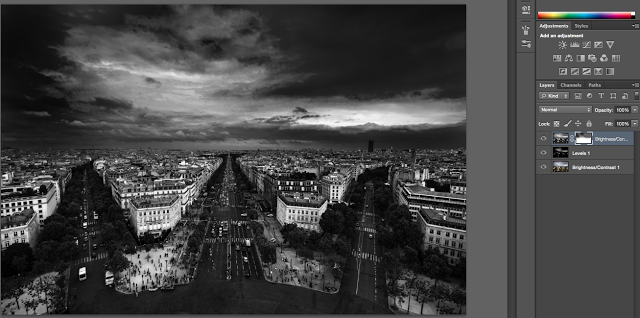
Doing so gave me this super dark hard core whopper dark sky
I lost the city (literally) so I put the layer with the perfect city on top and created a layer mask by clicking onto the little Japanese flag in the layer panel. I then pressed b to get my brush and brushed through with an opacity of 30% to get the dark sky step by step into the layer with the nice city.
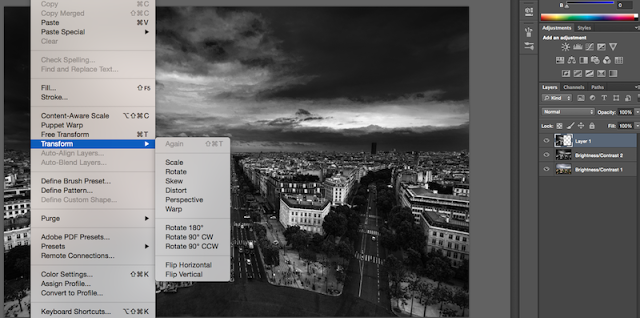
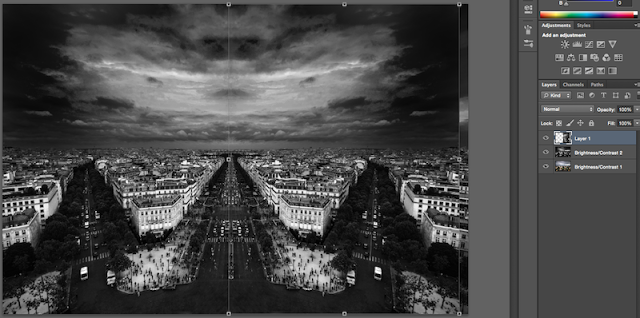
I merged everything and – now comes a cool thing. I used the selection tool to select the left half of the image. If you do that and you press CMD+J, you will get a layer with the selection on top of everything -so – I got half the city basically copied on top. Then I went to Edit->Transform and selected Flip Horizontally. Be sure to have the half-city layer selected when doing so, hehe.
I used the Move tool (press V) to move this flipped half city to the other side and fitted it with the layer beneath as best as I could.
Cool! Getting close.
I merged everything, cropped a little here and there. Then I tippled the layer again and changed the blending mode from the top one from normal to overlay.
Why? See, in the end version, there are rays coming from the buildings going towards the sky – thats a-increadable-mazing.
So, when the top layer is blended via overlay, just select Filter->Blur->Radial Blur and go high with the amount. Select Zoom as the mode.
Bring the bottom layer to the top, create a layer mask and start to brush the rays through. Thats what makes the city really shine, hehe.
Nice. Then I did some basic burning and brightening to finish little bits and peaces here and there (little things, too small to list here).
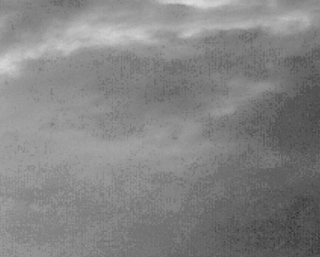
The last part was the noise. Whats noise? Thats noise.
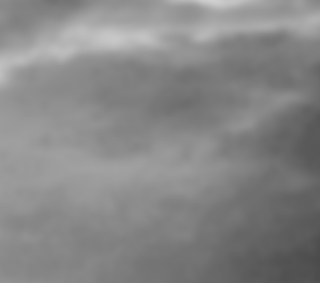
Zooming 200% into the sky shows these little dots – noise! I hate it, so an easy way (for skies and even surfaces!) is another normal Gaussian Blur.
Gone! Greatness awaits. Thats was it!
Like the Final result? Have a look at my Portfolio for other great examples of HDR Photography!
I am on all social networks, have a search for letsimage or subscribe with your email!


