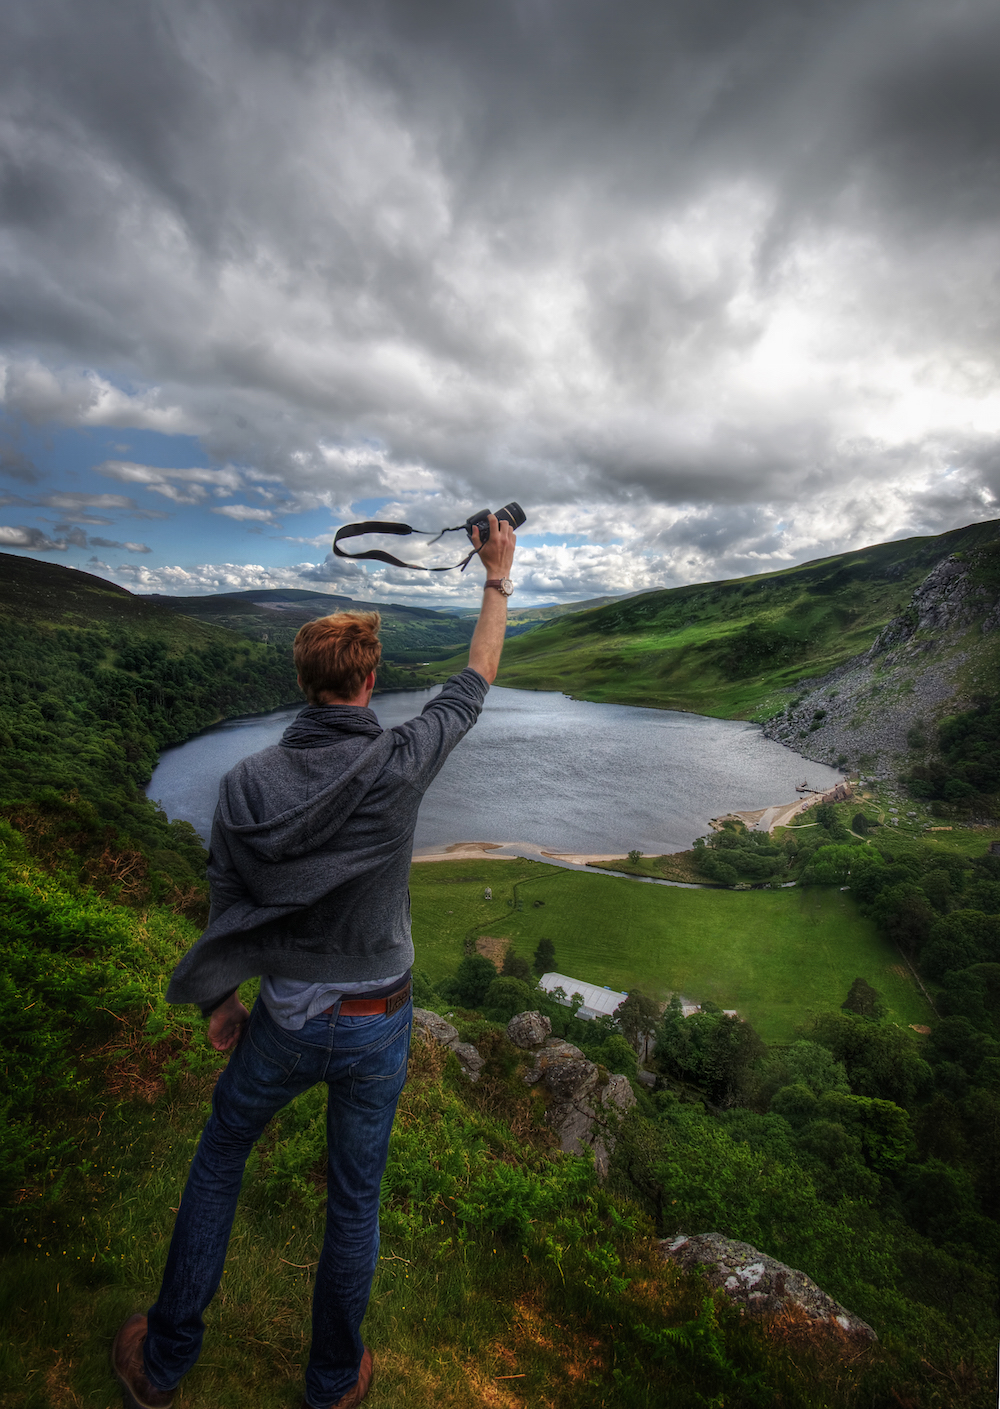
I was watching Bravehearth lately. So. When I reached this lake I thought on it for no particular reason and decided to create this shot. Thats what I ended up with:

And here we have the original.
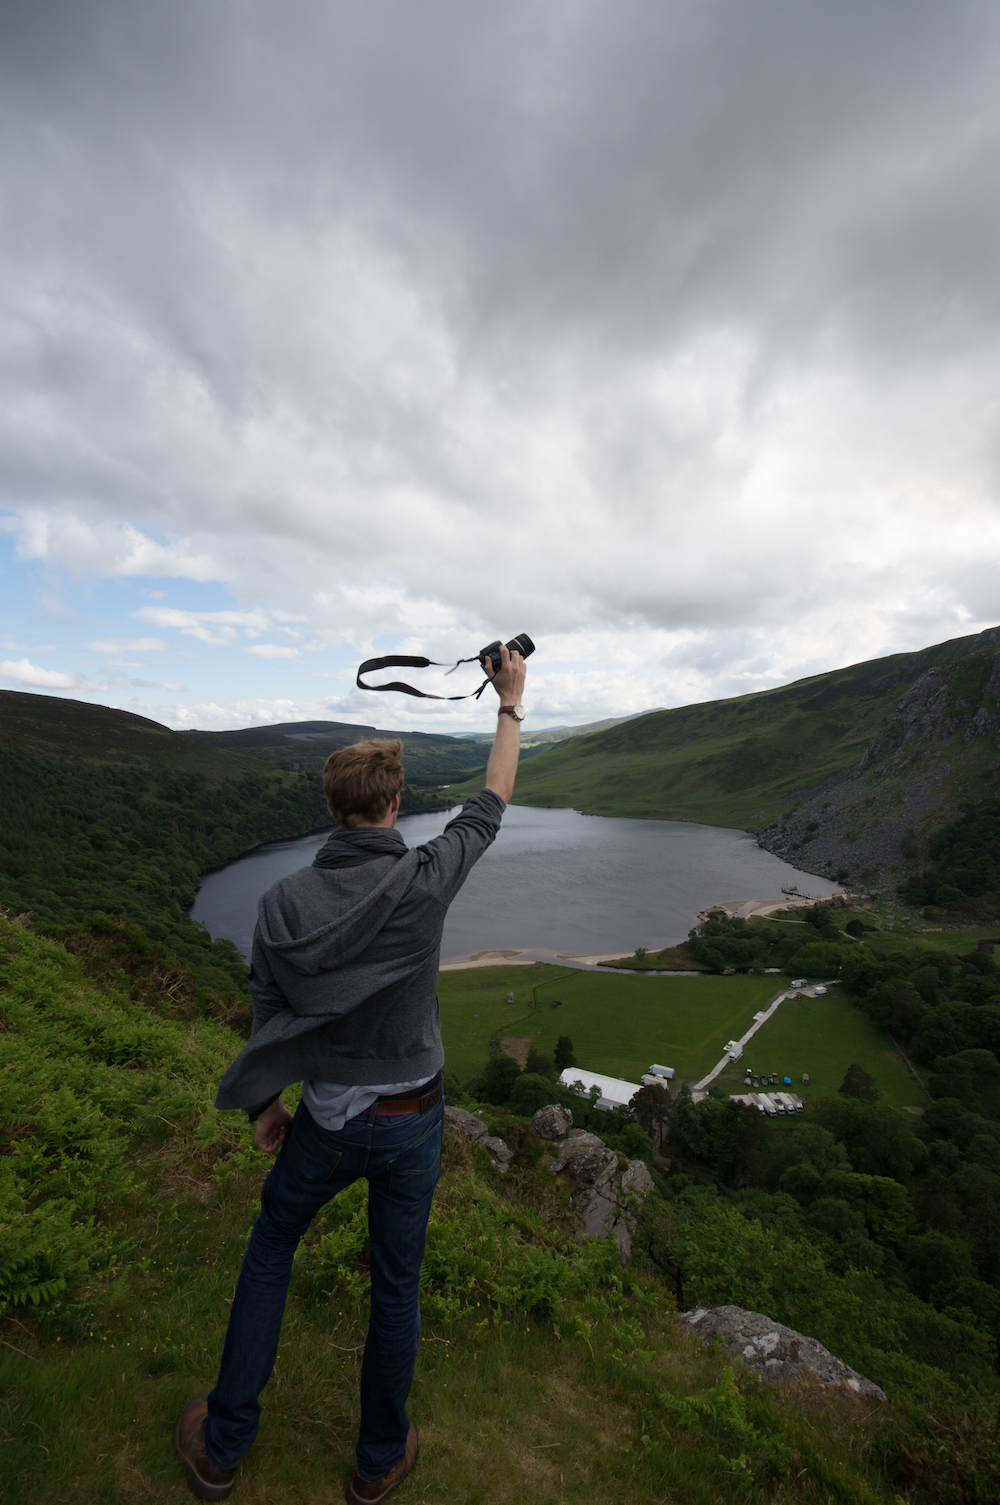
When I saw the clouds in the original I thought HELL YEAH! So, thats how I did it:
First, I loaded my original into Photomatix to create an HDR version. If you haven’t dealt with HDR yet, read this first. Normally you would take 3 exposure shots, but as it was crazy windy up there and I surely would have had some ghosting, I thought what the hell and just used one. What Photomatix does in case of just one image: It will brighten and darken the original image and create a version where all is well lit – that brings a problem with it. When increasing brightness in a dark area, you’ll most certainly will get noise (these colourful dots in clouds or ground areas). But I worried about that later. So, Photomatix gave me the HDR which, together with the original version, was loaded into Photoshop. If you haven’t dealt with Photoshop layers before, read this first.

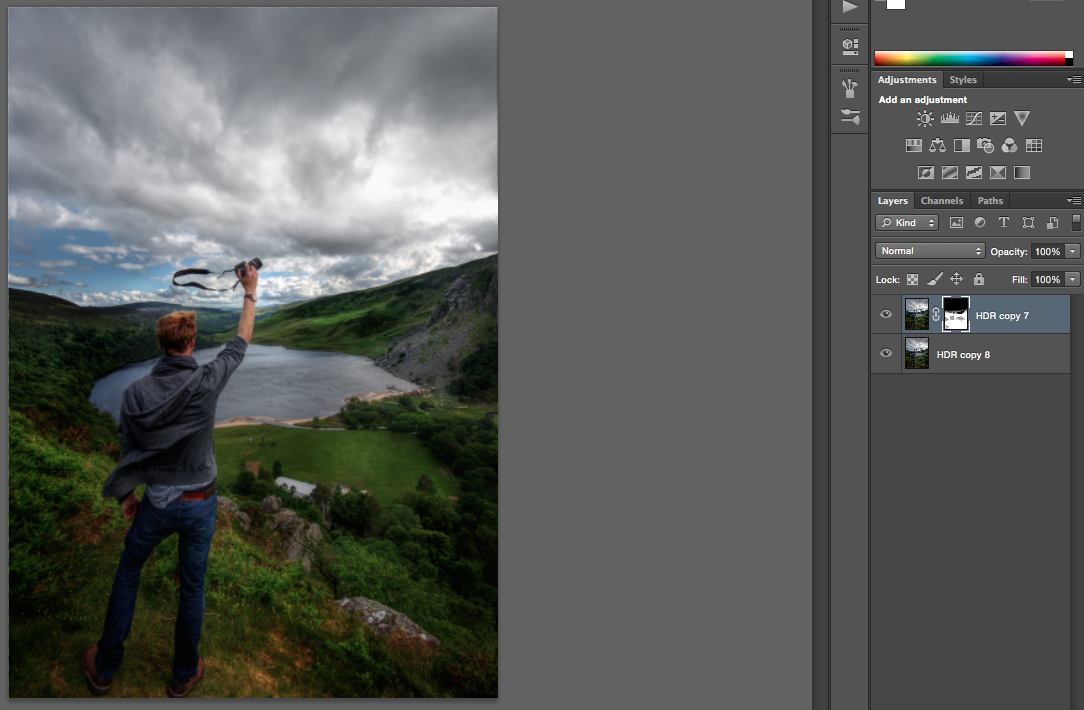
So, with the HDR as top layer and the original beneath it, lets start.
First, the clouds in the HDR version were way to dark but in the original they were just fine. I selected the HDR layer and created a layer mask by clicking on the little Japanese flag at the bottom of the layer panel. Then I pressed B to get my brush and selected the areas I wanted from the layer below. Which was the sky, hehe.

Pressing CMD+SHIFT+J merged everything into one layer. Using CMD+J twice copied the layer again two times.
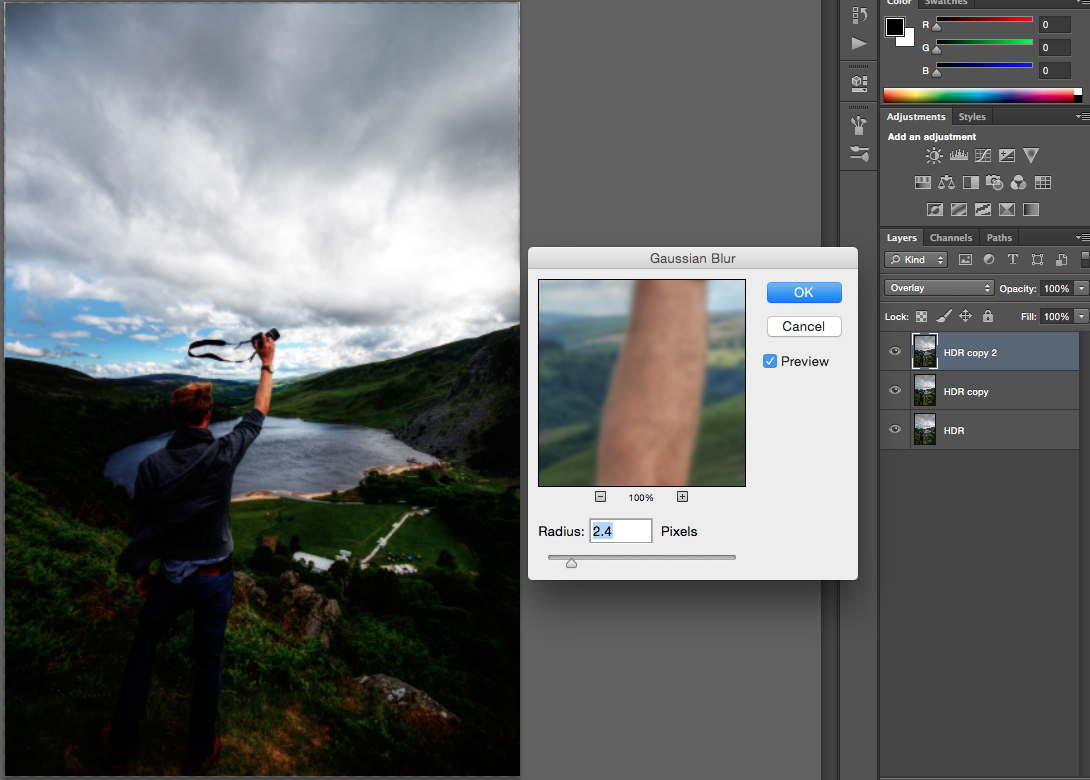
I selected the top layer and chose overlay as the blending mode. Then I went to Filter->Blur->Gaussian Blur.
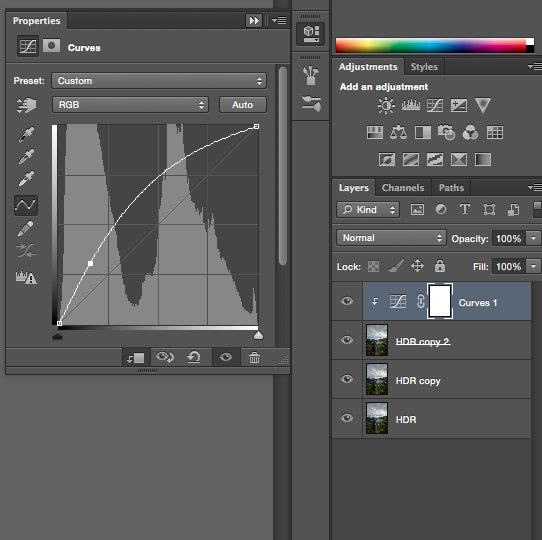
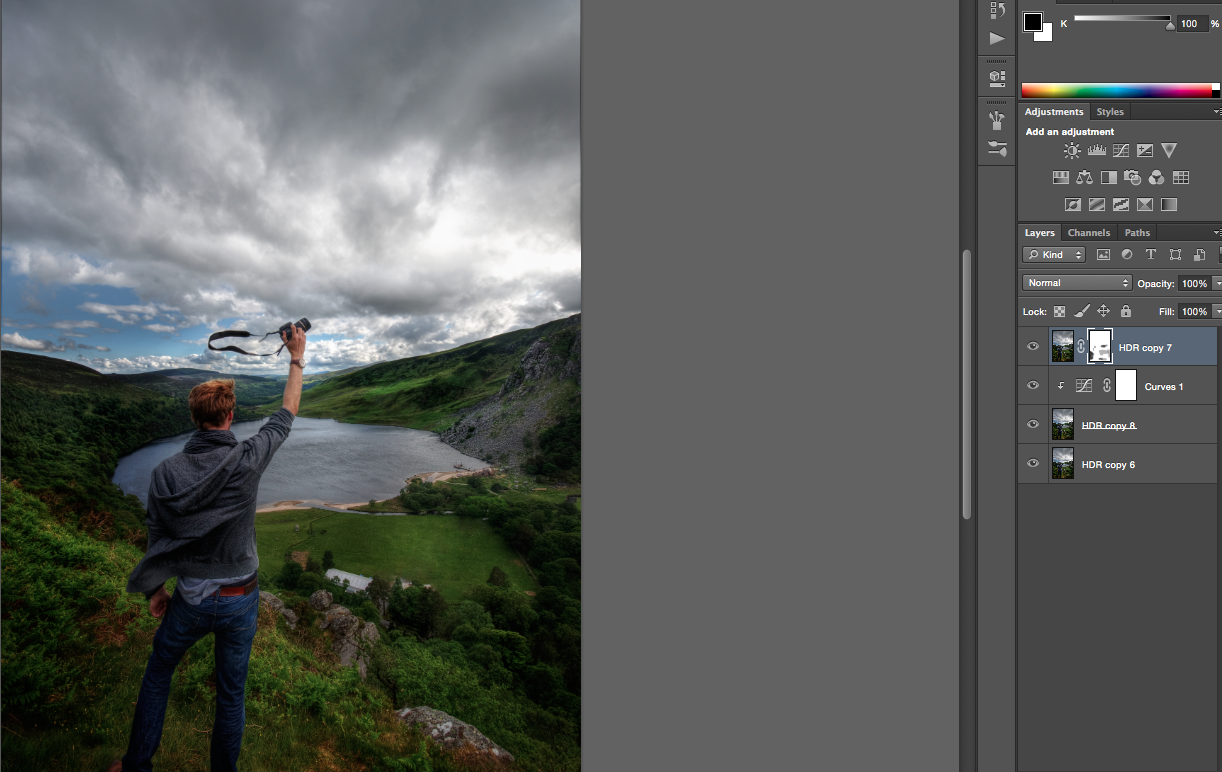
Also, I used the curve adjustment tool to increase the brightness changing the curve to what you see below. By selecting the little arrow at the bottom to the curve adjustment you tie the effect to the layer below. Hit it!
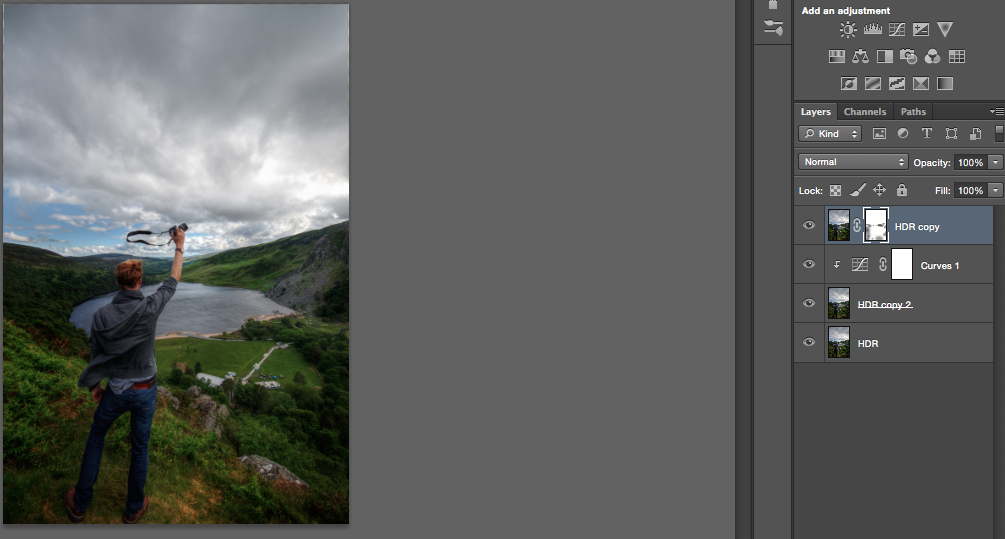
I brought the bottom layer to the top and created a layer mask as before and got what I wanted from the layer beneath.
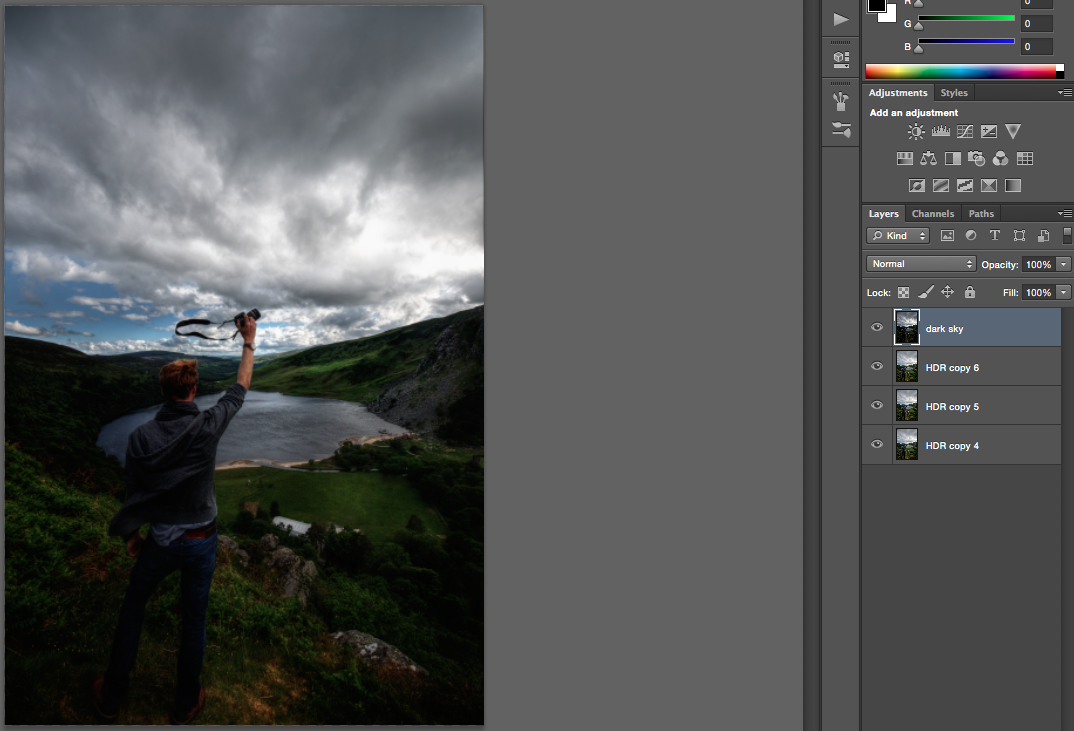
Again, merge all and copy the resulting layer 3x. I darkened the top layer using the curve adjustment again, increased the contrast and decreased the exposure to get the dramatic sky.
I put an unchanged layer to the top and got the normal sky back using a layer mask and the brush as before.

Merging again, copying 3x again. I darkened the top one using the curve tool, put a normal one on top again and brushed some areas I wanted to be dark through.
After combining all and copying the top layer once, I used a plug in called noiseware – the best when it comes to remove noise in an image in my opinion, hehe. One could do it without, but thats just so convenient. By using the tool, the landscape became a little less sharp – I didn’t like that. So I rearranged the layers and used layer mask and brush to get the nice landscape back.
Again I combined all and used some custom vignetting. To do that, I darkened one layer, put the unchanged one on top and used once more a layer mask to get areas I liked dark.

Thats it! Awesome HDR AND a profile picture at the same time.
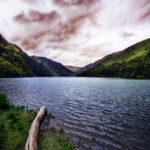
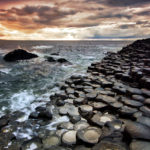
Make sure to check my complete portfolio for more awesome HDR images!
Also, connect with me on Facebook and subscribe to my newsletter to get the best stuff to your virtual doorstep.