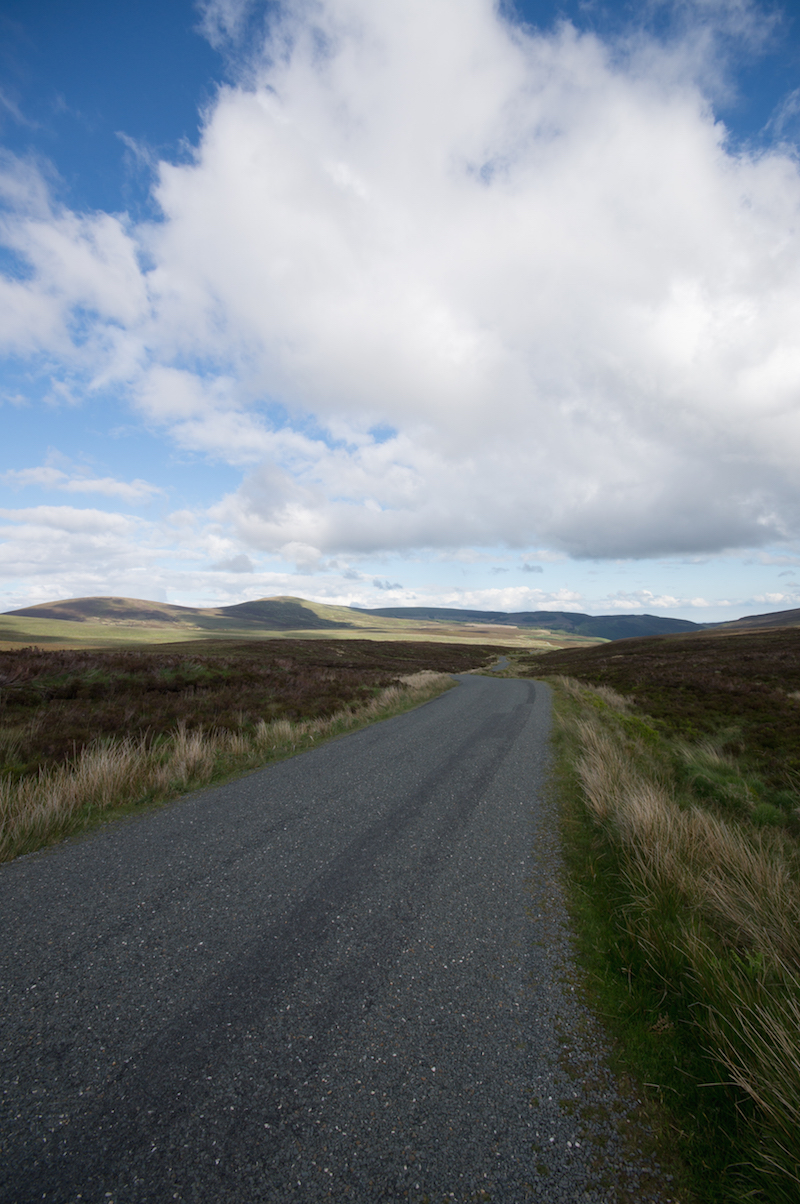
I am a big fan of simplicity. Some say its not very exiting – but I do love it so whatever, hehe. Sometimes a simple thing like a road with a cool cloud on top and some amazing Irish landscape can make an awesome picture. Here is the final version:

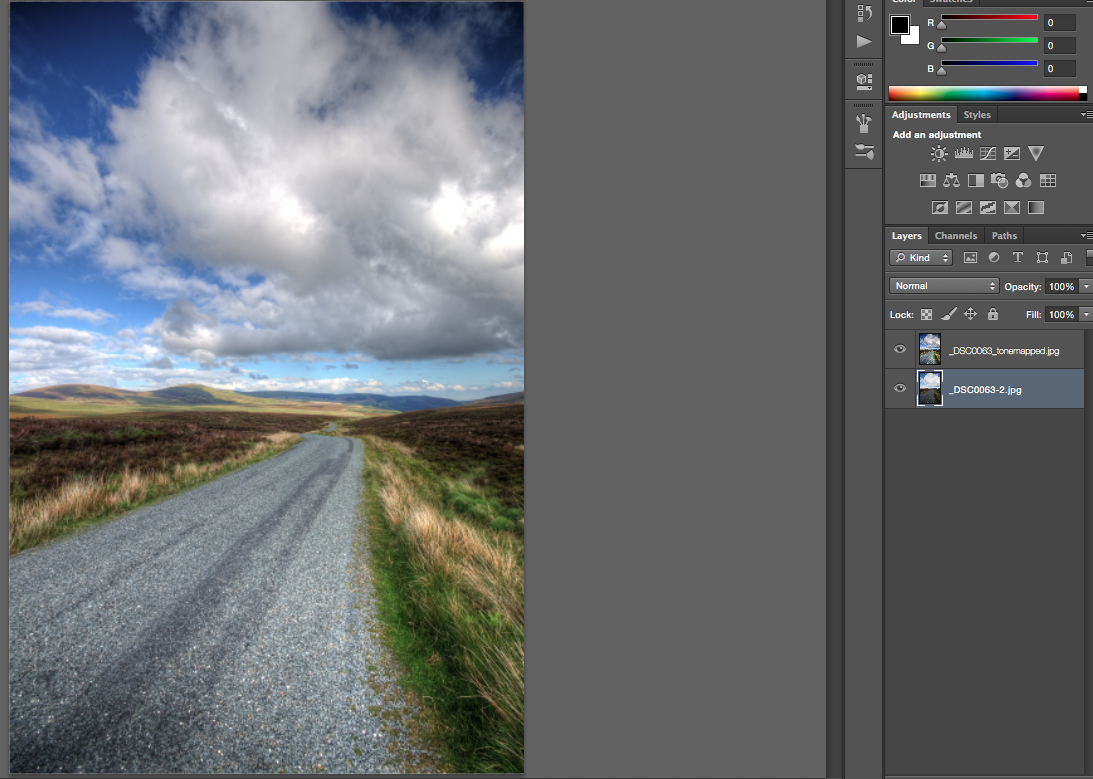
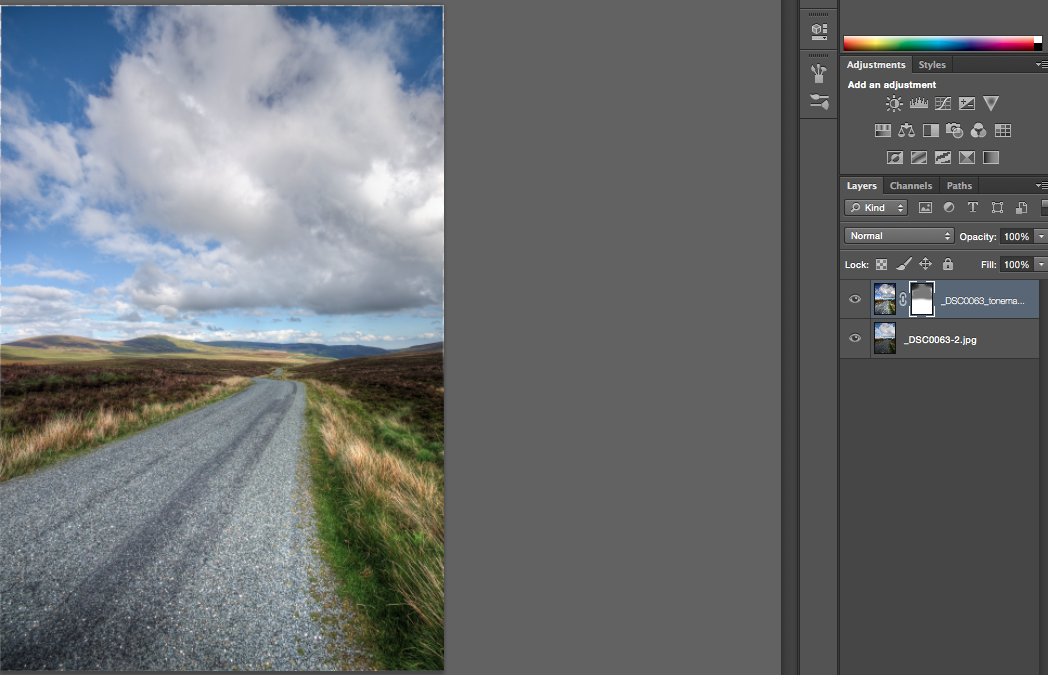
And that was the original
As I was stopping on the road, I did not have the time to take 3 shots. I used just one which, when used in photomatix, can be changed to look like a proper HDR done with 3 images. So thats how I did it.
First I created a “HDR” version with Photomatix by dragging and dropping the original into the software. I loaded this version and the original into Photoshop as layers.
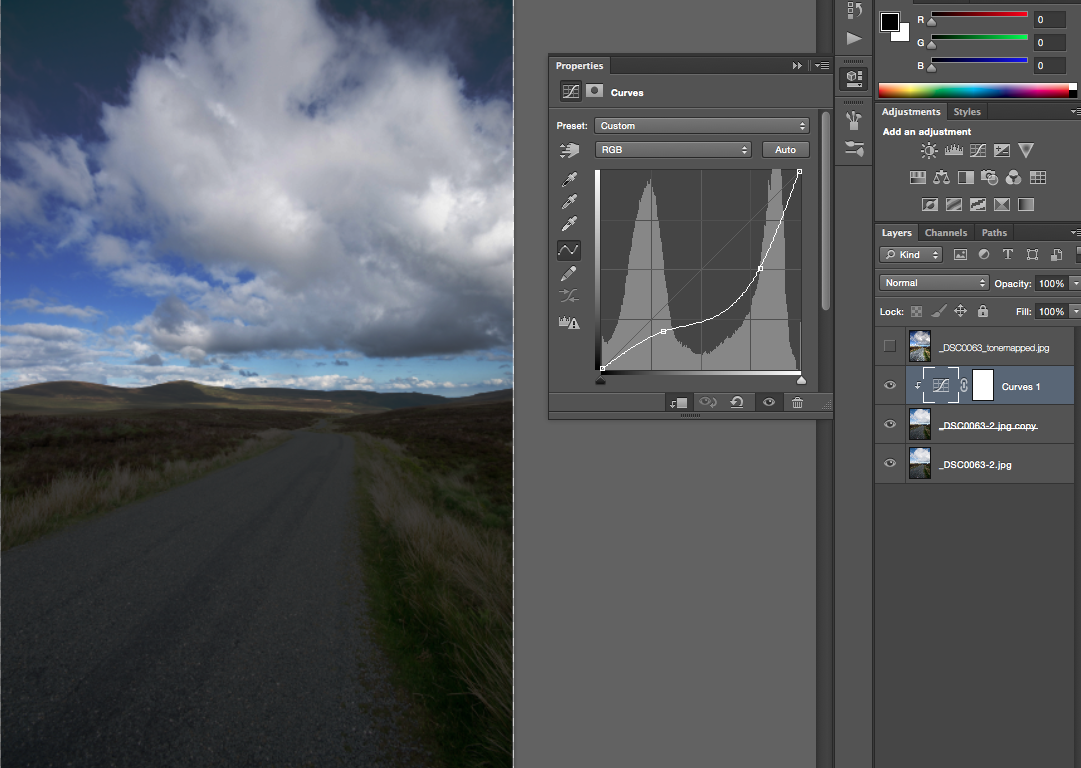
I liked the Photomatix version more which is why I put it on the top. I wanted the clouds to be a little darker so I copied the lower layer, hid the top one and changed the brightness for the lower one using the curve tool from the adjustment panel. I then changed the curve to the shape you can see below.
I then put the lowest layer on the second position, created a layer mask (little Japanese flag at the bottom of the layer panel), pressed b to get the brush and brushed the clouds through.
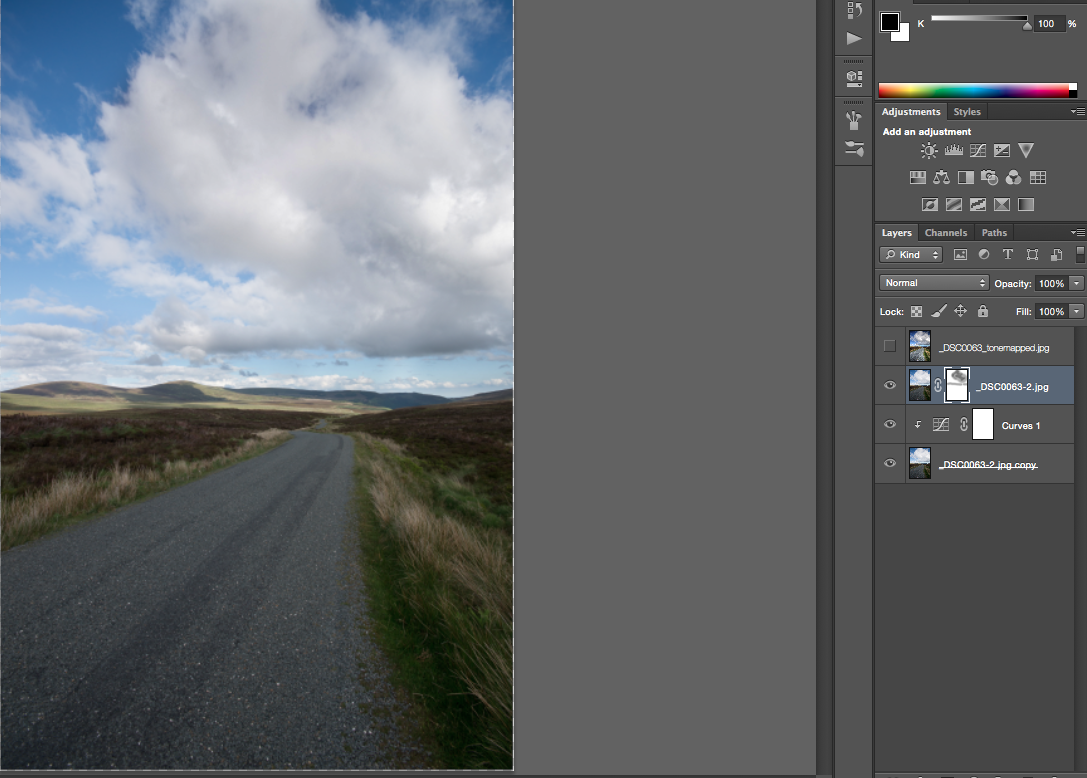
I liked these clouds. I combined the last two layers into one by right clicking on them and selecting Merge Layers. In the HDR version the clouds were a little too crazy initially so I made the top layer visible again and created a layer mask as before. Then I just the brush again to combine the nice clouds from the original with the nice road from the HDR.
Now, I wanted the road darker. I combined all layers using CMD+SHIFT+E and copied the resulting layer 3x by pressing CMD+J. I used the curve tool again for the top layer.

I rearranged the layers again and used layer mask and brush to darken the road a little bit.

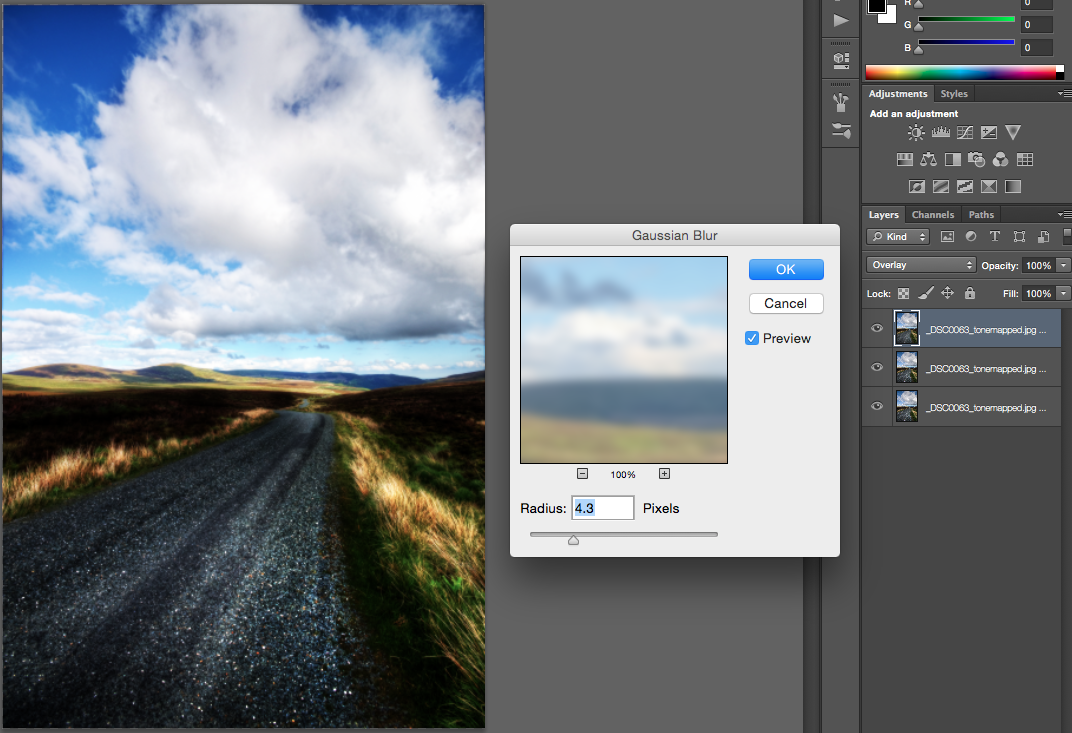
Cool! I combined everything once more, copied the result 3x. I then chose the top layer and selected overlay as a blending mode. Once done, I went to Filter->Blur->Gaussian Blur.
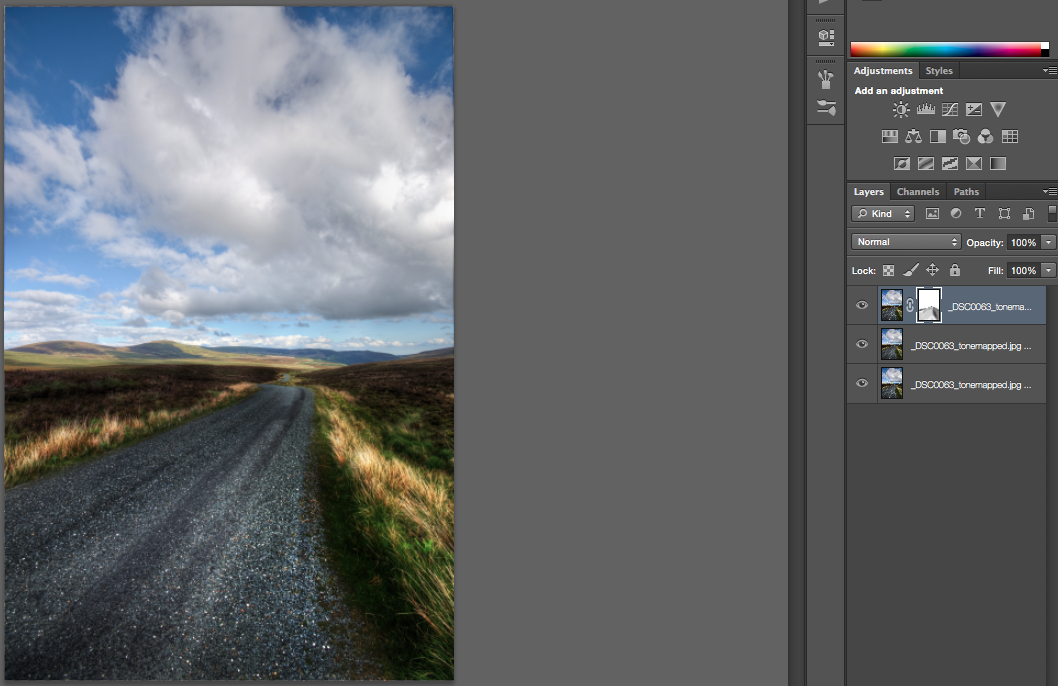
I wanted the grass to glow and shine a little bit, so using a layer mask after rearranging the layers worked very well.
After doing that, the whole ground was still a little bit bright for me. So again, Combine all, copy 3x, choose top and use the curve tool like this:

There we go, what a nice street! So layer mask and brush, do your Job!

The back was a little crap because the contrast was too low. I wanted the light patches to be really clear and obvious. So, copy layer 3x, select top one and use the normal simple contrast adjustment.
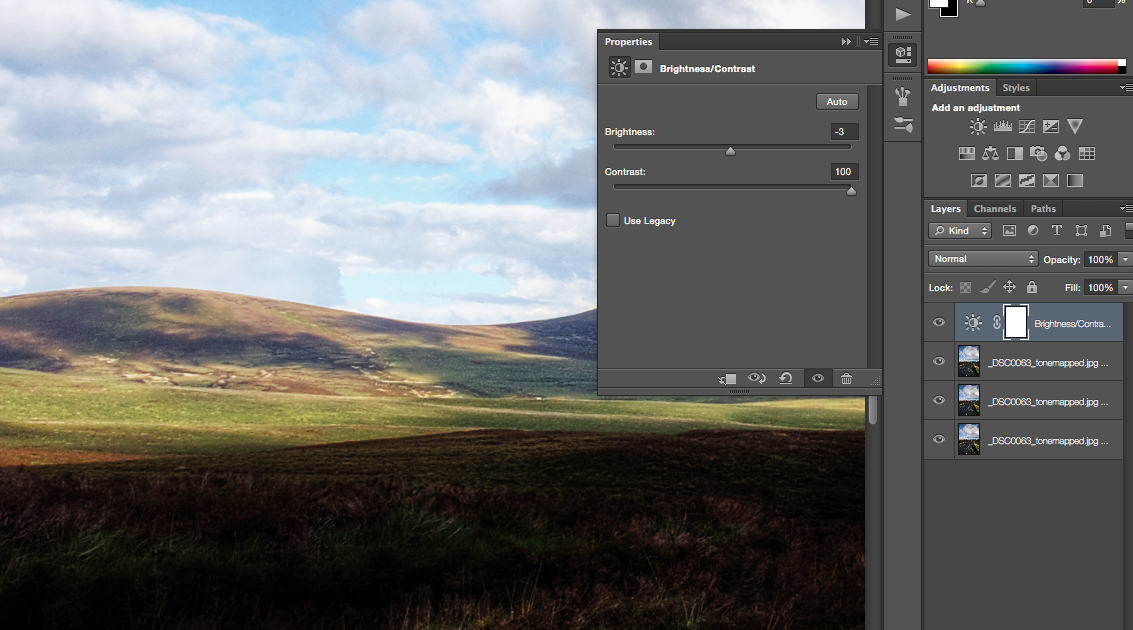
Thats better! Nice and patchy. Now the contrast was enhanced everywhere which I didn’t like. So, brush the rest away with layer masks and brush.
Thats it! What a breeze! There was no crazy morphing or colour shifting to be done, simple can be nice.
Like my images? Make sure to check out my complete portfolio to see great HDR images! AND follow me on all social networks @letsimage, hehe