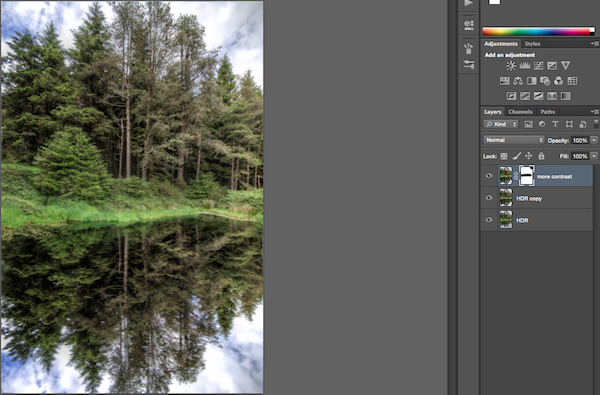
And here is the original (0 Exposure image):
By the way, if you haven’t dealt with HDR images before, read this first.

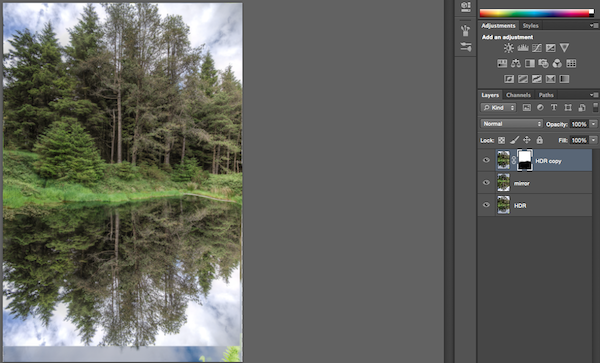
This time I used layer mirroring to get exactly the reflection I wanted. So thats how I did it.
First I loaded my HDR (created in Photomatix), the original and a long exposure image I took additionally into Photoshop as layers. The long exposure was meant to give me a better reflection.
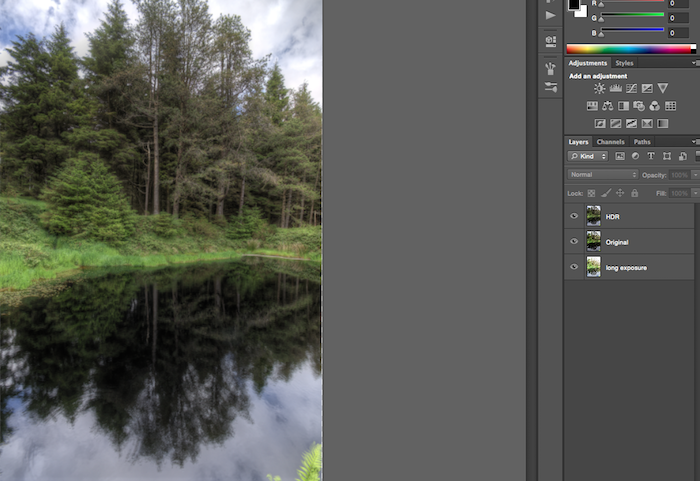
I started with the HDR on top and created a layer mask to combine the HDR and the original. I was just interested in the top part of the image for this time because I created my own lake later anyway. If you haven’t dealt with Photoshop layers before, read this first!
After combining HDR and original, I did the same thing with the long exposure image. I knew I didn’t want to use the lake like this anyway, but just in case I did it anyway.

Now heres the fun part. I merged all layers (CMD+SHIFT+E) and copied the resulting layer 3x (CMD+J). I made the top layer invisible and selected the second one. Then I went to Edit->Transform->Flip vertically.

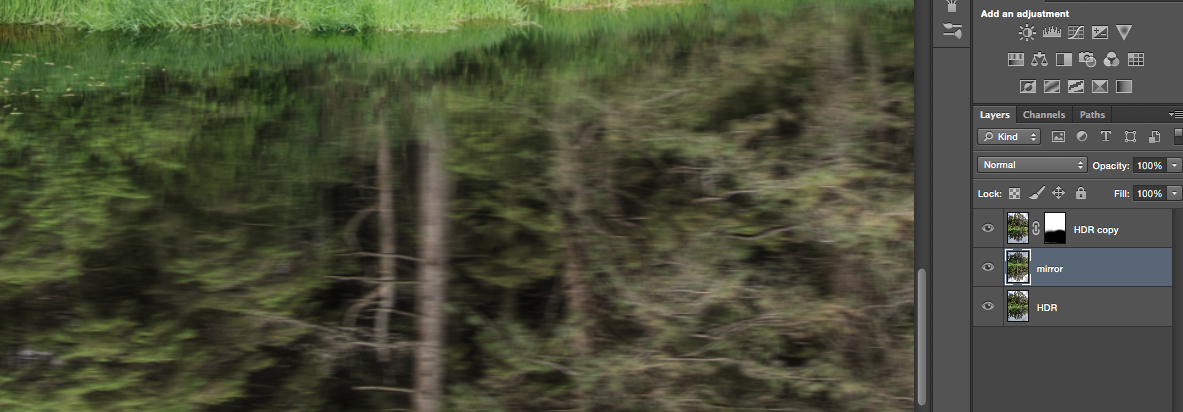
I made the top layer visible again. I didn’t like the edge of the lake too much so I wanted to change that next. I went to Edit->Pupped Warp. I dropped finds everywhere and adapted the lake edge slightly.

Enter. Cool. Then I selected the top layer and created a layer mask and brushed out the lower right corner. Remember, under the top layer is the one we just flipped, so by removing the corner I could compare which I like more, original reflection or the custom-made one.

I used the normal move tool to put the second layer in place.

After the layer was in position, I removed the rest of the lake in the top layer.
Of course it looked now like a perfect mirror. But I wanted the lower part to be blurred so that it resembles water. With the second layer selected, I went to Blur->Motion Blur and blurred the lake part.
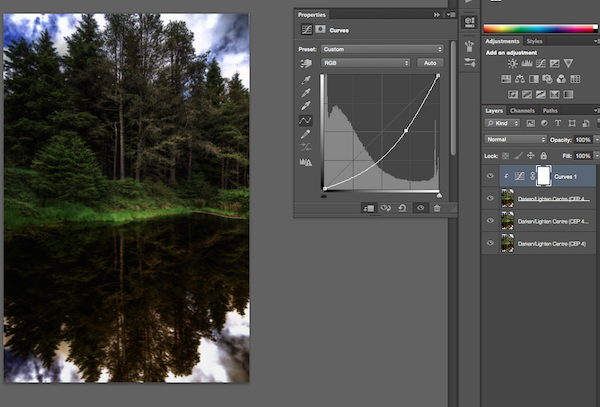
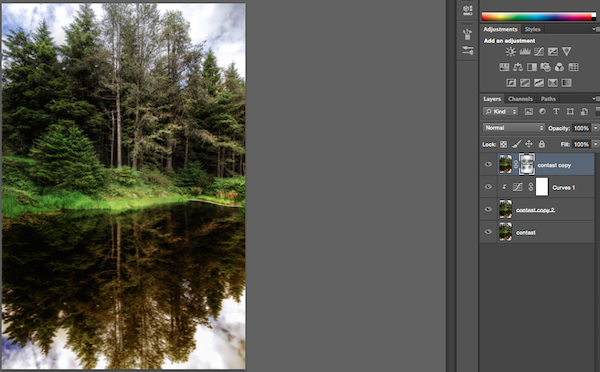
A lake should always be a little bit darker, I selected the second layer and create a curve adjustment layer.
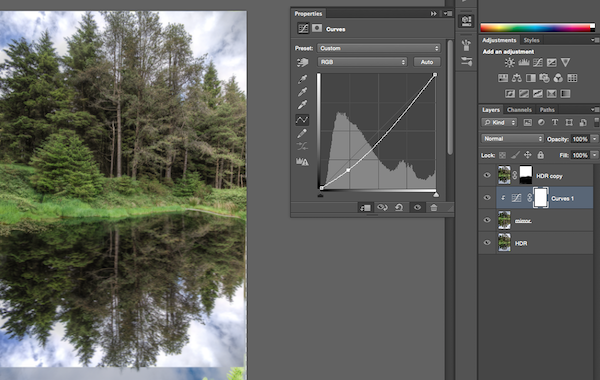
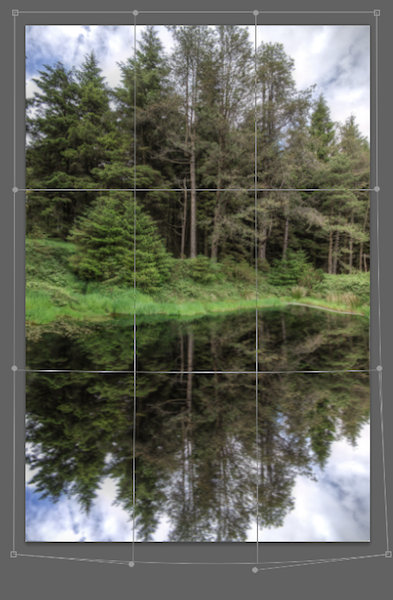
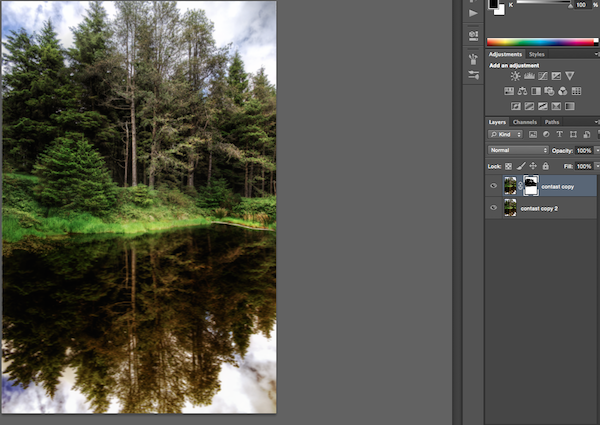
I then used the free transform thing again to crop a little bit around.
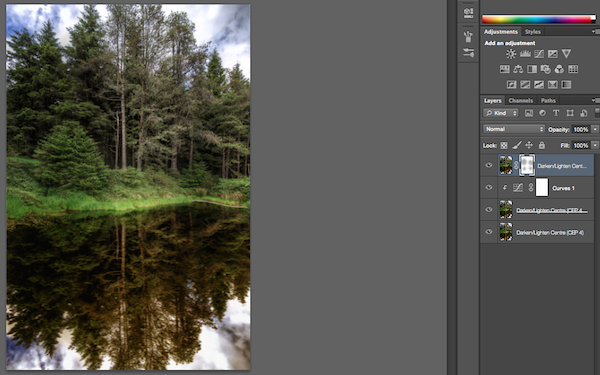
Cool! Then I darkened the second layer, selected the first one and brushed the edge of the lake through a little bit. Was just too bright, hehe.
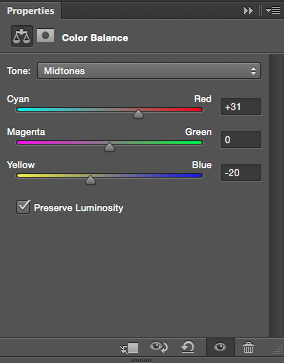

I darkened the sites of the images a little bit using curves and layers.
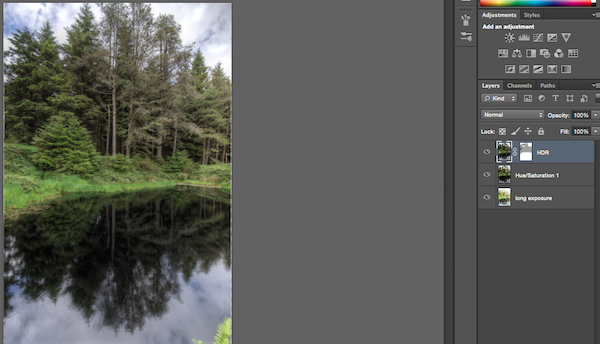
After merging all and copying it 3x, I changed the blending mode of the first one to Overlay.
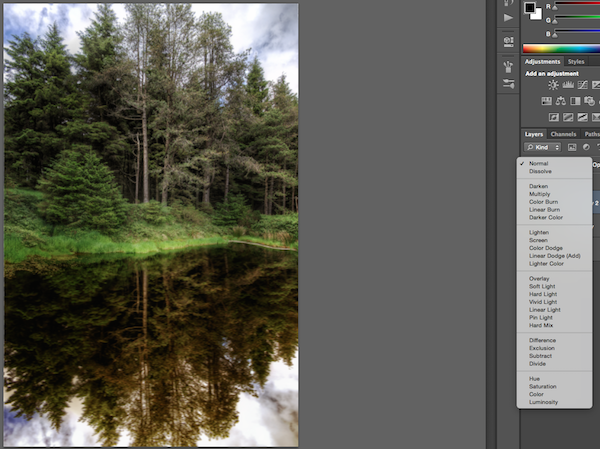
Putting the least layer to the top, I then used the brush to combine the overlay version and the normal version to my liking.
I needed some more darkening, so the same thing again. Cool thing.
I decreased the saturation in the grass, thats it.
Like my images? Make sure to check out my complete portfolio for more HDR images!