
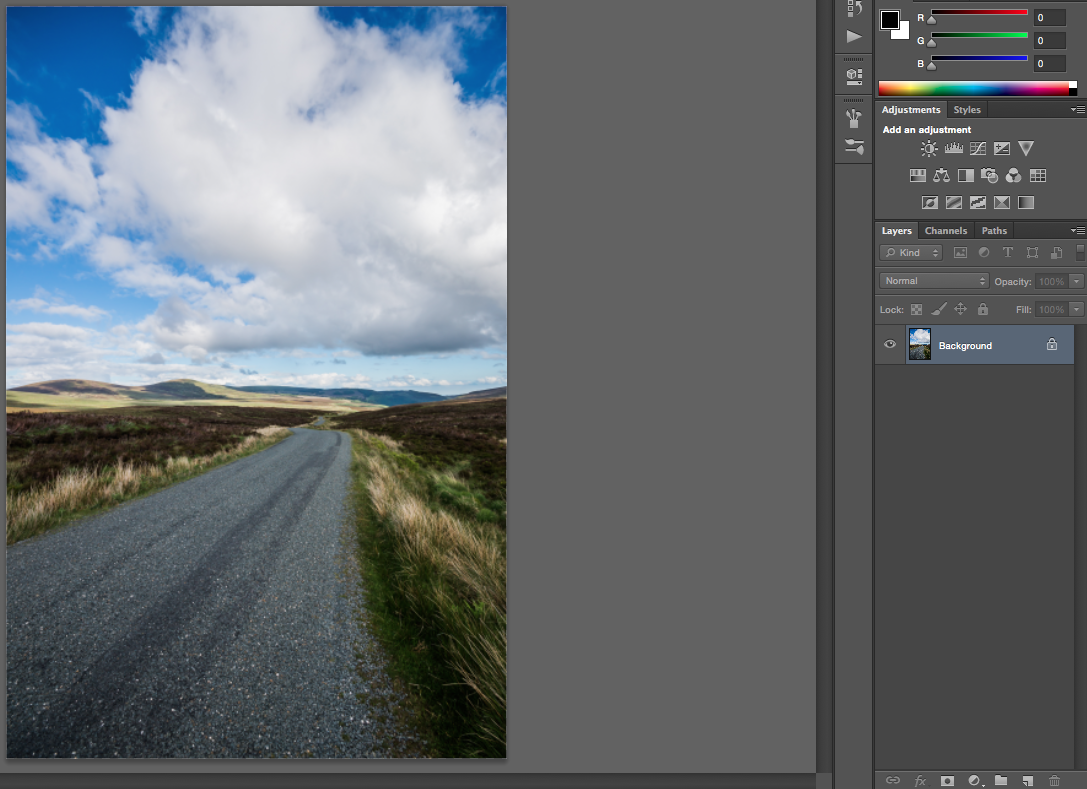
Sometimes an image can seem a little boring – I often think that a little glow can help a lot! Se here are my 4 super easy steps to get such a glow in Photoshop.
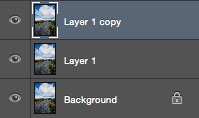
1. Duplicate the layer
First, get you image into Photoshop and duplicate the layer twice.
You can use CMD/STRG+J to duplicate layers! Safes time, hehe.
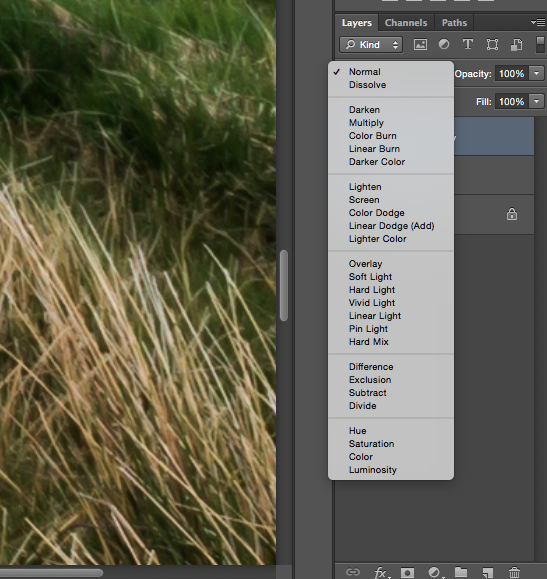
2. Select Overlay
Select the top layer and change the blending mode to Overlay. Doing so will increase the contrast as well, you can manually turn that back later if you want.
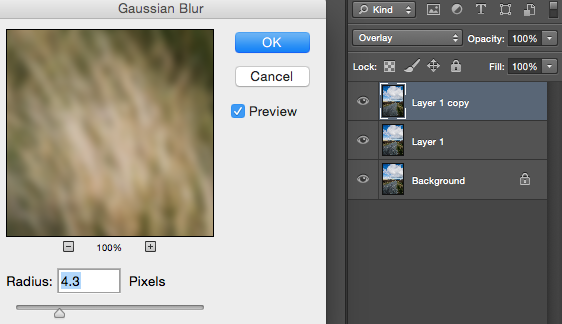
3. Blur the layer
Nearly there! Now go to Filter-Blur-Gaussian Blur and select a value you like. The more you blur, the more glow you will have in the end.
At this point you can do whatever you like, either darken or lighten stuff, change colours… OR:
4. Merge all layers
Press CMD/STRG+SHIFT+E to combine all, that it!
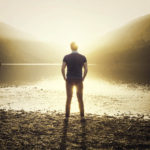
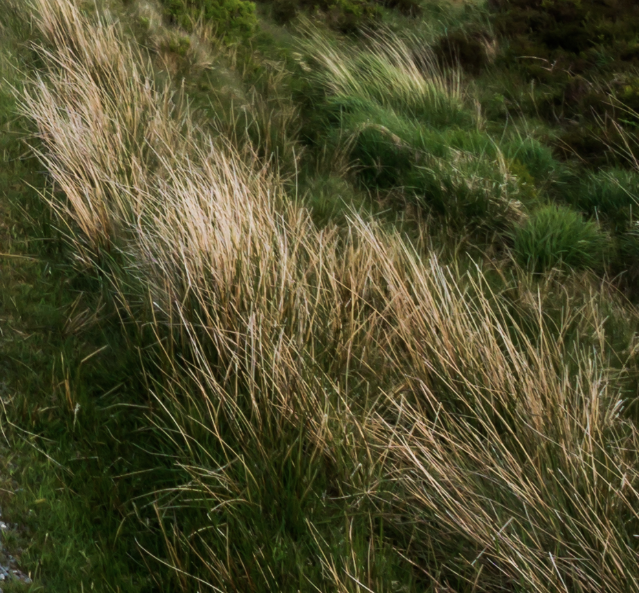 |
| Before |
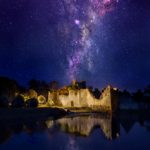
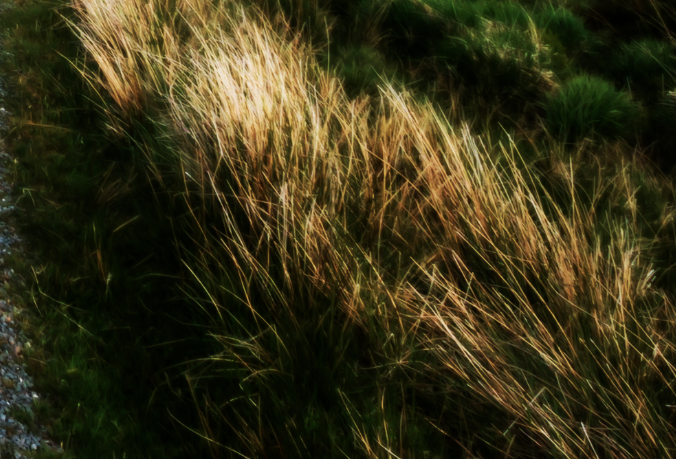 |
| After |
Enjoy! Need to know something? Ask in the comments, hehe.

Good day. Very nice website!! Man .. Excellent .. Amazing .. I will bookmark your site and take the feeds ad0iaiontlly̷d;I am satisfied to find so much helpful info right here within the post. Thanks for sharing.