How To Do Simple Edits in Photoshop – Example: Manhattan Bridge At Night
Welcome to an example on how to do simple edits in Photoshop! Today, it is time to do some Photoshop CC magic – but using super simple tools. We will mostly use Photoshops Camera Raw Filter to change colors, remove noise, and other awesome stuff in no time at all. Ready? Let’s do this!
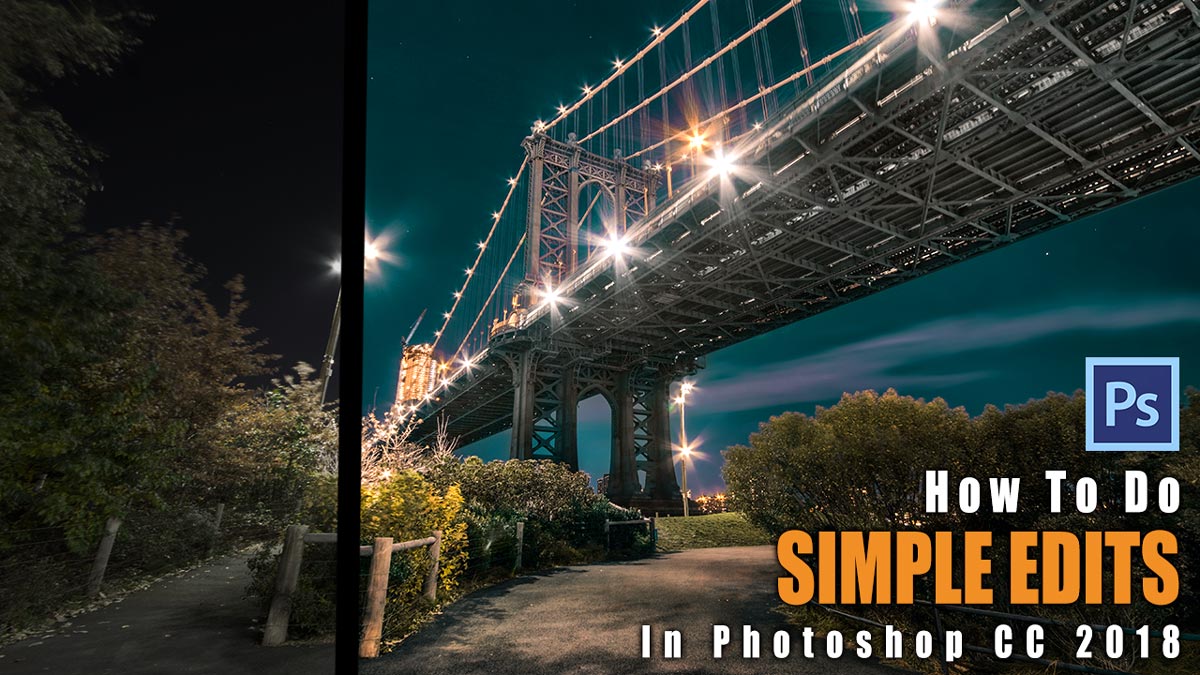
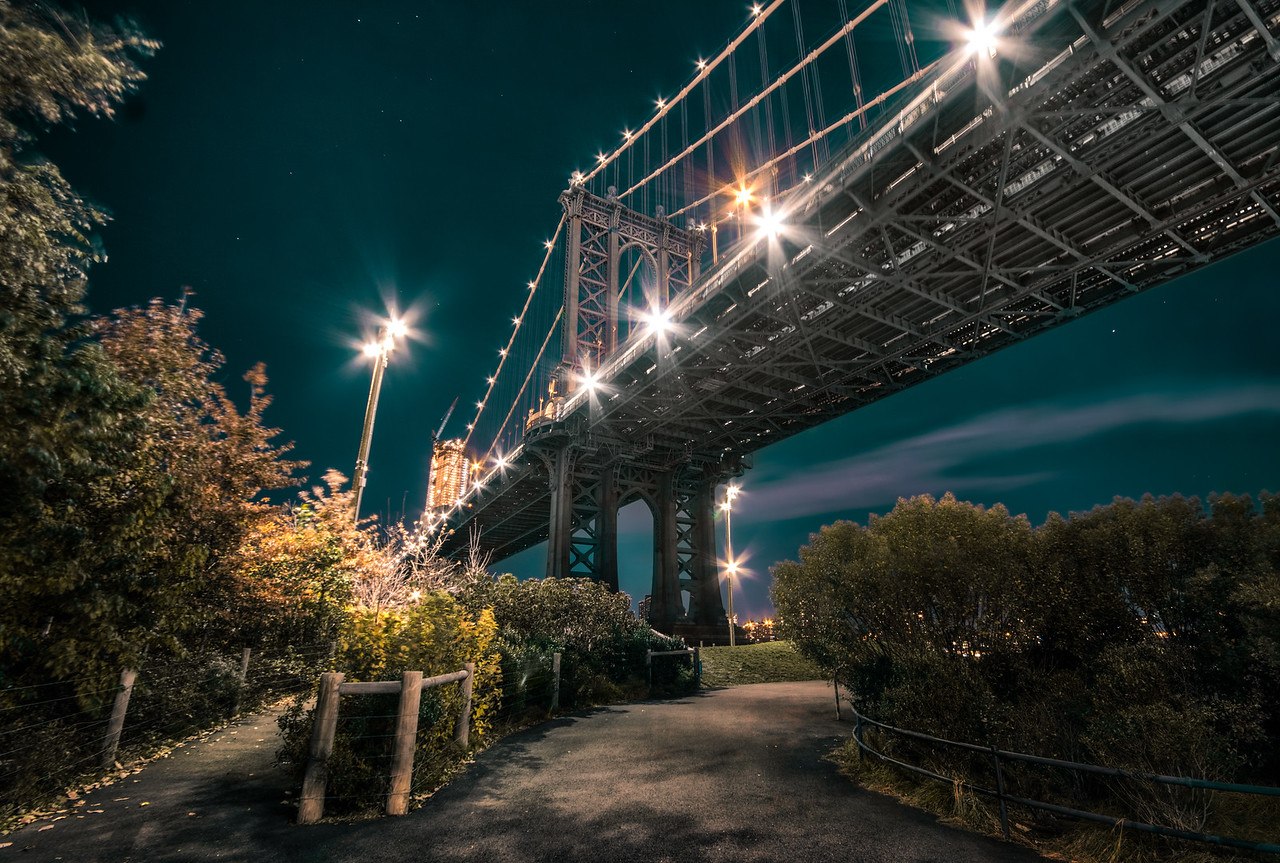
Here is the final image:
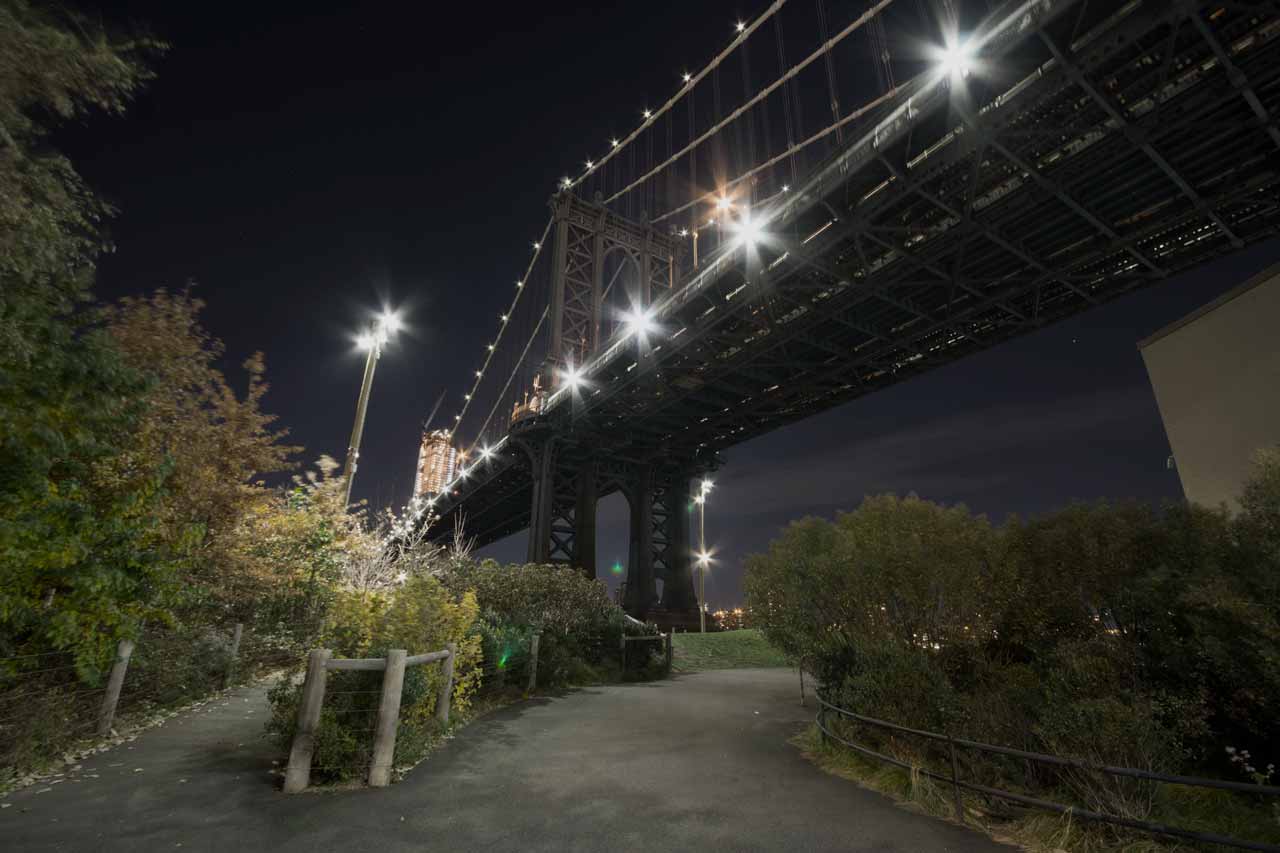
And here is the original:
Part One – Remove the Building in Photoshop (1:30 min)
First, you will notice the horrible building on the right-hand side of the original image – this has to go, and this is great to learn when learning how to do simple edits in Photoshop! The building is relatively large and it might seem tricky to get rid of it, but we will do it simple and fast. First, I duplicated my background layer (CMD/Ctrl J) and selected the patch tool. I then drew a selection around the building and dragged the selection into an area that looked like what I wanted. Once done, the building was already nearly gone! To remove the rest of it, I simply hit CMD/Ctrl T (transform) and stretched the image a little bit so that the building was completely gone from the image. Building, be gone!
Part Two – Change the Color and Apply Split-Toning in Photoshop (5:00 min)
The second part of this edit was to take care of the color – I wanted to apply somewhat of an orange-teal look so that the image is way more interesting. You might think this is difficult, but it is actually super simple. First, I needed all that was currently visible on a new layer – this can be done by creating a stamp-visible (CMD/Ctrl Alt Shift E). Now, with this, I went to Filters-Camera Raw Filter – and there to the split-toning section. This is really cool and you can create any look that you like! I went for a nice blue in the shadows and an awesome red in the highlights. Once the colors were selected, I played with the balance slider until the image looked great.
Part Three – Darken the Image in Photoshop (7:00 min)
While the lighting in the image didn’t look too bad, I wanted to draw some more attention on the bridge itself. For this, darkening the shadows and the areas within the foreground seemed the easiest. You will see that darken or brighten the image is part of every guide on how to do simple edits in Photoshop, because it is awesome! So, let’s start with the shadows. I created a curve adjustment layer and dragged the curve down – I then used the blend-if function in Photoshop to make sure that the darkness is only visible in the shadows. To get to the blend-if function, simply double-click on the layer (the curve in our case) and the window will open up. This takes care of the shadows, but I still needed to bring the foreground down a little bit. For this, I simply created another curve adjustment layer, dragged the curve down, and used a gradient mask to bring the darkness into the foreground.
Part Four – Increase the Clarity and Change the Sky Color in Photoshop (9:00 min)
When we used the Camera Raw Filter to apply the split-toning, I used a certain color for the shadows. However, in the sky alone I planned on having a little more of a light blue color. To do this, I created another stamp-visible and went to the Camera Raw Filter again. There, I went to the HSL (Hue/Saturation/Luminance) section and changed the Hue of the blue to something that is… well, more light blue. This affects only the sky and the bridge a bit, so it was good enough for our purposes.
To get some more clarity int he image, I had to use the Camera Raw Filter in Photoshop again! So, I created just another stamp-visible and this time only used the clarity slider within the filter. I then used a layer mask and a brush to bring the effect into the areas that I liked.
Part Five – Fix the Color of the Bridge (12:30 min)
When we changed the color of the sky, the blue also went into the bridge to a certain extent. While this looks kinda cool, it does make the image too blue for my taste. So, let’s fix this!
I created a new layer (CMD/Ctrl Alt Shift N) and changed the blend mode to Color. Once done, I selected my brush (B) and painted with a rather neutral color into the bridge. Because the layer has Color as the blend mode, this did not affect anything other than… well, the color! Once the blue was out of the bridge, I stepped back and had a look – and liked it. Done!
Remember, shortcuts make your life easier and can speed up your processing a lot! Here is what I used in this image and most of my landscape and outdoor Photoshop tutorials:
B for the brush
X to change foreground colors
CMD I to invert
CMD T to transform
CMD Alt Shift E to get a stamp visible
CMD Alt Shift N to get a new layer
On a Windows PC, just replace the CMD with Ctrl.
I hope you enjoyed this post on how to do simple edits in Photoshop – let me know in the comments below! To see more photo editing tutorials, click here!
If you like my images, make sure to check out my portfolio! Also, if you like photography, get out there and shoot! Anything, anytime.

