https://youtu.be/FoYm1cY28w4
How to Work with Blurry Images in Photoshop – Example: The Watched Way | Photoshop Tutorial
Welcome back! Today is gonna be a quick one – you know when you are out and about and you do not really have the chance to adapt your camera settings before taking a shot? This happens to me all the time, and I am always wondering later why the shot is not great. Well, it makes sense of course, but I am ending up throwing away 80% of these shaky and blurry images. BUT, sometimes, there is one image out of 10 that still has a nice composition and I refuse to throw it out. So today, I will show you how to edit blurry images in Photoshop, so that you at least can post them on your social networks, hehe.
Remember, if you like the video, make sure to subscribe for more weekly Photoshop and Photography action!
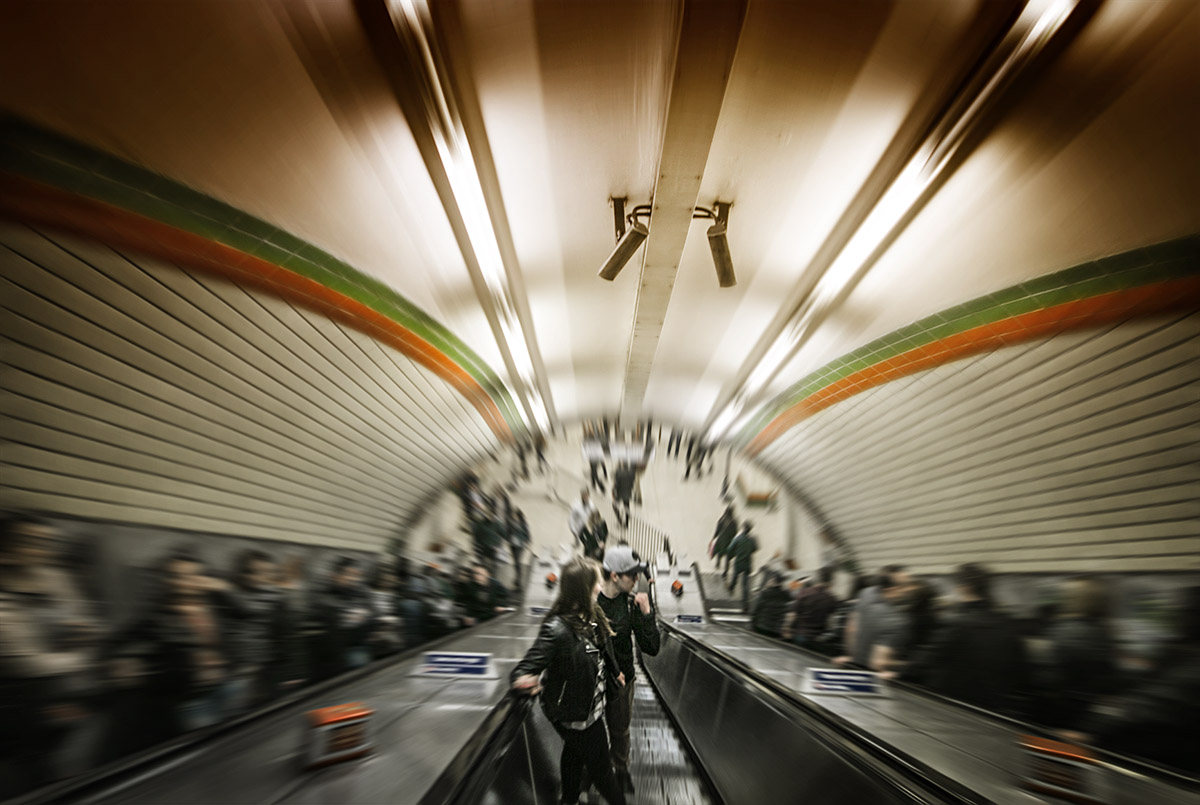
So, here is the final image:

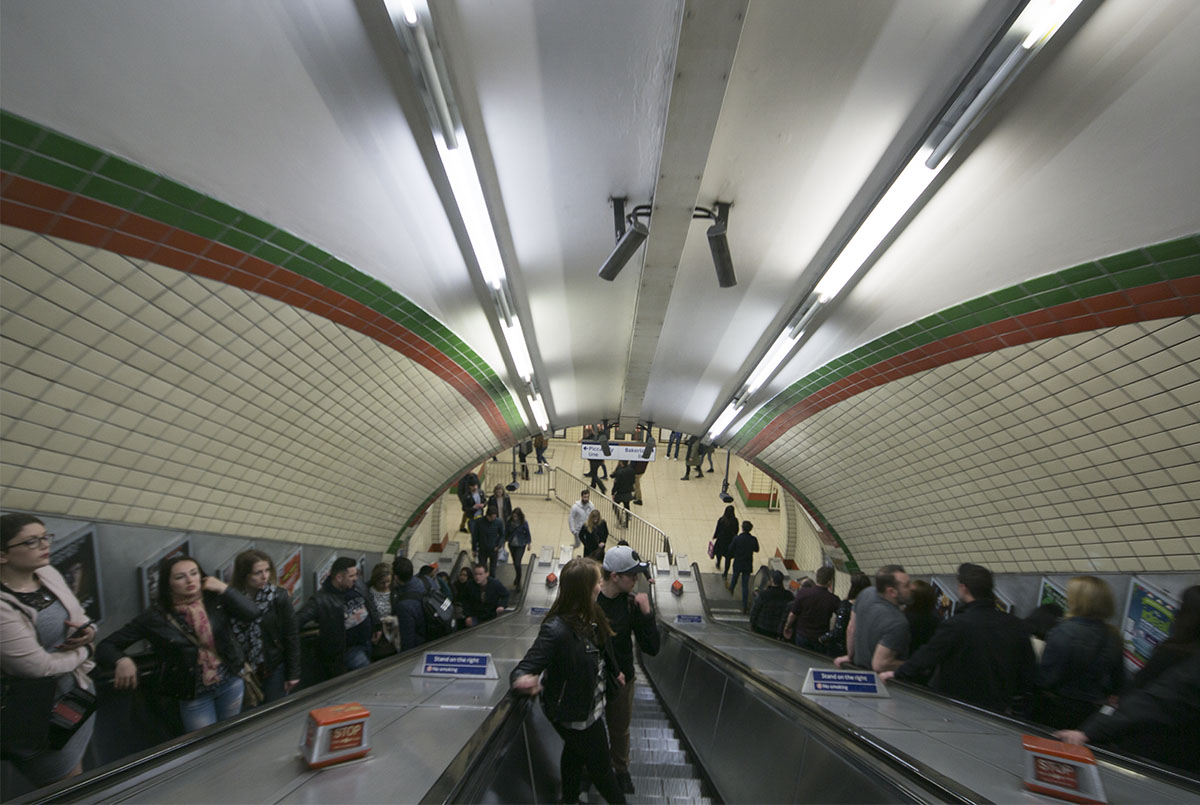
And here is the original:

Step One – Increase the Clarity of the Image (1:20 min)
To increase the clarity (easy!), just select your background layer and go to Filter-Camera Raw Filter (Photoshop CC that is). There, use the clarity slider. That was already it 😀
Step Two – Add Colors to the Image (2:00 min)
Adding colors can happen in many different ways. In this video, I showed you the manual way – for this, create a new layer (CMD+Alt+Shift+N) and select your paint bucket tool. Once done, choose a nice color on the right-hand side and fill the new layer with the color. Use a layer mask to hide the color from where you need to and make sure you change the layer blend mode from Normal to something like Soft Light. You can do this as often as needed and with as many images as needed. In fact, you can create whole sunsets with this technique! Have a look at this video, I show you 🙂
Step Three – Blurr the Sides of the Image (5:00 min)
To edit blurry images and make them look nice in Photoshop, I think there is not much sense in trying to get rid of the blur – it will only end up looking super bad! Instead, let’s use the image and create something cool and a little abstract. So, in my case, I copied everything visible onto a new layer (CMD+Alt+Shift+E) and went to Filter-Blur-Radial Blur. The settings here really depend on your image, but I really find that playing with it is what makes the fun! Once done, use a layer mask and hide the effect where you need to.
Step Four – Darken the Edges (6:50 min)
Darkening images in Photoshop is easy and, as always, there are many tools at your disposal. I used a simple curve adjustment layer, which I then hid with a layer mask to selectively paint in the dark edges of the image.
Remember, shortcuts make your life easier and can speed up your processing a lot! Here is what I used in this image and most of my landscape Photoshop tutorials:
V for the Move tool
G for the paint bucket tool or the gradient tool
CMD+I to invert
CMD+J to duplicate a layer or a selection
CMD+Alt+Shift+N to get a new layer
CMD+Alt+Shift+E to get a stamp visible
On a Windows PC, just replace the CMD with Ctrl.
If you like my images, make sure to check out my portfolio!
Don’t forget to get out there and take some pictures yourself – Have you been to London? Show me your images! One day I hope I get the chance to go back and see all the corners I have missed the first time. I hope you enjoyed this video on how to work with blurry photos in Photoshop.


