How to Create Stars in Photoshop – Example: Dublin Docks | Photoshop Tutorial
Welcome back! After traveling for three weeks constantly, I am finally back in my routine and can start with constant photography news several times a week again! Starting off, we have to talk about stars.
When you go to an amazing place and you edit the image later, then sometimes you have this realization that there is something missing within the image. Well, if the picture has been taken at night, chances are stars are missing! Therefore, today, I will show you how to create stars in Photoshop! We will create our own brush which you can download below for totally nothing for you to use and create some great night images yourself. If you do, show me what you create! Let’s get going.
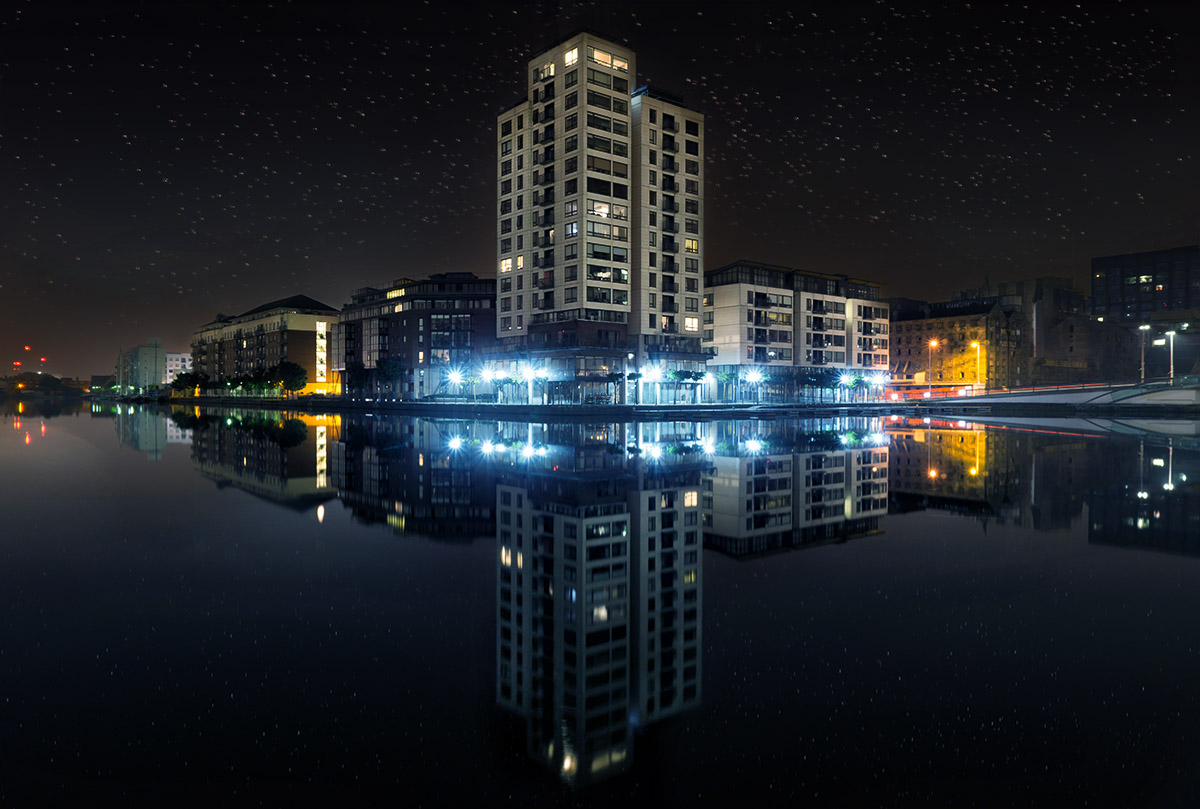
Here is the image I took around my house with stars (zoom in, they are stars!):
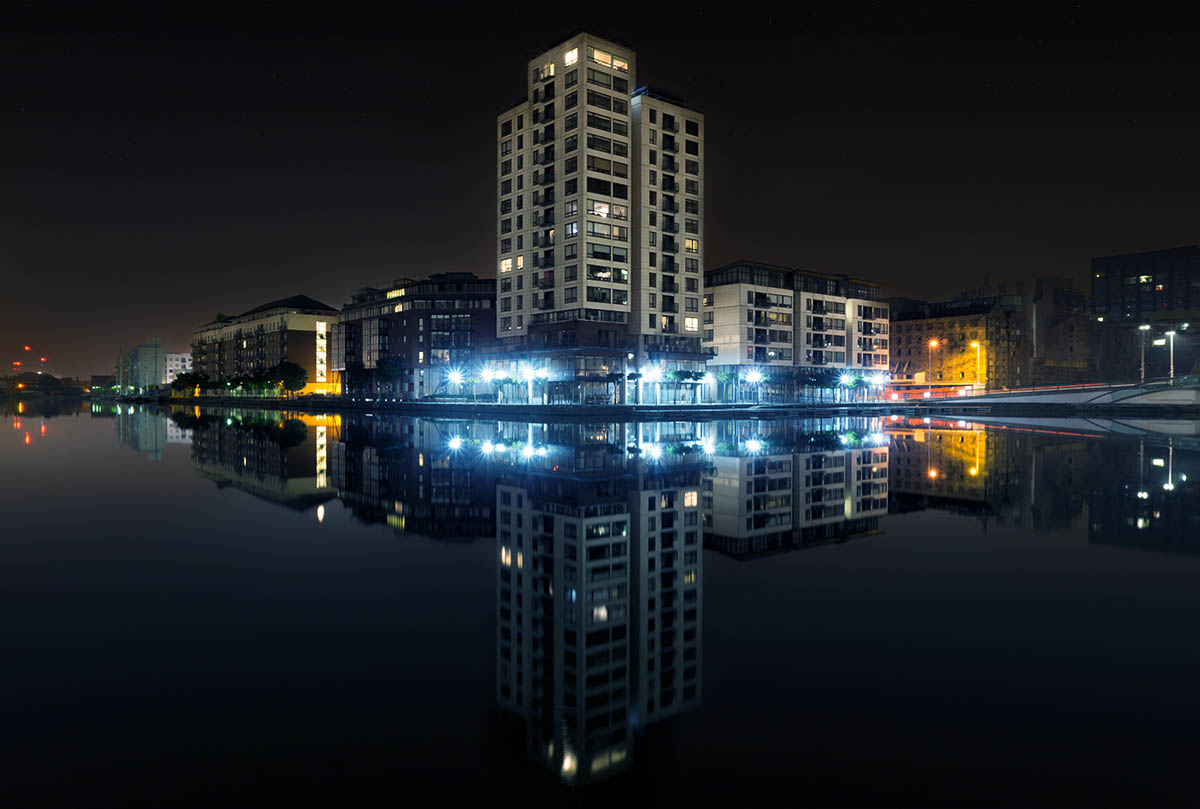
And here is the image without stars (already pretty cool):
Step One – Create the Star Brush (1:00 min)
This step is the best learning wise – creating brushes might be useful for all sorts of things, but especially when you learn how to create stars in Photoshop. Now, first start out with a new file (CMD+N) and make it square – something like 1500 x 1500 pixels. Once done, make sure your layer is empty (CMD+Alt+Shift+N) so that we have a transparent background. Use a normal round hard black brush and place a larger circle at the top right and a smaller one on the bottom left.
Move to Edit – Save Brush Preset, and that is it! You have now created a brush. Go to your brush options and change the settings as shown per the video above.
Alternatively, you can just download the Photoshop Star Brush file here.
Download the file and double click on it – the brush will be available within Photoshop automatically.
Step Two – Apply the Brush to Create Stars (4:00 min)
Applying the brush is the easy part! Just select if from your available brushes and start painting them into your image. You can adjust the brush size to affect the star size directly of course, so play around with this until you get a good size going. Use a layer mask and the opacity slider to make sure the stars are not too bright and only visible within the sky, and you are good to go.
There you go – easy and fun to learn how to create stars in photoshop – and a great way to enhance your images when you have the feeling something is missing. Do not forget to keep it relatively real, otherwise it looks odd 🙂 In the tutorial, I made them a little larger than they should be to make sure you can see everything, but ideally, I would keep them small and subtle.
If you like my images, make sure to check out my portfolio!