How to Use Photoshop to Create Magic – The Magic Tree | Photoshop Tutorial
Today, I will show you how I processed this image of a simple tree standing in the middle of a small ruin. The processing was way more complex than I thought it would be – complex in the sense that there were many techniques to show you guys as fast as possible. If you like the photoshop tutorial, make sure to subscribe for more weekly Photoshop examples and quick guides! So here is what I did there.
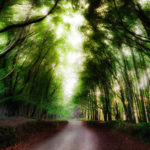
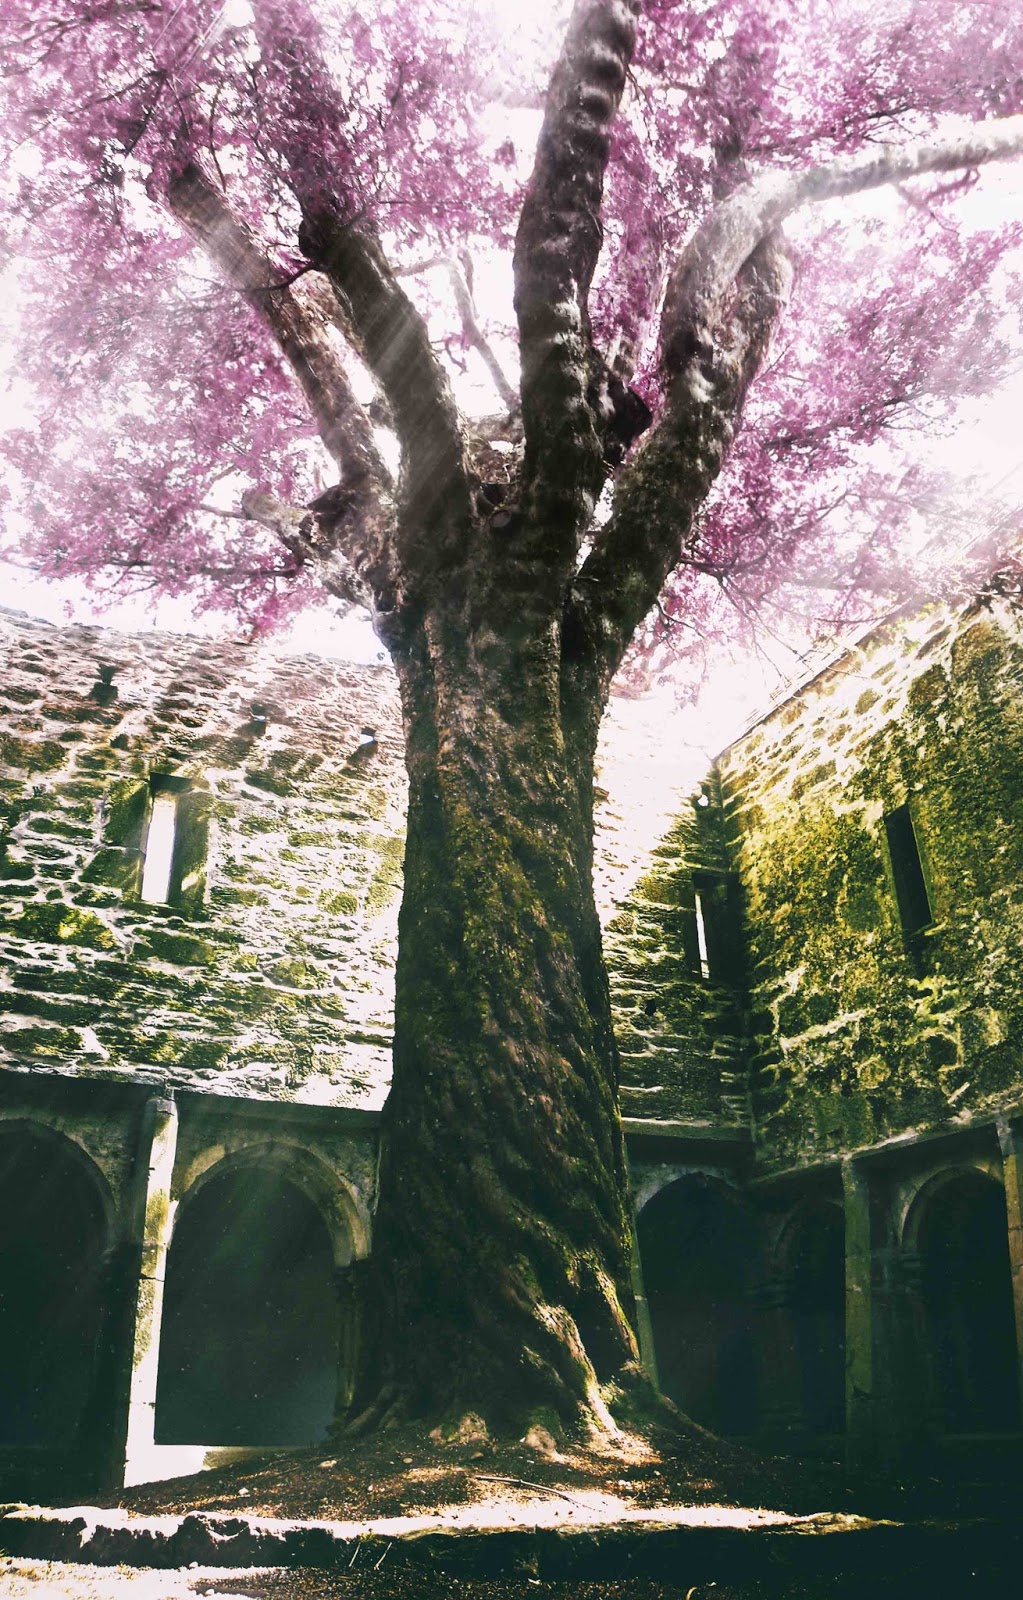
Here is the final image:
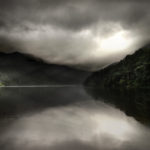
And here is the original:

Part One – Fill up the canopy
The tree didn’t have that many branches, so I changed it (1:00 min). I used the lasso tool (L on the keyboard) to select a branch and hit CMD J to make that branch a new layer. Then I used the move tool (V) and placed it where I want it. To make it fit a little better, I created a layer mask and used my brush (B) and made the edge of the new branch a little smoother. Using a curve adjustment, I added some brightness to the branch. I did this twice in this photoshop tutorial.
Part Two – Change the colour to pink/purple
To change the colour of the canopy, I created a new layer and painted pink over where the leaf material is (7:10 min). After changing the blending mode of that pink layer to colour, double clicking on the layer brought up the Layer style window. There I made sure that the pink is not visible everywhere. To remove the effect from the big branches, I used a layer mask and a brush again to remove the pink where it didn’t belong. This was followed by some curve and saturation adjustments.
Part Three – Add light rays
The image was perfect to add some light rays (16:00 min). For this, I created a stamp visible (CMD Shift Alt E) which copied all that was visible onto a new layer. Then I went to Select-Colour range and selected the white sky. This step will make a selection of all that has the same colour as the sky – which are all the bright parts in the image. Using the bucket tool (G) I painted white into that selected areas. Then I applied a motion blur (Filter-Blut-Motion Blur). Using a layer mask, I removed the light rays where they were too strong.
Part Four – The old camera effect
To make it look old, (being lazy) I just used one of Nik’s Analog Effects Pro Filter (19:30 min). It’s a free plug in, so get it peeps! Using a layer mask, I removed the effect where I didn’t want it (especially in the canopy).
Part Five – Add dust
Where there are light rays, there should be some sort of fog or dust (21:15 min). So I made it! Hitting CMD N on the keyboard will bring up the new file dialogue, where I chose a transparent background and a 500×500 dimension. Once in the new document, I used a black brush to paint some random points. To use that as a brush, I went to Select-Define Brush Preset. Back to our image, I selected a colour I liked, went to the brush presents (there is a button right, next to the colour palette) and increased size jitter, opacity jitter, roundness jitter, angle jitter. After painting some of the dust in, I used the usual layer masking to remove the dust where it was too strong.
Part Six – Add a darker atmosphere
After creating another stamp visible (CMD Shift Alt E), I changed the blending mode to overlay. Then I went to Filter-Blur-Gaussian Blur and added some of that blur. Then I used a layer mask to remove the effect from some places.
Part Seven – Add blur using the blur tool (for a change)
The quality of the image was pretty bad, so I wanted to blur the worst area – the canopy (29:40 min). So I selected the Blur Tool from the left and just started to blur the hell out of the canopy. Around the same time, I also cropped the image (c ) and that was it for this photoshop session! Phew.
Remember, Photoshop shortcuts make your life easier and your processing way faster. Here is what I used in this photoshop tutorial:
CMD alt shift e to create a stamp visible
J to get the spot healing brush tool
C to crop
B to get the brush
L for the lasso tool
CMD N to create a new file
G for the bucket tool (or gradient tool)
CMD J to copy a selection onto a new layer or copy a layer
D to get the default colours (black and white)
If you like my images, make sure to check out my complete portfolio!
Don’t forget to get out there and take some pictures yourself!
Subscribe for more photoshop tutorials 🙂