Landscape Photography – Example: The Road to Light | Photoshop Tutorial
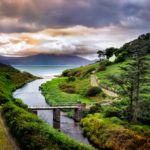
Welcome back! many moons ago I went to the south of Ireland with a friend of mine, Shane. It was a 4-day trip, where I had the pleasure to stop at so many great locations that I gathered about 30 GB of images – some of them rubbish, but so many of them just awesome. I guess it will take me another year or so to go through them all.
So, in this particular image, we just escaped a rainy area and therefore had some great clouds when we approached that mountain/hill. I took three images with different exposures and combined them later (HDR ´if this does not sound familiar, read this before going ahead).
Remember, if you like the video, make sure to subscribe for more weekly Photoshop and Photography action!
Here is the final HDR image:
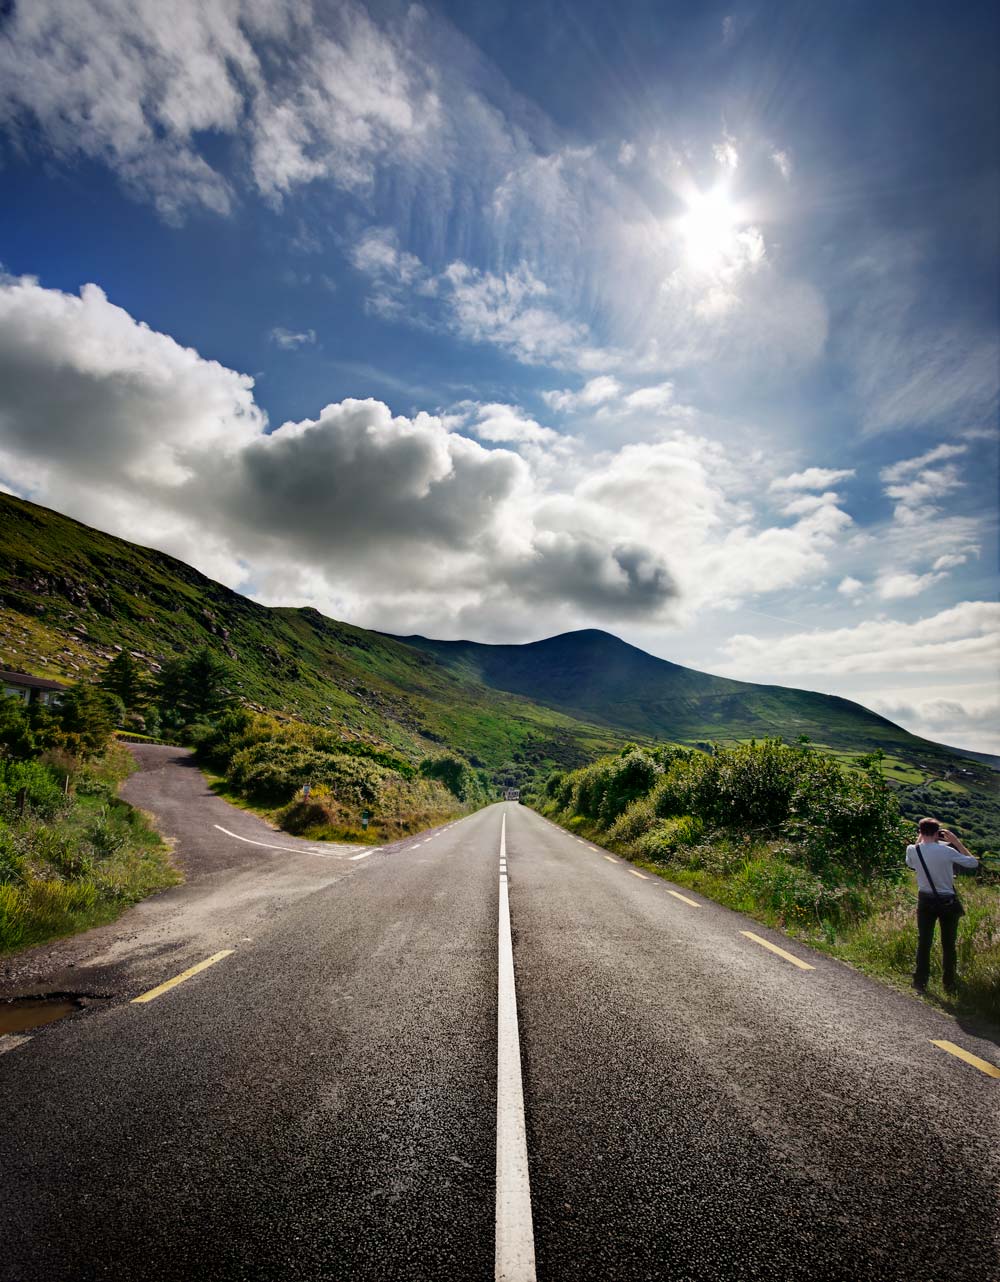
And here is the original image:
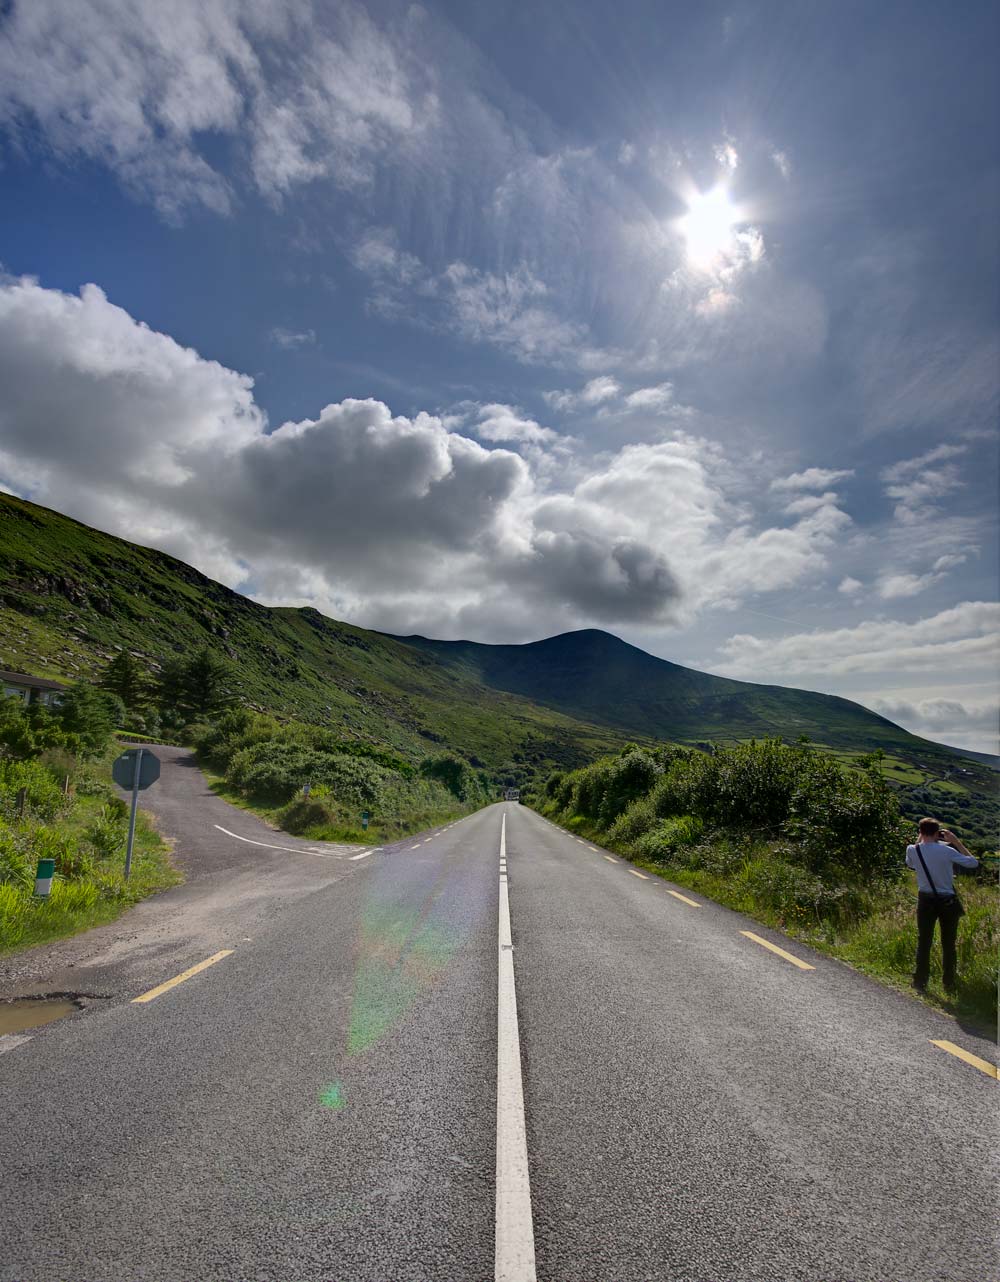
Part One – Remove the Lens Flare in Photoshop (2:00 min)
Removing lens flare is needed in landscape photography if the flare covers up things you actually want to show – that is to say that every now and again it can be great to have a little bit of lens flare in the image. Not here, though. So, removing it comes in two steps. 1) Remove the color. Removing the rainbow colors can be done fastly using the clone stamp tool. For this, make sure you have a new layer (CMD/Ctrl + Alt + Shift + N) and change the blend mode to Color. Then select the clone stamp tool (S) and select an area that has the color you need – and start copying it! Once done, move the piece you have created over using the move tool (V). If it does not fit perfectly, just use the transform tool (CMD/Ctrl + T) to force it to fit. 2) Remove the light. As the flare has a different brightness, we can just bring it down using a curve adjustment layer. Once created, drag the curve down, invert the layer mask and use the brush to selectively bring the adjustment in.
If you have not heard about layer masks yet, have a look at this first (super useful for landscape photography):
Part Two – Remove Unwanted Objects in Photoshop (7:00 min)
On the left-hand site, there was a street sign that I really did not like at all! Removing it is fast by using a new layer (CMD/Ctrl + Alt + Shift + N) and the spot healing brush tool. This can require some try and error, but in most cases, the tool does a great job! If this does not work, you can also use the patch tool – but for this, make sure you create a stamp visible first, meaning that you will have to copy everything onto a new layer (CMD/Ctrl + Alt + Shift + E).
Part Three – Darkening Down the Image and Adjust the Color of the Grass (10:45 min)
The last part of the editing was very fast – to darken the sky and the road, I merely created a curve and a levels adjustment layer and used a layer mask to only show the effect where I wanted. For the grass, I used a hue/saturation layer adjustment, selected the green, and changed it, hehe. Ant that is all there was to this editing; basic, fast and fun, like it should be!
Remember, shortcuts make your life easier and can speed up your processing a lot! Here is what I used in this image and most of my landscape Photoshop tutorials:
B for the brush
X to change between background and foreground colors
S for the clone stamp tool
V for the move tool
CMD+T for the transform tool
CMD+I to invert anything
CMD+J to duplicate a layer or a selection
CMD+Alt+Shift+N to get a new layer
CMD+Alt+Shift+E to get a stamp visible
On a Windows PC, just replace the CMD with Ctrl.
If you like my images, make sure to check out my portfolio!
Don’t forget to get out there and take some pictures yourself – time for some landscape photography in Ireland? I hope you enjoy my Photoshop tutorials and this image in particular and I see you next time. Enjoy learning how to use Photoshop to edit landscapes.