Bring Magic to a Forest using Photoshop
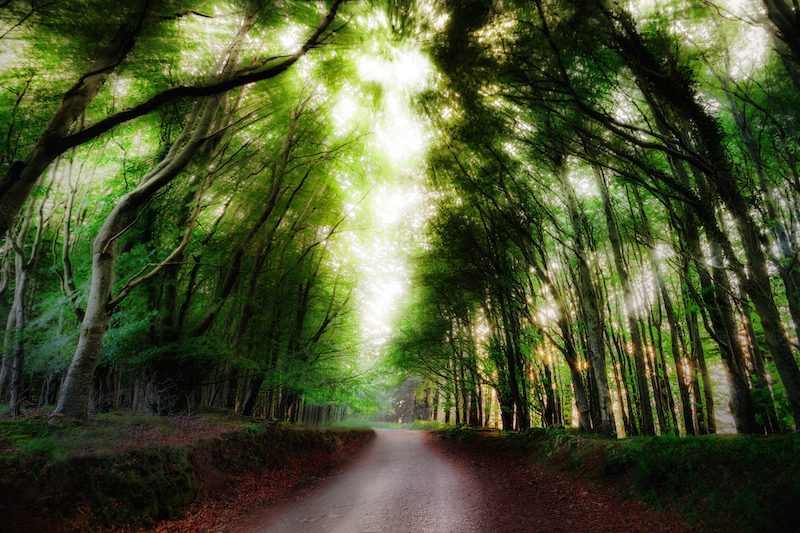
After processing my latest forest image, I thought its time to show you how I brought this super cool (and a little magic) light into the image using Photoshop. So here is the final image:

The original was a little boring, so have a look at my tutorial to learn how to add some cool lighting to your own images!
Part one – Increase the contrast and darken the image
Start out with creating a Brightness/Contrast adjustment layer and increase the contrast. Then, create a Curve Adjustment layer and decrease the brightness a little bit. You may have to try this a couple of times to get the right amount, but it is so fast to do, it won’t take much time!
Part two – Create the whopper light
First, hit CMD+Alt+Shift+E on your keyboard which will create a so called stamp visible. This will copy everything that is visible onto a new layer. Then hit CMD+Alt+Shift+U to desaturate the layer. Just above the layer thumbnails is the blending mode – change this one from Normal to Hard Light (or Pin light if the effect is not strong enough!). With the same layer selected, go to Filter-Blur-Radial Blur and select an appropriate pixel amount (maybe 10 is a good starting point). Great! Now create a layer mask by clicking on the little Japanese flag symbol below the layer thumbnails, hit CMD+I to hide the effect everywhere, and use a white brush (B on the keyboard to get the brush) to bring the effect back wherever you want. That is all there is to create magic light in Photoshop. Well, one method at least, there are some more haha. I personally like this one a lot and it will certainly be good fun to play with it in your images.
Happy processing!