How to use Photoshop to Edit Black and White Images – Example: The Strange Building
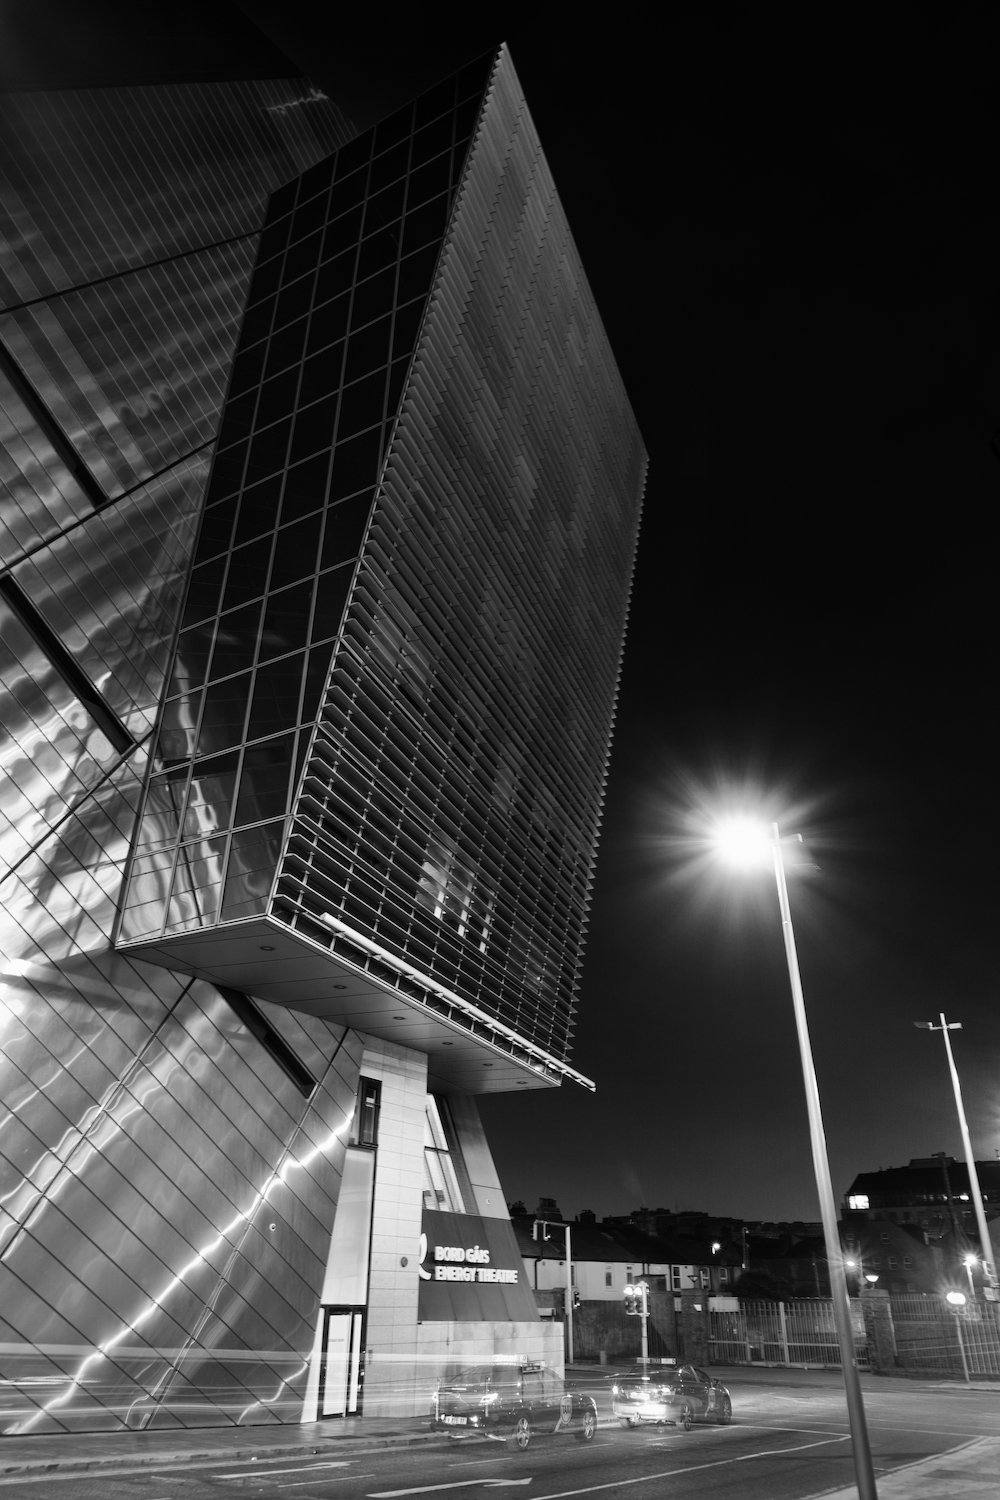
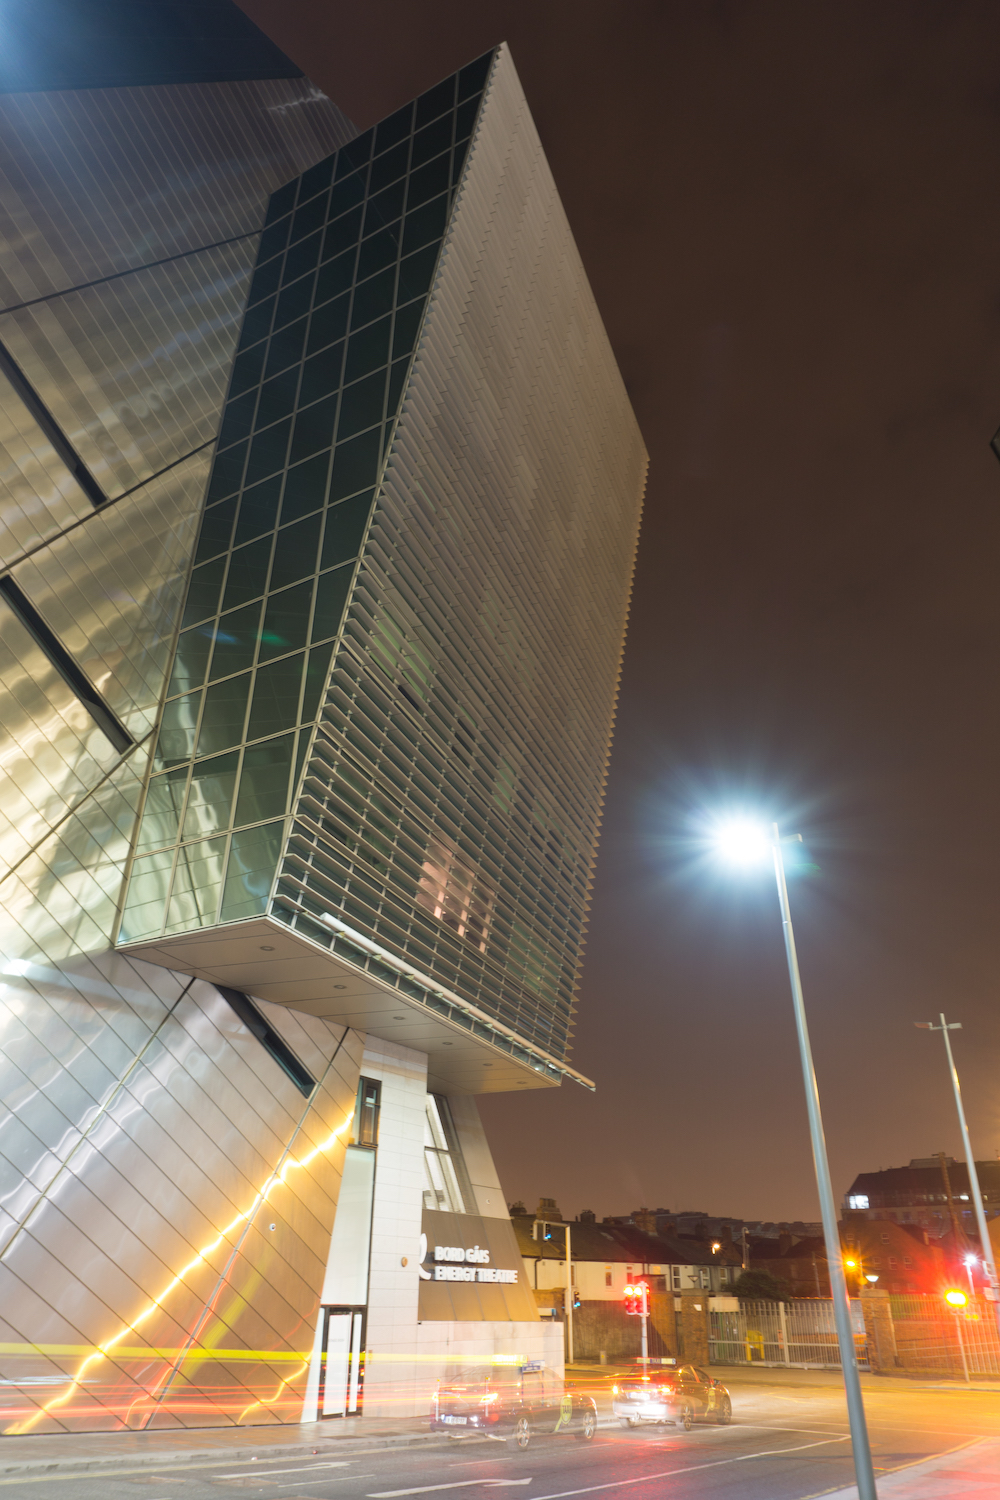
Welcome back! Today I show you a super quick example of how to use Photoshop to edit black and white images. I took this one in Dublin at night (as you may have guessed) and knew straight away it’s gonna be black and white. There were two options to consider when creating the black and white image: doing it by hand (DIY) or using filters. In this video, I will show you both ways, pick whatever you like! Remember, if you like the video, make sure to subscribe for more weekly Photoshop and Photography action!
Here is the final image:

And here is the original:

The DIY way
Part One – Get the black and white version
To take the color out of the image, you have two options. Either you hit CMD+shift+U on the keyboard with the layer selected (0:50 min), or you just create a hue/saturation layer and decrease the saturation completely. There are more difficult ways, but (at least for me) that does it 90% of the times.
Part Two – Adjust the brights and the darks
As I mentioned, the processing for this image was super fast. so, the last step, really, was to use a combination of curve adjustment layers to darken and brighten certain bits and bobs in the image (1:10 min). The only additional method worth mentioning is related to the blending. When you create a curve adjustment, you (mostly) don’t want this adjustment to be visible everywhere. In this video, I used two methods to specify an affected area. First, you can double click on a curve adjustment, which will bring up the blending options. Using the slider at the bottom of the dialog, you can specify that the effect should be just visible in the brights or the darks. Hold alt on the keyboard and start dragging the slider around, you will quickly see what I mean. The other option is to create a layer mask (hit the little Japanese flag at the bottom right) when you have a curve adjustment selected. With the layer mask selected, you can use your brush (hit B) – the layer mask will be white on default. Painting black on the layer mask will now hide the effect wherever you paint. Or, if the area which is to be affected is quite small, select the layer mask first and press CMD+I. The layer mask will turn black and the effect is going to be hidden. If you use the brush now to paint white, the effect will be visible where you paint. Easy, ain’t it?
The Filter way
Part One – Use the first filter (5:50 min)
I recommend to always make a copy of your background layer (CMD+J) – however, the filter pack I used here (Nik) doesn’t need that because it applies the filter to a copy anyway. Do as you like. So, with the background layer selected, go to Filter-Nik Collection-Silver Effex Pro 2. There, select a filter you like. You can adjust the filter preset on the right site if you like (I didn’t have to in this image). Hit Ok and wait a second.
Part Two – Use another filter
A new layer will show up with the adjustment. With this new layer selected, just apply another filter right again. Using the layer mask method described above you can then combine the two layers to your liking. Of course, you could still apply curve adjustments and anything else at any point if you feel like – there are no boundaries! Especially for beginners, these filters are great to experiment.
Here are all shortcuts used at one place:
CMD+Shift+U to desaturate
B to get the brush
CMD+J to copy a selection onto a new layer or copy a layer
D to get the default colors (black and white)
CMD+I to invert anything really hehe
And this is all there is to process this image! Greatly on the way to fully understand how to use photoshop.
If you like my images, make sure to check out my complete portfolio! I hope you enjoyed this tutorial on how to use photoshop!
Don’t forget to get out there and take some pictures yourself!


