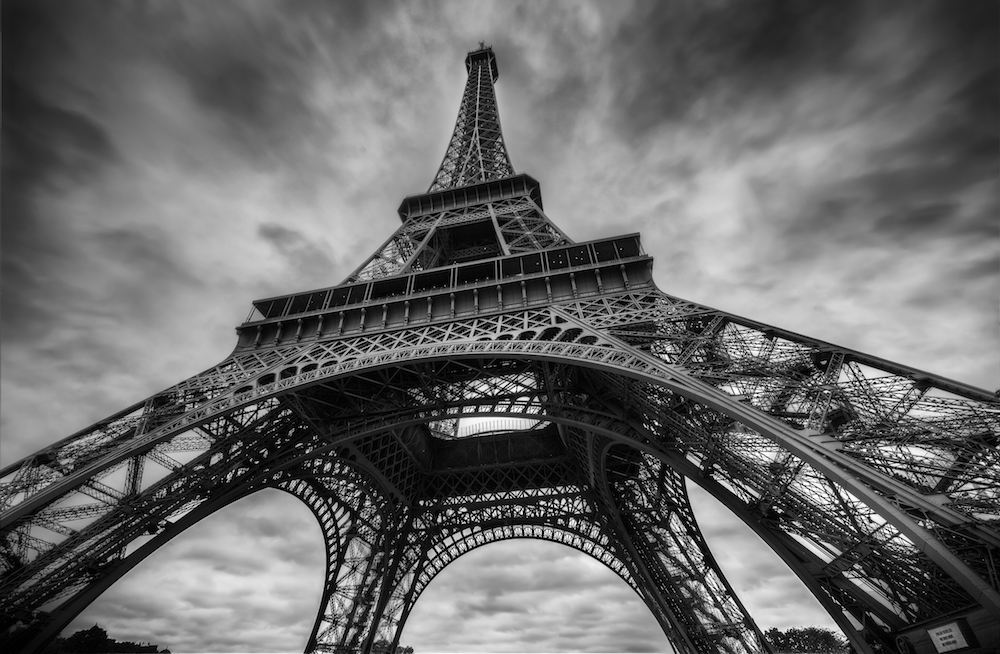
While I was in paris, I took (one of many) Eiffel Tower images – thats what I ended up with:
The original Image (as it was a HDR, this is the 0 exposure version) looked like this:
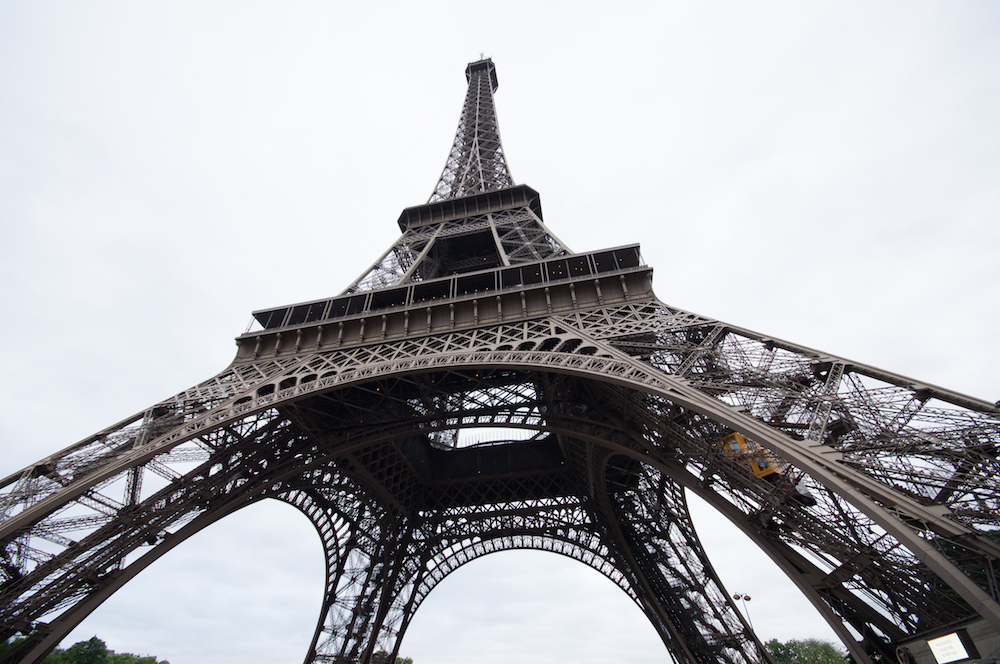
When I took the image, I was thinking straight away on black and white, so during the processing, I didn’t pay any attention to the colours. So thats how I did it:
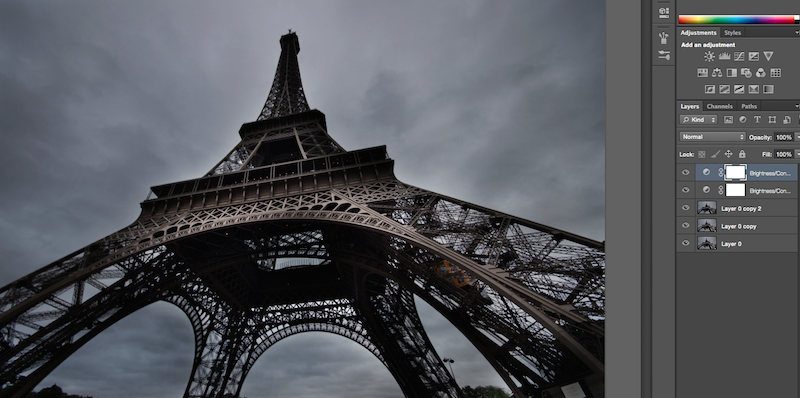
I created a HDR version with Photomatix where I could see the clouds and the tower and loaded this version into photoshop. As usual, I copied the layer 3 times. On the top layer, I increased the contrast and reduced the brightness a little bit, giving me this:
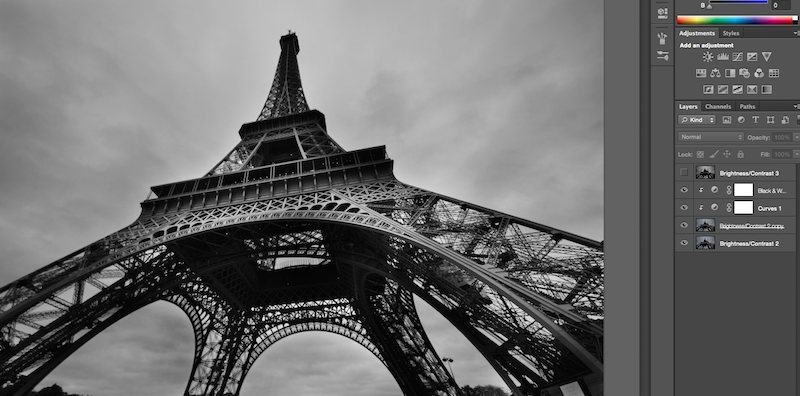
From here it was easy – I merged all layers, copied the resulting one 3 times again and selected the black and white adjustment in the adjustment panel (see this post if you are new to layers and adjustments). After increasing the contrast for the top layer fully, I had this:

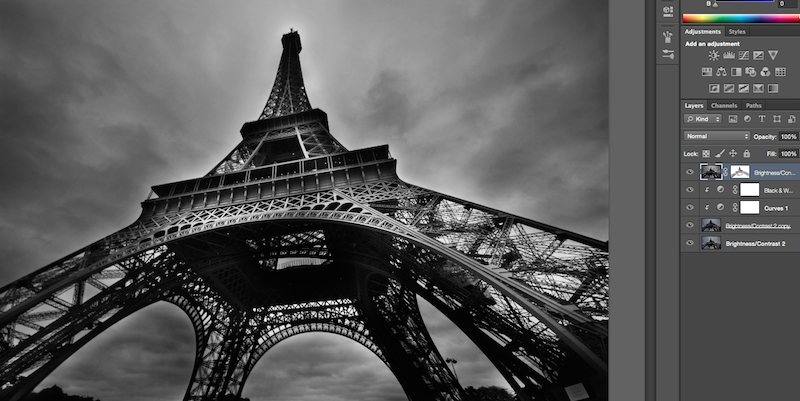
I merged all adjustment masks with this top layer and made it invisible. The tower became a bit dark, but no problem. I selected the second layer, made it black and white as well and increased the brightness a little bit, creating this:
One layer had the nice clouds and one the nice tower. If you have read my layers and HDR introductions, you will know what comes next!!

Layer masks!
I made the top one visible again and created a layer mask. I then pressed b to get my brush and started to bring back that nice light tower.
There was a bit of a halo around the tower which I removed by selecting the top layer (not the layer mask) and (still having the brush activated) went over the halo – gone, nice! Some vignetting, some noise removal, thats it! Super happy!
Like the image? See the final version and many other great examples of HDR photography at my portfolio!