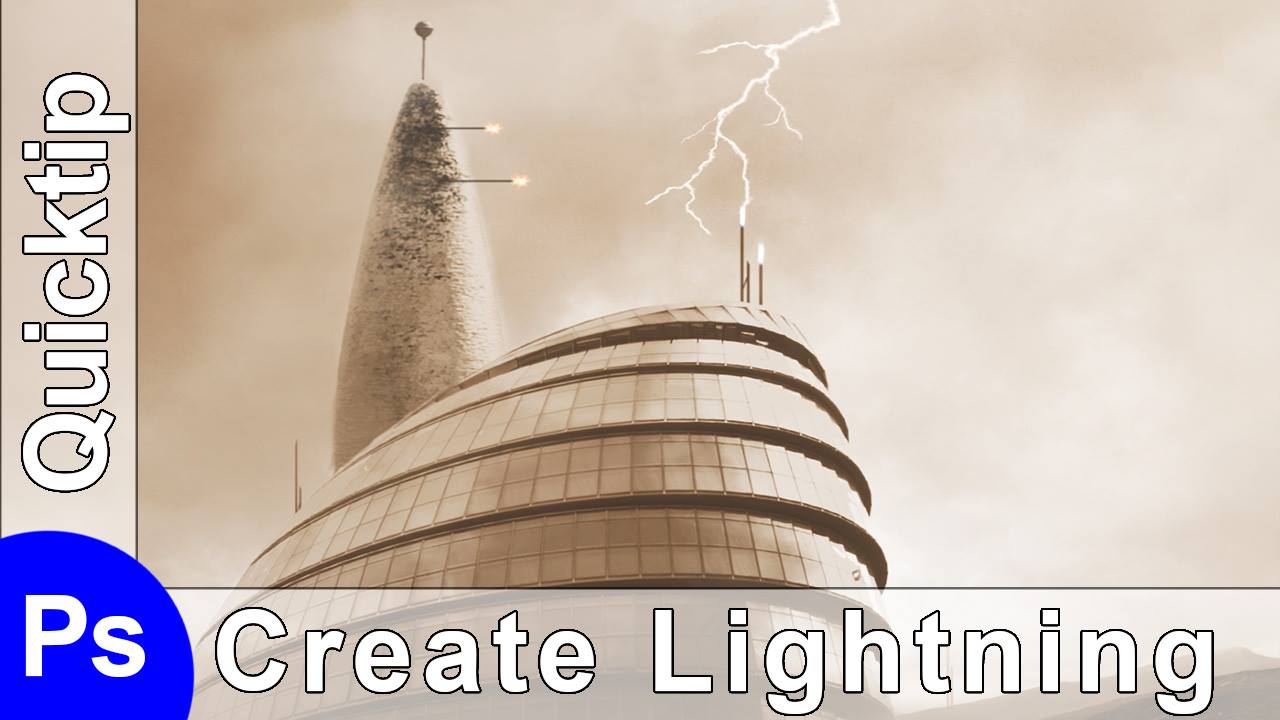
Welcome back! I am just working on a composite image and wanted to create some lightning. So I thought to myself, self, let’s just make a quick tip for this. So there you go.
In the video, I didn’t spend too much time as it is supposed to be a quick tip, thus the lightning in the video is not great – but at the end, I show you what you can do with 2 min more effort. If you like the video, make sure to subscribe to the channel to get more weekly Photoshop stuff and things. So here is what I did:
Part one – Create a new layer and use the gradient tool
First create a new layer by hitting the new layer symbol in the lower right (0:17 min). Then hit G on your keyboard to bring up the gradient tool. Make sure Black to White is selected in the gradient tool. Drag across the new layer.
Part two – Sketch the lightning
With the new layer selected, go to Filter-Render-Difference Clouds (0:37 min). Doesn’t look like lightning just yet, hugh? Press CMD+I to invert it all (black becomes white and the other way around). Then create a Level adjustment layer (0:57 min) and move the black slider nearly all the way to the right. Select both layers (lightning and adjustment) and right click, selecting Merge layers. Change the blending mode of the new layer to Screen. This will hide the darks!
Part three – Puzzle
Nearly there. Use L (the lasso tool) to select a part of the lightning sketch and hit CMD+J to place it on a new layer (1:55 min). Move (press V) the new piece wherever you want it. Using the eraser (E), you can then remove parts you don’t like. Nice. Now do that again and again, until you are happy with your lightning. You can also create a new curve adjustment layer for each piece of your lightning strike. This way, some ‘arms’ can be more visible than others, keeping it realistic. And that is all there is to make a lightning strike in Photoshop.
Like my Images? See them all over at my portfolio.
Don’t forget to get out there and take some images yourself!


