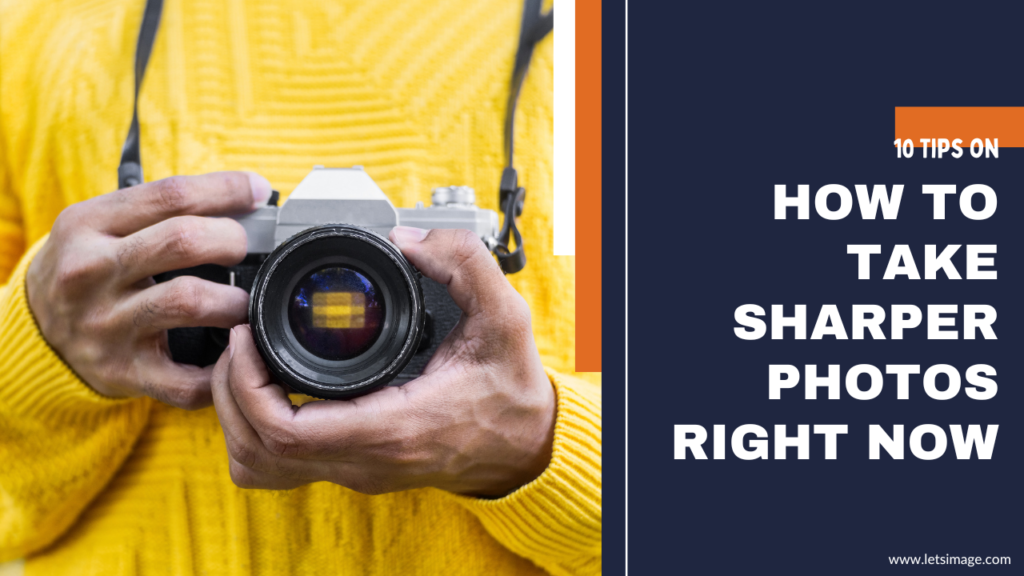
Hi all! Today, we’re going to talk about how to take sharper photos with your camera – something everyone struggles with at some point! Sharpness is one of the most important elements of a great photo, and it can make or break your image. So, if you want to take your photography to the next level, read on for 10 tips on how to take sharper photos!
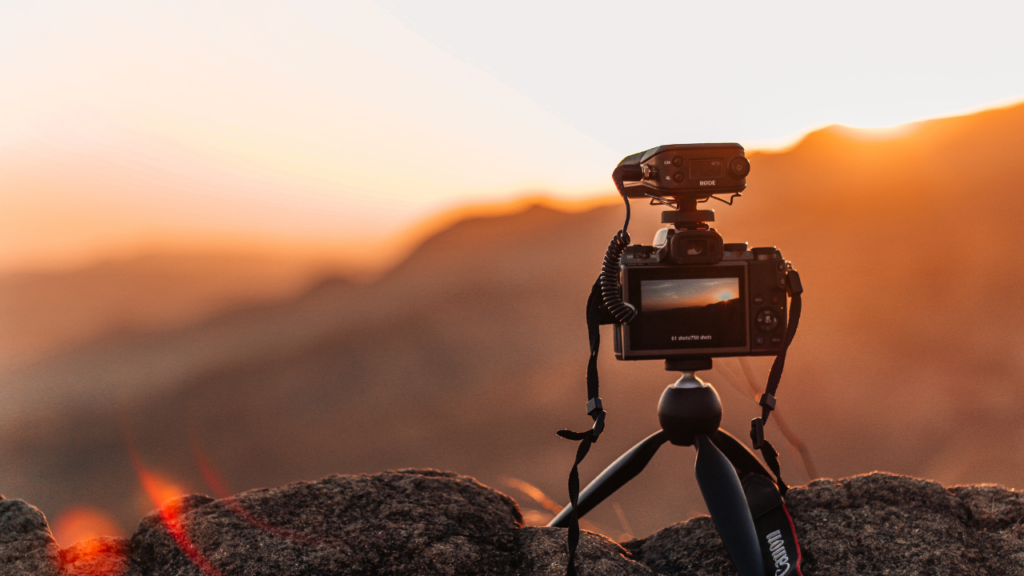
#1 Use a tripod – One of the biggest contributors to unsharp photos is camera shake. If you’re shooting with a slow shutter speed or in low light, using a tripod will help to keep your camera steady and produce sharper images. My go-to tripod is this one from Peak Design – the best tripod for any level!
#2 Use a fast lens – A fast lens (one with a wide aperture) will allow you to use faster shutter speeds and capture sharper images. If you’re shooting in low light, a fast lens will also help you avoid using high ISO settings which can cause image noise and degradation. This one is an example of an awesome wide-angle lens that’s also super fast!
#3 Use the right ISO setting – The ISO setting determines how sensitive your camera’s sensor is to light. If you’re shooting in good light, use a low ISO setting (100-200) to keep the image sharp. If you’re shooting in low light, you may need to increase the ISO, but keep in mind that higher ISO settings can result in image noise and degradation. Here is a guide to understanding ISO in more detail.
#4 Use a fast shutter speed – A fast shutter speed will help to freeze any movement in your image and prevent camera shake. If you’re shooting moving objects, make sure to use a fast shutter speed to keep your images sharp. Different people will say different things about how slow of a shutter speed is too slow – I personally found that with a good holding technique, you can take hand-held shots up to 1/20 of a second. Any slower and images will definitely be blurred. Here is a guide to understanding shutter speed in more detail!

#5 Focus on your subject – Make sure your subject is in focus! This is one of the most important elements of a sharp image. If your subject is blurry, your image won’t look sharp. Use the autofocus feature on your camera, or manually focus on your subject if you prefer.
#6 Keep your camera steady – When shooting, make sure to hold your camera steady. If you have shaky hands, try bracing your arms against a solid surface or using a tripod.
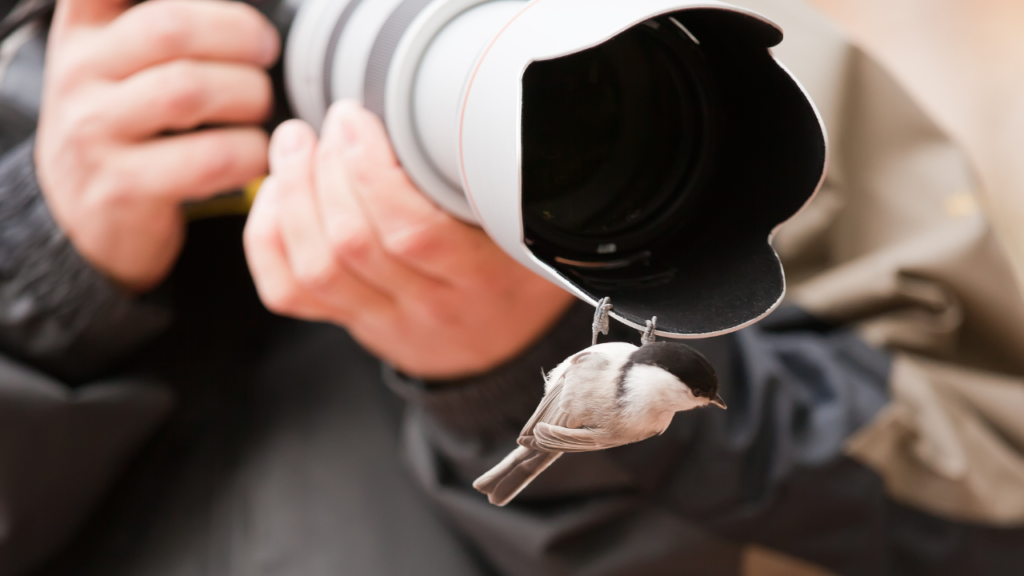
#7 Use a lens hood – A lens hood will help to prevent lens flare and keep your images sharp. It will also protect your lens from scratches and other damage. And offers a great seat for birds!
#8 Use a sharp lens – Not all lenses are created equal, and some lenses are sharper than others. If you’re looking to take sharp images, make sure to invest in a quality lens that will produce sharp images. You don’t have to go Zeiss – but brands like Tamron also produce high-quality lenses for a good price!
#9 Use a cable release – If you’re using a tripod, using a cable release will help you take sharper images by reducing camera shake caused by pressing the shutter button.
#10 Post-process your images – Finally, post-processing your images can help to sharpen your images. Use editing software to adjust the sharpness and clarity of your images, and make sure your images look their best before you share them. My favorite editing software next to Photoshop is Luminar Neo – perfect for beginners and pros alike. Check out my beginner guide to Luminar Neo here, and if you like the software you can get it here and use code “LETSIMAGE” at checkout to save 10%!
So, there you have it! These are my tips for taking sharper photos with your camera. Remember, the key to taking sharp images is to use the right equipment, use the right settings, and focus on your subject. With these tips, you’ll be taking sharp images in no time!