Pimp Your Photos in Photoshop Using Colors
Welcome back! One of the (for me) greatest moments during editing images is when you do some simple tweaks to color and brightness, but the image is totally transformed! This works very often, but most beginners in Photoshop think they must spend 300 hours with each image! This is not the case at all, so today, we will check how to pimp your photos in photoshop using colors and a bit of brightness change only!
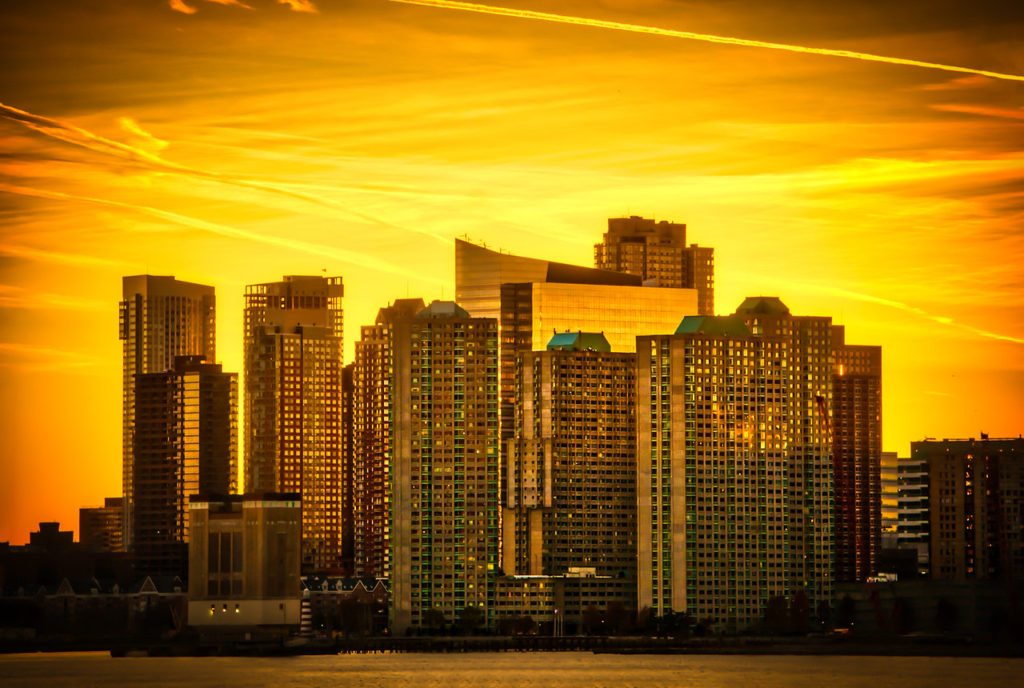
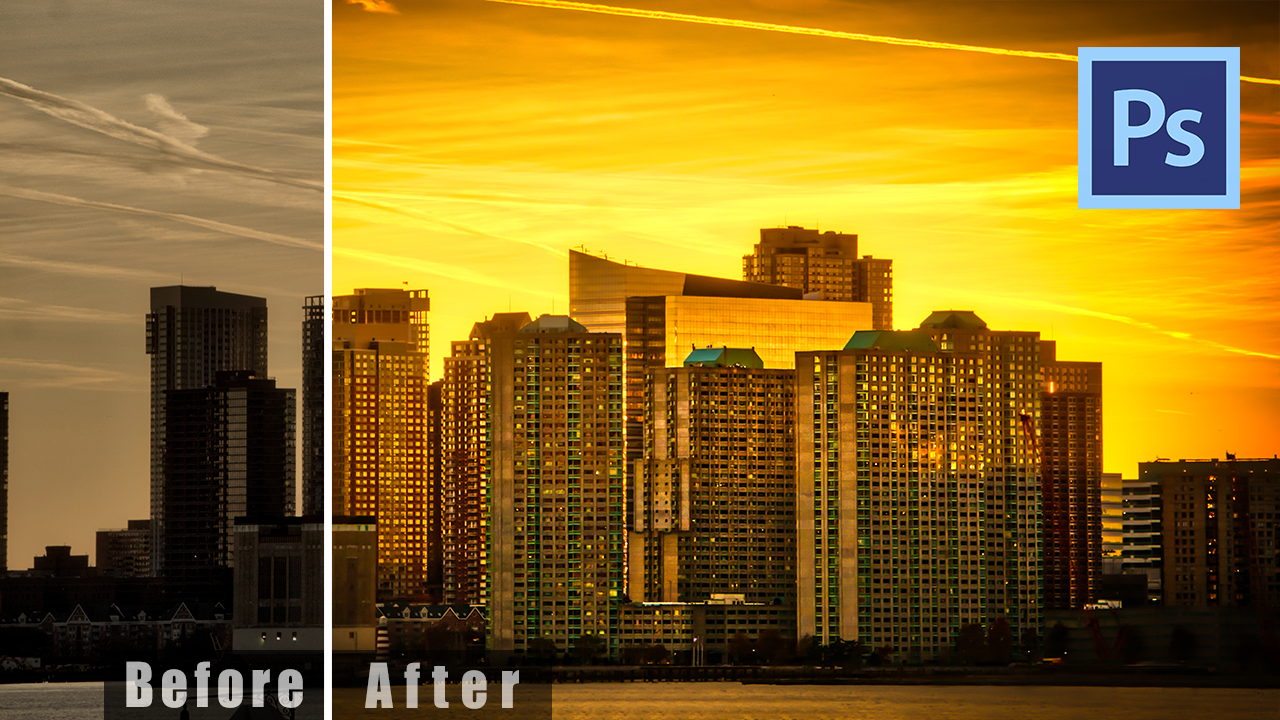
Here is the before/after image:
[bais_before_after before_image=”https://letsimage.com/wp-content/uploads/2018/12/new-york-skyline-golden-original-small.jpg” after_image=”https://letsimage.com/wp-content/uploads/2018/07/376b52f5f4b86564c60eb3d3d54b791b.jpg”]I won’t list all the details here as you have them in the video, but in general it is super fast and easy to get the above effect.
Step 1 – Boost the Color around the Buildings
First we need to increase that awesome orange tone around the building. This is simply done using a Hue/Saturation layer which is then selectively brought into the image using a layer mask. Thats already half-way!
Step Two – Darken the Edges of the Image
To really make the centre pop, we need to make the outer edges of the images much much darker. This is incredibly easy in Photoshop – I just used a curve adjustment layer. I know, right? If you have never worked with curves before, check out this tutorial here to get you started.
Step Three – Clean Up
I did not specifically show this in the video, but this is something I always do (everyone should hehe) – check the image for noise, make sure the horizon is level, and check if anything needs to be removed. The removing can be hard, depending on what you need to remove – here is a tutorial to help you!
To find more examples on how to pimp your photos in photoshop using colors, just head here and be wiser 🙂
Don’t forget to get out there and take some images yourself! Heads up, soon I will show you everything about Aurora HDR 2019 as well as the new Luminar 3! Exiting times 🙂
