https://youtu.be/cCD1QtQWeAc
How to Create a Pencil Drawing in Adobe Photoshop
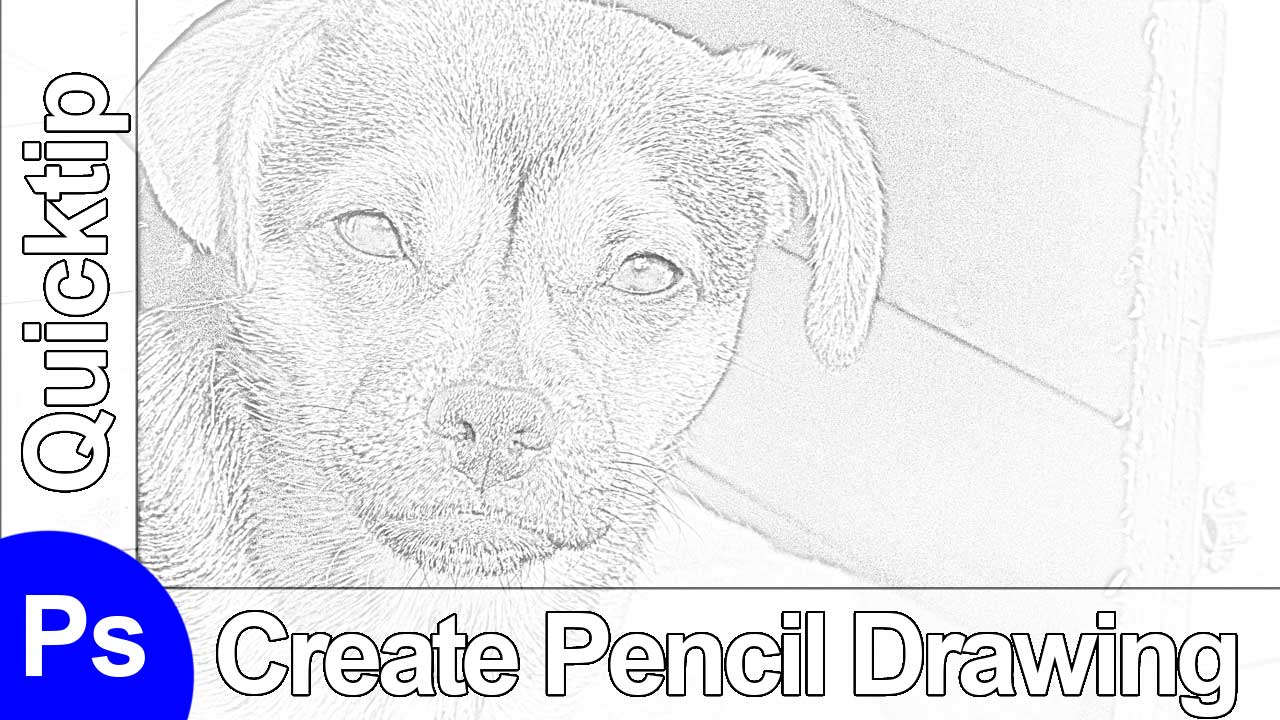
Welcome back! Here is something for the dog lovers among you. Today, I will show you how to transform a normal picture into a pencil drawing. If you like the video, make sure to subscribe to the channel for moar weekly photoshop action!
So here is what you have to do:
Part one – Duplicate the layer (0:20 min)
Just select the background layer and hit CMD+J on your keyboard.
Part two – Desaturate (0:25 min)
Create a hue/saturation adjustment layer and drag the slider for the saturation all the way down.
Part three – Add the pencil effect (0:31 min)
Select the duplicated layer, change its blending mode to Colour Dodge and hit CMD+I – now nearly everything should have disappeared. Then go to Filter-Blur-Gaussian Blur and select the strength of the effect to your liking.
Part four – Finish up (1:21 min)
Create a new layer, select your brush by hitting B on the keyboard, and draw white (with a low opacity) on that new layer wherever you want to reduce the strength of the effect. Thats all!
If you want to go further, have a look at this video and jump straight to 3:45 min:
Like my Images? See them all over at my portfolio.
Don’t forget to get your there and take some pictures yourself! It doesn’t have to be a dog though 😀


