How to Create Awesome Landscapes in Photoshop – Example: Shepherds Dream
Welcome back! Today, I am just tuning in for a short and quick landscape edit of an image that I took in Ireland about a year and a half ago. This was a trip, I can tell ya. We got lost so many times that I stopped counting! But in all fairness, getting lost is what it is about I believe, it can get you to places you would otherwise never have found.
So, today I will show you how to use Photoshop to add some color to your images and how to finish up with a nice vignette. Let’s jump right in!
Remember, if you like the video, make sure to subscribe for more weekly Photoshop and Photography action!
Here is the final image:
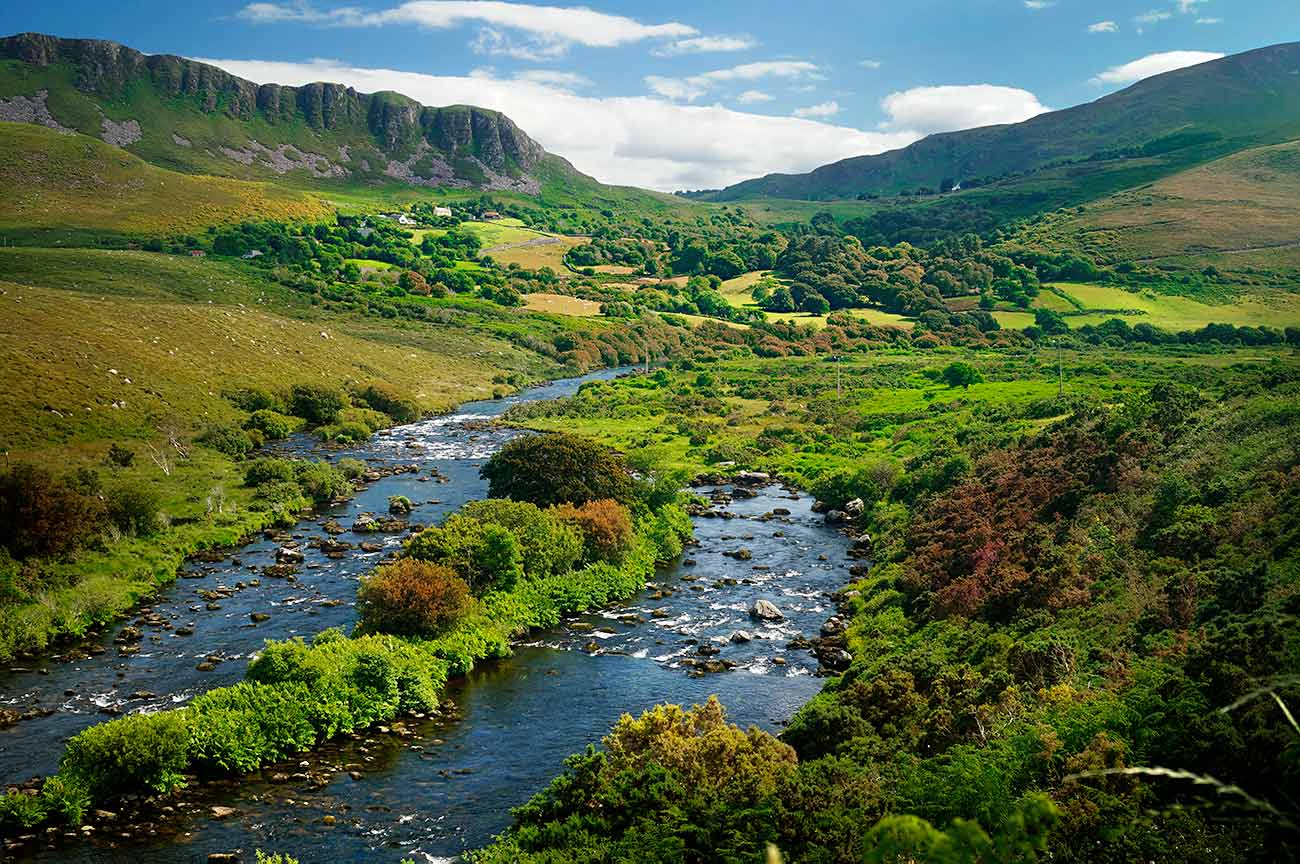
And here is the original:
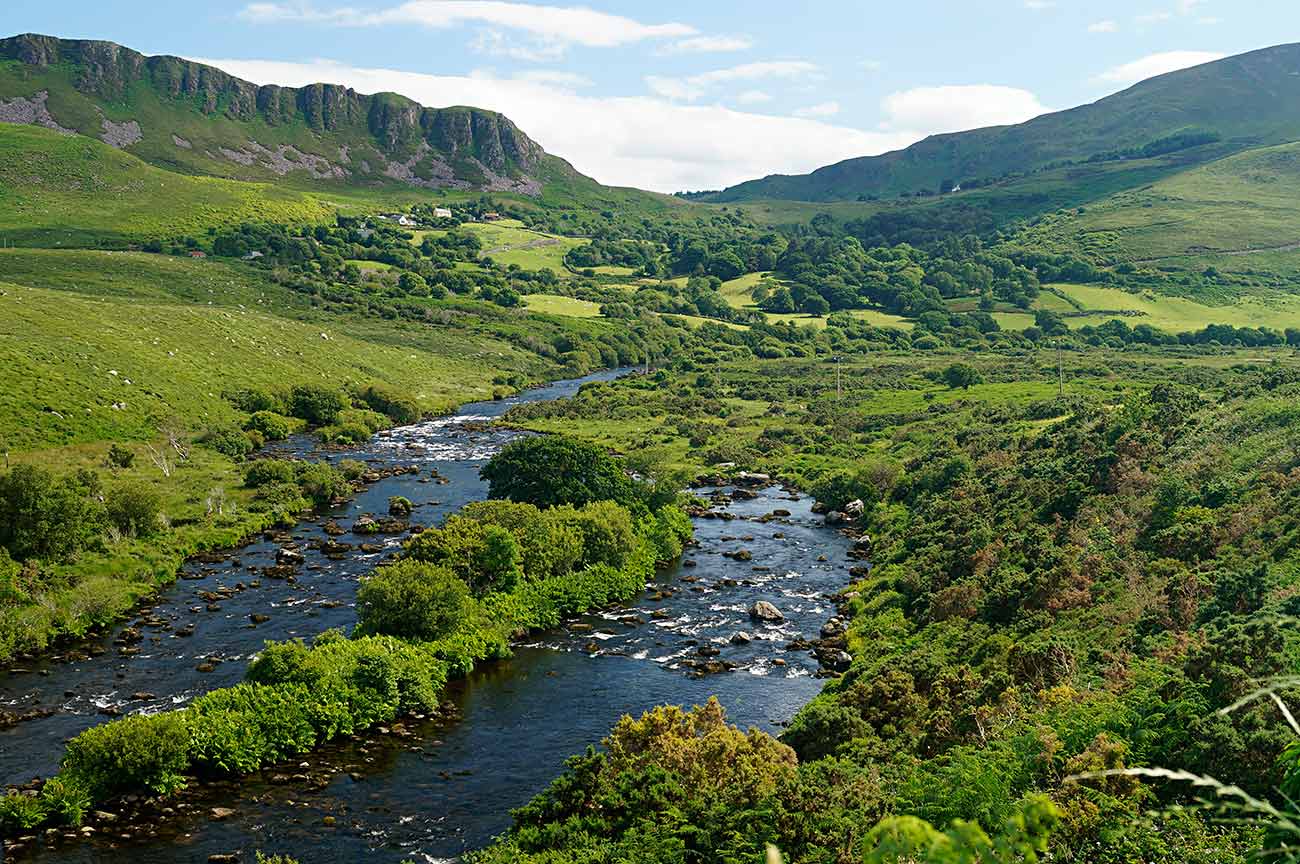
Step One – Change the Color of Parts of an Image in Photoshop (0:40 min)
When you change the color of certain parts of an image, you usually wanna make sure that you select it perfectly before. In this particular case, I wanted to add some red to the vegetation – and as you can see, most of the image is green. Therefore, I did not bother much selecting the perfect green range, I just created a Hue/Saturation layer and changed the Hue to something more red. I then inverted the layer mask by hitting CMD/Ctrl+I and used a white brush to paint the color in where I wanted.
Step Two – Emphasise a Certain Part of the Landscape using a Vignette (3:20 min)
This Step is simple! To increase the contrast and bring out the colors in the image a little more, I started by creating a stamp visible – a layer that contains all the information that we had added before. You can do this by pressing CMD/Ctrl+Alt+Shift+E. I then changed the blend mode of this layer from normal to soft light and used a layer mask to selectively brush the effect through wherever I needed. For the vignette, have a look at the below video, where I show you three ways of doing so 🙂
And that was all there is to edit a landscape in Photoshop – go landscape photography!
Remember, shortcuts make your life easier and can speed up your processing a lot! Here is what I used in this image and most of my landscape Photoshop tutorials:
CMD+I to invert
CMD+J to duplicate a layer or a selection
CMD+Alt+Shift+N to get a new layer
CMD+Alt+Shift+E to get a stamp visible
On a Windows PC, just replace the CMD with Ctrl.
If you like my images, make sure to check out my portfolio!
Don’t forget to get out there and take some pictures yourself – Have you been to Ireland? Show me your images! The fun starts when you share your work with others, especially when it is a similar place. You would be surprised how different images can be, hehe. That is all there was to this images and to edit awesome landscape images in Photoshop. Landscape photography rocks!