How to Create a Dark Atmosphere in Photoshop – Example: Dark Horse | Photoshop Tutorial
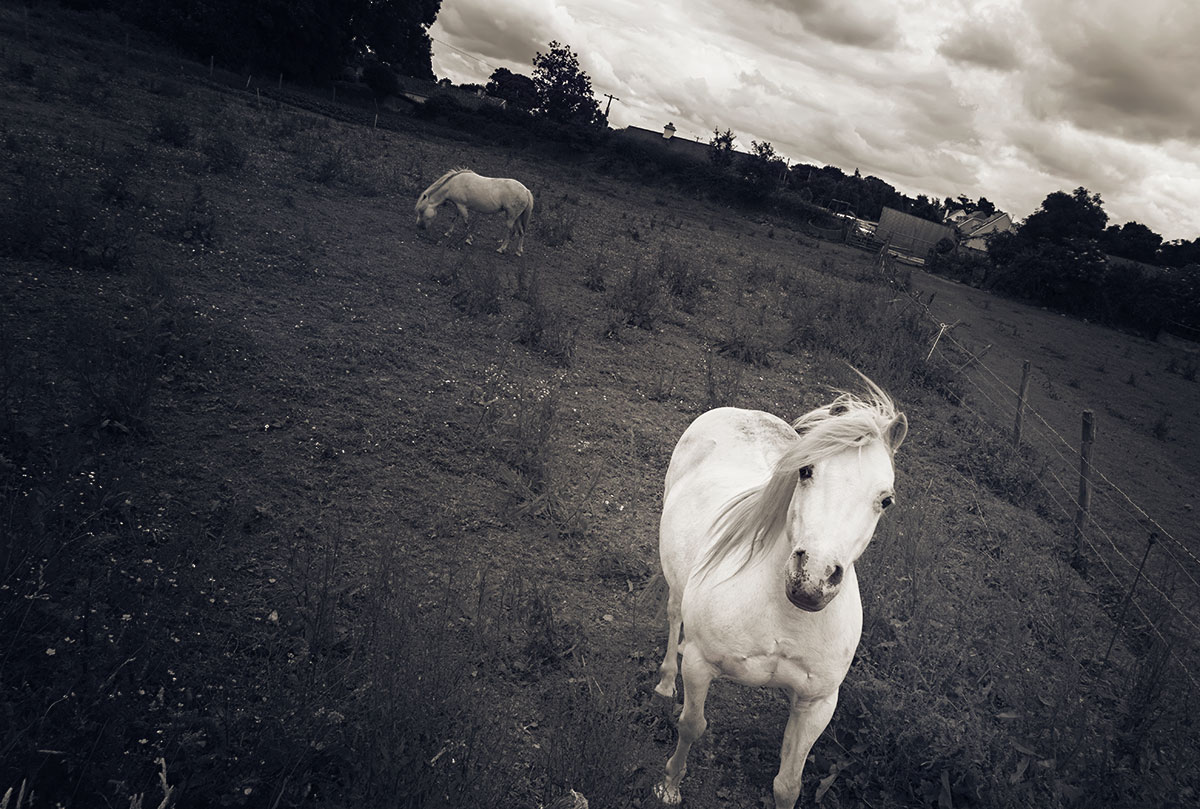
Welcome back! Today, I take you back with me about a year ago, to a time when I was traveling randomly through the beautiful landscape of Ireland. I am not actually sure that this is well known, but Ireland is full of horses! I did not know this when I arrived and was quite surprised the first couple of times I drove through the lands. The todays image is from such beauties – taken literally in the middle of nowhere. It was a gray day and even the grass seemed to be dark in some way – which is why I decided to create a rather dark mood within the image in Photoshop. This is something I am sure you can also do with a filter, potentially in Lightroom – but hey, this is Photoshop action! 🙂
Remember, if you like the video, make sure to subscribe for more weekly Photoshop and Photography action!
This is the final image:
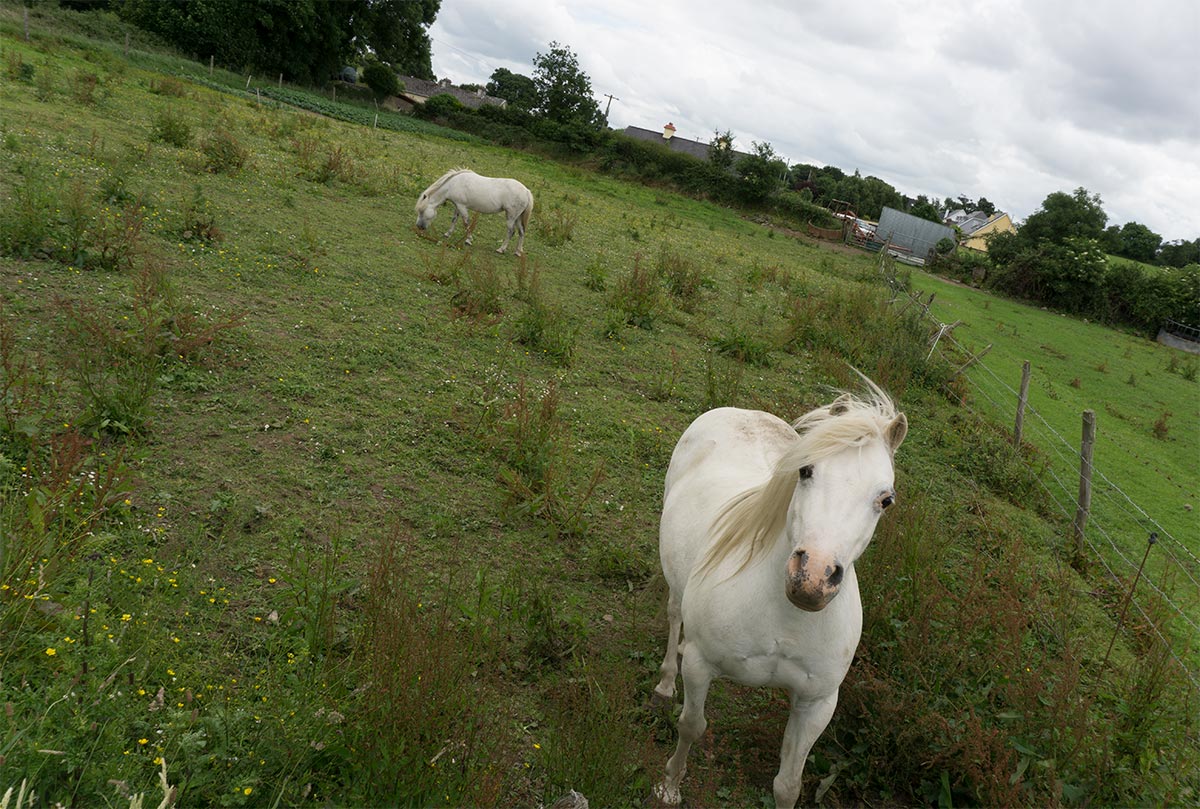
And here is the original:
Step One – Darken the Image in Photoshop using Curves (1:00 min)
The main thing to create a dark atmosphere in Photoshop is a reasonably dark image. There are about 239875 ways to darken areas in Photoshop, but my go-to tool is the curve adjustment. So, I created a curve adjustment and dragged the curve down. This darkened the whole image, which is not really what I needed in this case.
To make sure the horse is nice and visible, I selected the elliptical marquee tool (M on the keyboard) and drew a circle around where the main horse is. I then selected the layer mask of the adjustment and filled my selection with black (Shift+Backspace). To blur this a little, you can either use a gaussian blur filter, or just double click on the layer mask and use the feather there. All done, nicely darkened down.
Step Two – Make the Image Monochrome in Photoshop using Hue/Saturation Layers (5:00 min)
To give the image its final dark feel, I had to remove all the colors. They were dramatic, yes, but not good for the mood I wanted to go for. So, I created a Hue/Saturation layer and selected the ‘Colorize’ button. This was followed by a reduction in saturation and selecting a perfect hue – something that makes the image look dark and moody.
Step Three – Add further Color Using Blending Modes in Photoshop (8:00 min)
Monochrome images can be great, but for me, I like to take it a little further by adding an additional color in the dark areas of the image. As usual, there are some ways to do this, but I did this: I started by creating a new layer (CMD/Ctrl+Alt+Shift+N) and filled the layer with a random color. I then changed the blending mode of this layer to soft light.
This adds the color in the layer to the whole image – but using a layer mask and a brush can help this as shown in the video. To change the color and adapt it, I created a Hue/Saturation layer, clipped it to the color layer by hitting CMD/Ctrl+Alt+G on the keyboard, and then changed the Hue to my liking. Combining a dark brown and a dark blue worked well for me in this image, but this will really depend on what you had in front of your lens.
Remember, shortcuts make your life easier and can speed up your processing a lot! Here is what I used in this image and most of my landscape Photoshop tutorials:
M for the Marquee tool
B for the brush
X to change foreground colors
CMD+J to duplicate a layer or a selection
CMD+Alt+Shift+N to get a new layer
CMD+Alt+Shift+E to get a stamp visible
On a Windows PC, just replace the CMD with Ctrl.
If you like my images, make sure to check out my portfolio!
Don’t forget to get out there and take some pictures yourself – Have you been to Ireland? Show me your images! The fun starts when you share your work with others, especially when it is a similar place. You would be surprised how different images can be, hehe. This is all there was to learn how to create a dark atmosphere in Photoshop!