How to Pimp you Autumn Images in Photoshop and Aurora HDR 2018
Welcome back! Today, we will talk about Autumn. While it is sad that the summer is gone, it is also amazing to see the leaves of the trees changing colour. Old parks that you have visited 23 times before become interesting again as they appear in a new light.
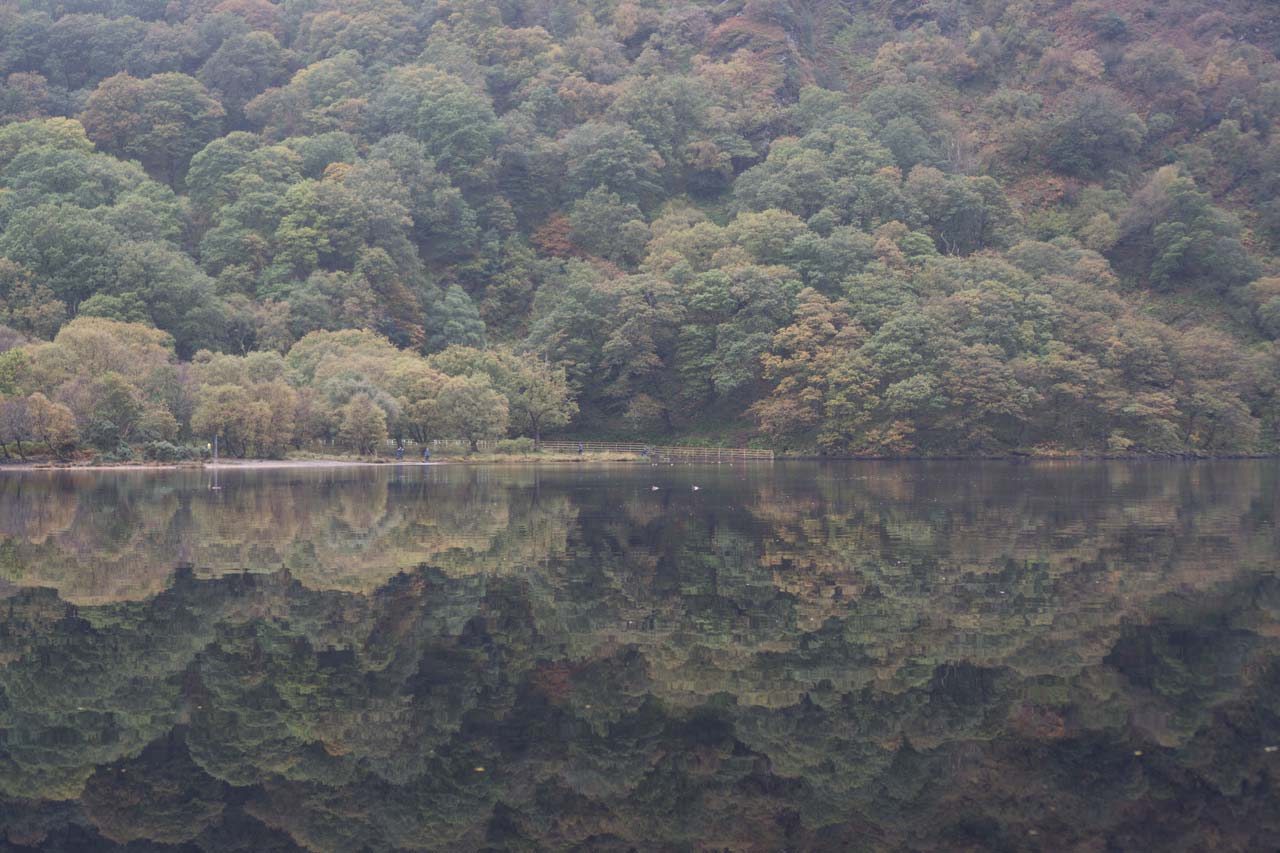
Unfortunately, autumn is also the time of dull weather – fog, mist, rain, wind, you name it. Days can be quite grey and taking photos of a great autumn scene can be difficult due to drops on the lens and all. Not just that, any photo that you take might come out super dull – no colours, no contrast, foggy… not at all how one would imagine a great autumn scene!
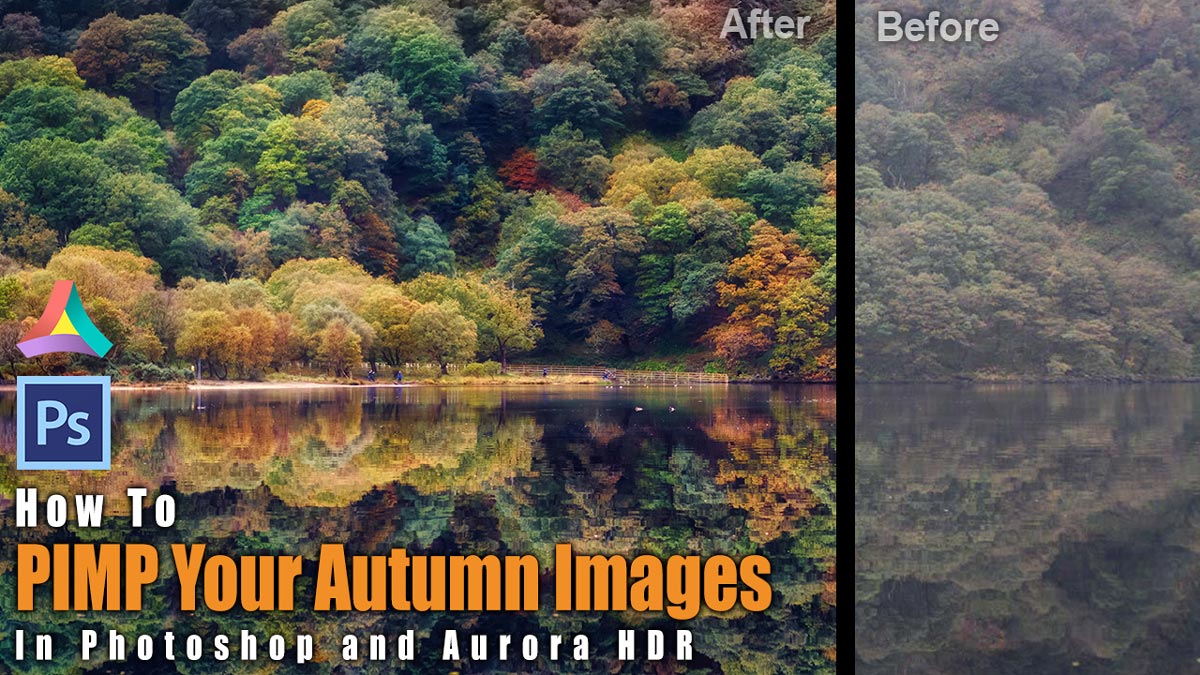
But do not worry – today I will show you how you can take such a dull image and spice it up – bring the colours back to live and make them pop, remove the haze and the fog and give the photo some needed contrast. We will look at the procedure in Photoshop first, and then jump over to Aurora HDR to do exactly the same. Let’s go!
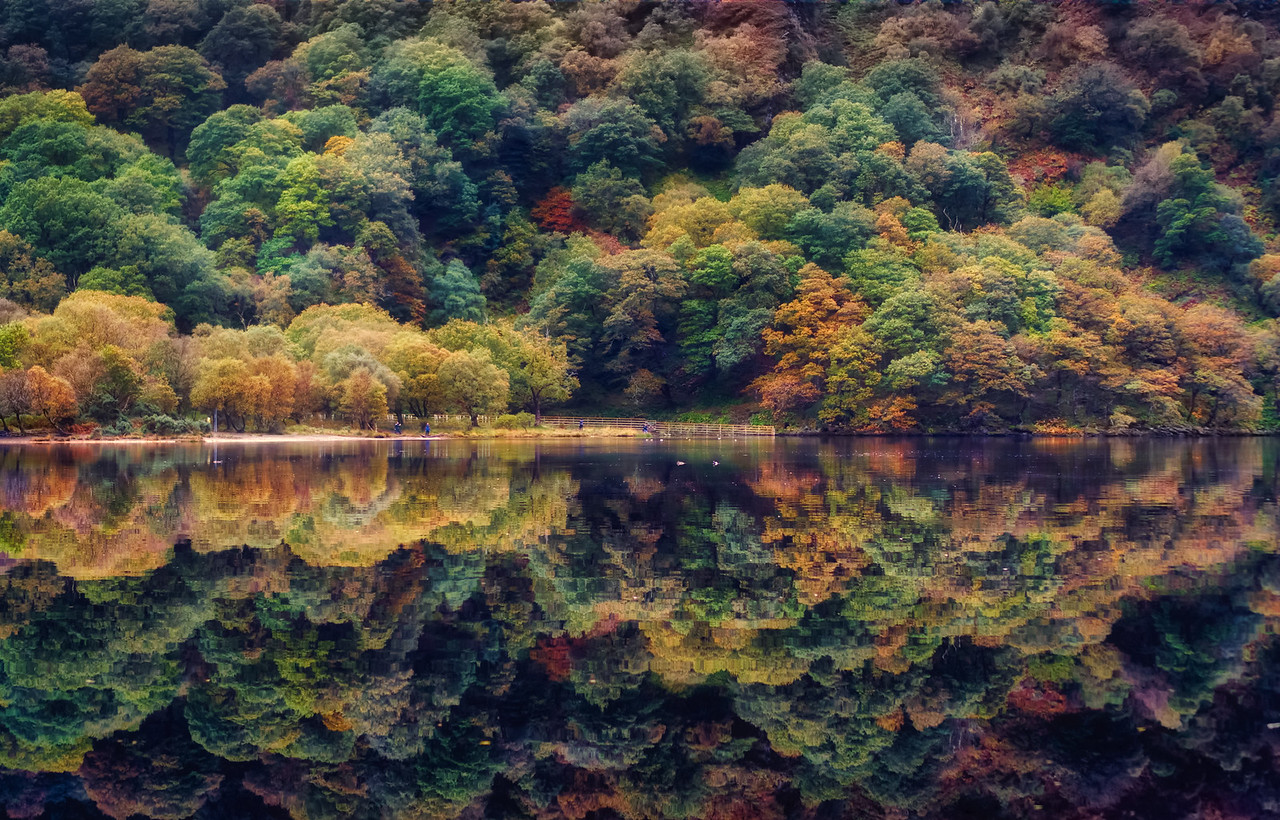
Here is the final image:
And here is the original:
Part One – Edit Autumn Images in Photoshop (1:40 min)
Step One – Increase the Contrast (2:00 min)
My image was super dull and it looked like it was taken on one of these foggy days (because it was!) – so first we can bring some contrast back into the image. For this, I simply made a copy of my background layer (CMD/Ctrl J) and changed the blend mode to soft light. This already gave it a way better look! I later added another Contrast adjustment layer and increased the contrast a little further.
Step Two – Make the Autumn Colours Pop in Photoshop (2:45 min)
Now that we have a better dark/light relationship in the image, it is time to work on the colours. You can take this as far as you like – I did not go all out in the video to keep it humane, but (!) this is of course totally up to you. Now, I used a Hue/Saturation adjustment layer to increase the saturation as well as the vibrance a little bit. This helped a lot! But to make the colours pop, it was necessary to reduce the brightness of some areas that have less colour. This way, you can draw the attention of the eye to the areas that do actually have a lot of colour. This was done fastly using a simple curve adjustment layer.
Step Three – Add Clarity and a Vignette in Photoshop (4:20 min)
This part has three sub-steps actually – first the clarity, then removing haze, and then finally adding the vignette. All these things can be done in one go! For that, use a stamp visible (CMD/Ctrl Alt Shift E) to copy everything that is visible onto a new layer. Once done, head to Filter-Camera Raw Filter. There you can quickly adjust the clarity, the haze, as well as the vignette. I love it so much. Many people will tell you over and over again that the point of Photoshop is to do these things yourself without having to rely on preprepared sliders – I agree that there is a benefit to doing this all manually in a longer process if you are learning, but I am a friend of less effort. I say do whatever works for you, which in my case means I use all that I can use in Photoshop – filters, effects, the camera raw filter… There is enough manual labour involved, so why not use the shortcuts available 🙂
Part Two – Edit Autumn Images in Aurora HDR 2018 (8:00 min)
Editing images in Aurora HDR 2018 is a pleasure really. Usually most would use the software to create an HDR image out of three exposures, but you can also drag and drop a single image file (RAW or JPG, whatever) into the software so that Aurora tone maps this one image. In case of this autumn photo, the process was simple. I opened the photo in Aurora HDR, picked a preset that looks close to the look that I am trying to achieve, and then took it from there.
There is not much of a point to lay out all the steps here as there isn’t much to do – it is very simple and the whole thing can be done using some sliders and a brush. Have a look at the video above, you will love it!
Remember, shortcuts in Photoshop make your life easier and can speed up your processing a lot! Here is what I used in this image and most of my landscape and outdoor Photoshop tutorials:
B for the brush
CMD J to duplicate a layer or a selection
CMD I to invert a layer mask
CMD Alt Shift E to get a stamp visible
On a Windows PC, just replace the CMD with Ctrl.
If you like my images, make sure to check out my portfolio!

