Using Photoshop to Create a Dramatic Scene – Example: The Louvre
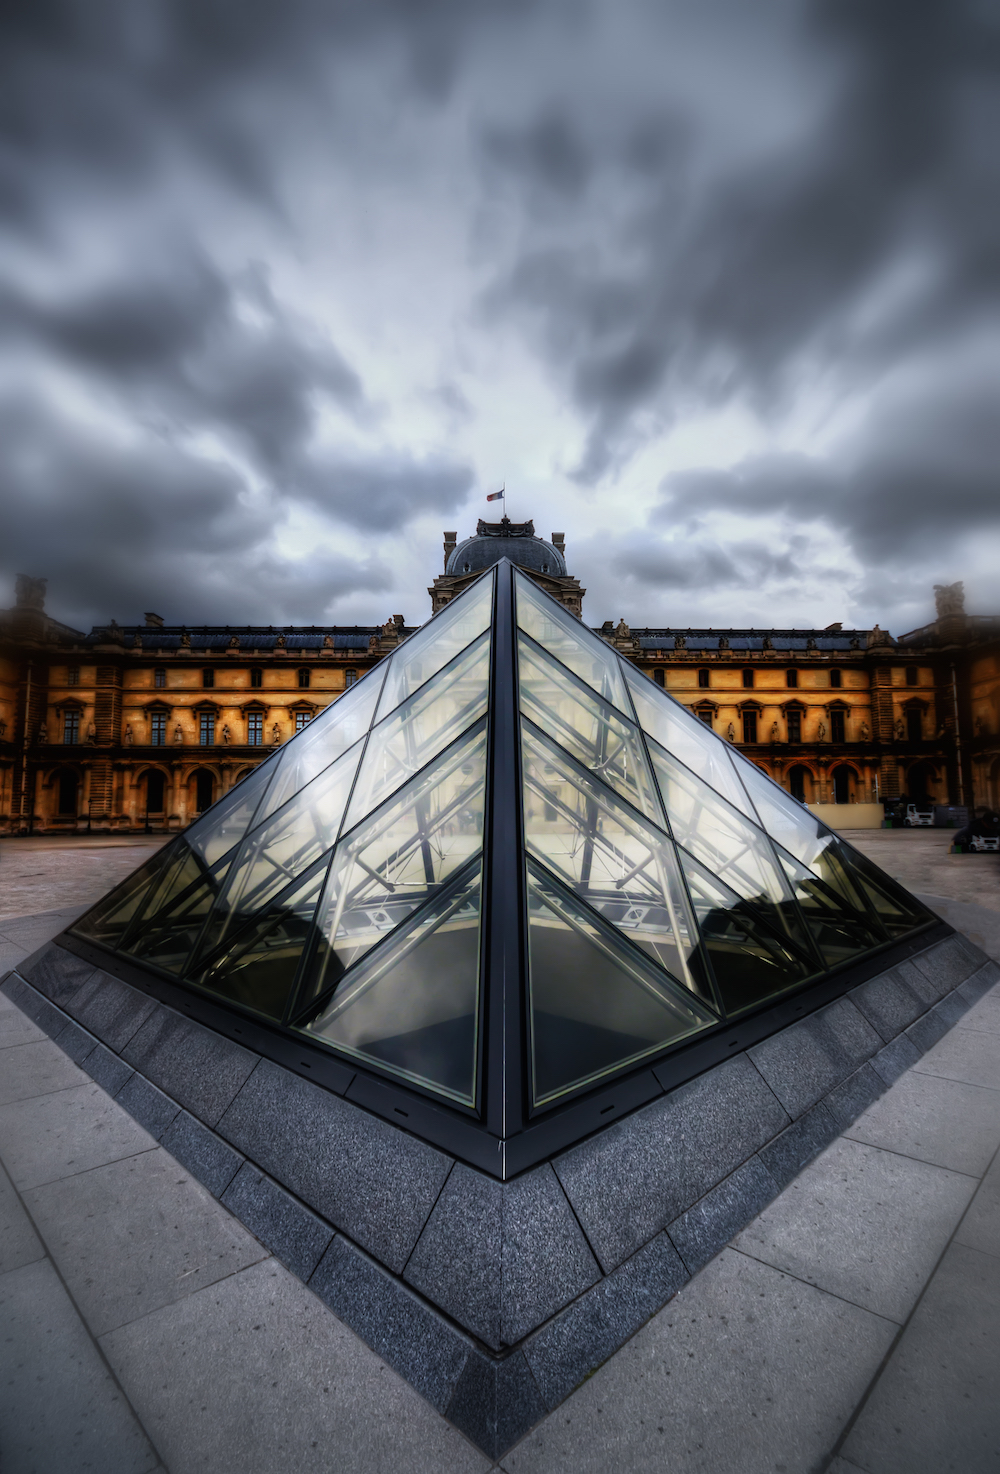
I am a massive fan of the Louvre! Inside and outside, hehe. When I was there recently I was kind of lucky getting a nice and cloudy sky which was mirrored in the glass of the small pyramid.
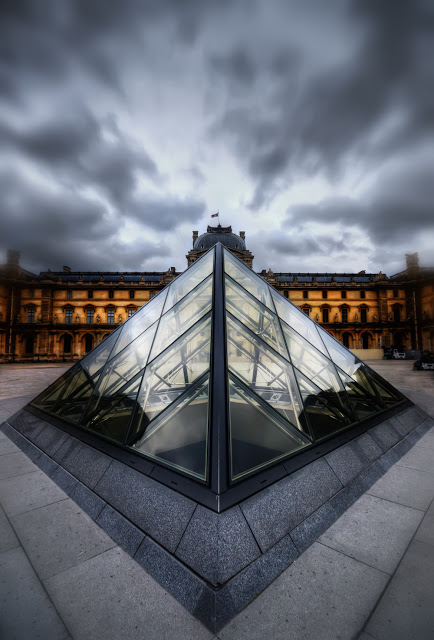
Here is the final image:
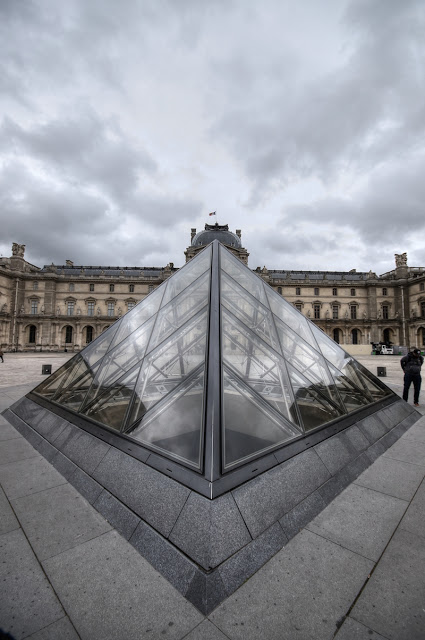
and here the original:
Normally I would take 3 exposures and create an HDR image – in this case there wasn’t enough light to justify the extra effort so I was very happy with just one. I tonemapped this one in Photomatix anyway, but just very little.
So, to create this image I used multiple techniques. I had a person in the image which I had to remove (violently). To do that, I
- used my pen tool to draw a rough selection around the person
- used the clone stamp tool and the healing brush tool to remove the person
- deselected my selection (makes sense no?)
- used healing and clone stamp again to clean it up.
So the person was gone, the sky got a treatment with curves and levels to get the contrast between dark and bright clouds a little better.
The building itself was fixed using some curves where I
- Removed some blue
- Added some red
- removed some green
which generally created this golden look. Ah, increased contrast helped as well, hehe.
Noise… don’t we all just hate it? Sometimes its nice but 90% of the cases it just looks dirty! But do not worry, just use the Camera Raw Filter (can be found under Filter) and select the noise reduction there. It is super amazing!
The rest was easy, have a look at the video for the full processing.
PS: If you like my images, make sure to check out my complete portfolio!


One Reply to “Using Photoshop to Create a Dramatic Scene – Example: The Louvre”
Comments are closed.