How To Create Stunning Landscape Images In Photoshop And Aurora HDR 2018 | Example: Irish Stairs
Welcome back! Today we will talk about landscape images, or more specifically how you can take them to the next level!
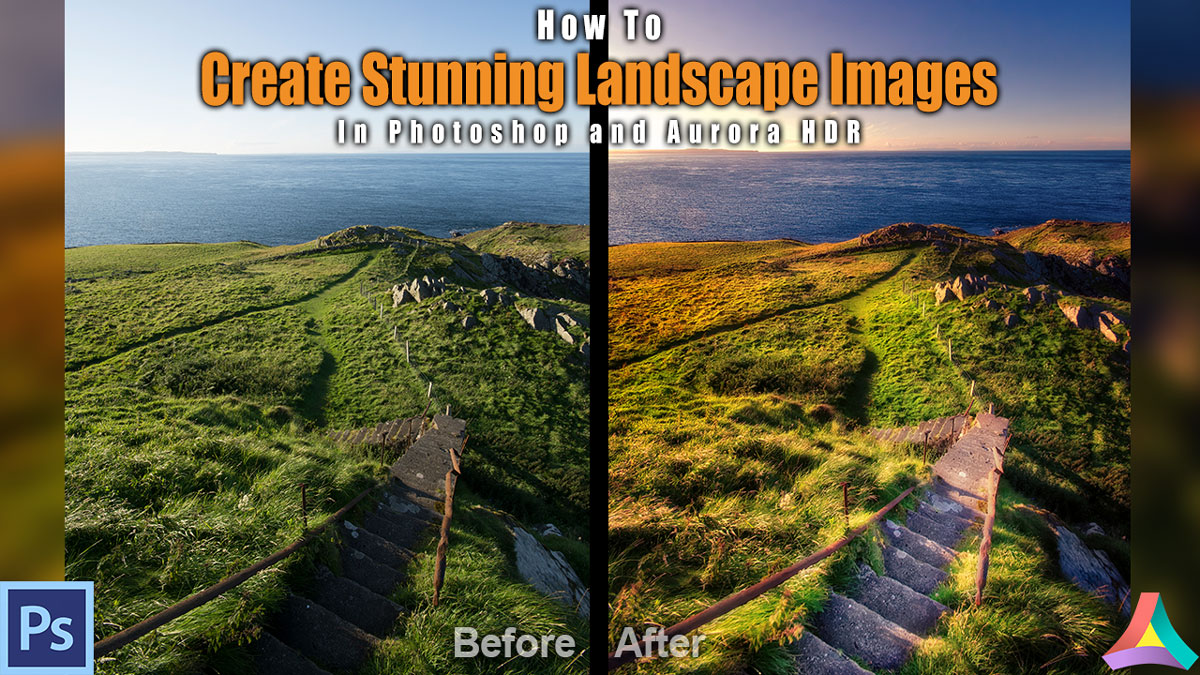
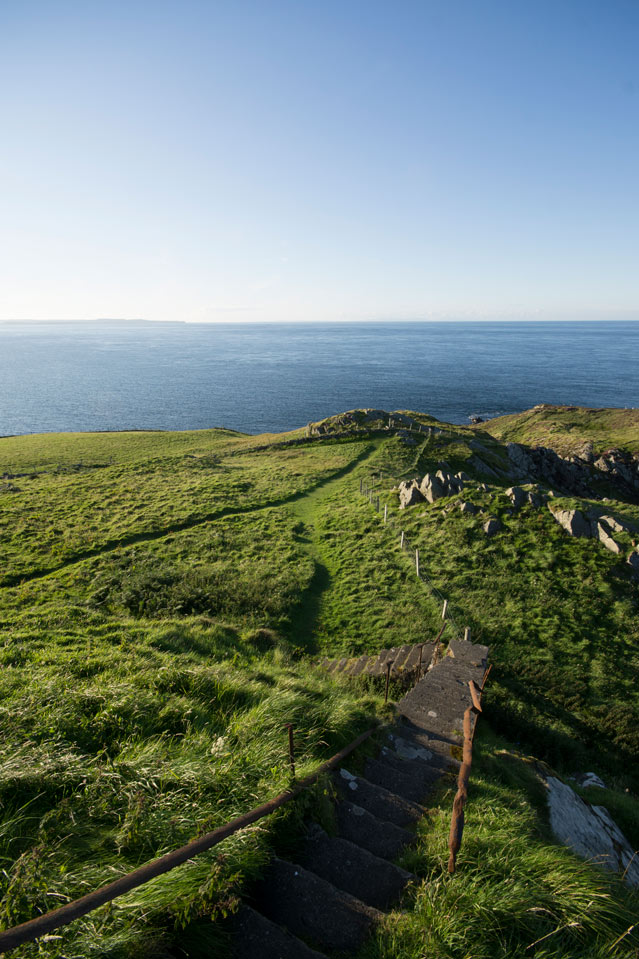
You know how it is – you go places, awesome places, and when you look at the pictures that you have taken when you are home, you are a little sad or at least a little disappointed. The colours, the contrast, the mood of the scene… all gone. Well, we all have been there, and processing your photos can help you out here. Therefore, today I will show you how to use editing software to boost the below image from Nah to wow in no time at all. In today’s example, we will use Aurora HDR 2018 as well as Photoshop.
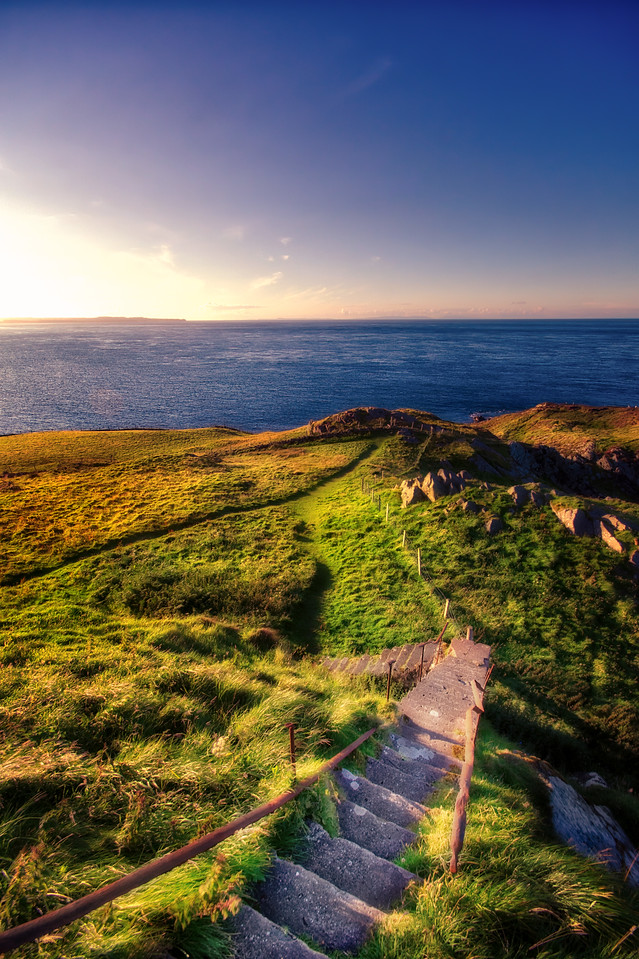
Here is the final image:
And here is the original (0 Exposure):
Step One – Create the base HDR image in Aurora HDR 2018 (3:00 min)
Aurora HDR is one of the best programmes to create HDR images out there. It is simple to use, yet super powerful and can boost your editing like few other software I have tried when it comes to creating HDR images. I highly recommend to check it out here – you can even get 10% off if you use promo code ‘LETSIMAGE’ at checkout.
Now, I will not go into detail here about what I did with Aurora for this image as it is really just moving some sliders around to get 60% of the way there. Check out the video for the single steps and then get ready to jump over into Photoshop, where we will add some great colour to our image.
Step Two – Clean the Sky in Photoshop (8:30 min)
When the HDR image came out of Aurora, I was quite happy with the overall looks – but I have been haunted by an old ghost that is with me when I travel, which means spots on my lens. I never realise until it is too late, but I have grown quite accustomed to clearing them out in Photoshop. You can do this super fast! Make a new layer that is empty and use the Spot Healing Tool to click on one spot after another. In fact, there are many ways of removing dirt and spots from images, check out this video of mine where I go through the most efficient ones.
Step Three – Fix the Light in Photoshop (10:00 min)
The next step was to make sure the light looks a little better in the image. I needed the light to come mostly from the left-hand side, hence I needed to create some darker areas on the ground to make sure it looks believable. I used a couple of different thing such as curve adjustment layers as well as the camera raw filter to ‘re-distribute’ the light to my liking. This may sound tough, but it takes no time at all and is actually super fun! You paint the world that you imagine into the image 🙂 Besides, light is one of the most important aspects in photography, so better to train if you want to create stunning landscape images 🙂
Step Four – Add Evening Colours in Photoshop (12:45 min)
Now, this was the most important step in the processing I believe – giving the image a new colour look. As the scene plays around evening, the idea is to give it some colours that you would associate with evening – orange, purple, magenta… You name it. For this, I made use of the split-colour toning that you can find within the camera raw filter. So, first I created a Stamp Visible (all information on a separate layer) and went to the good old camera raw filter. There, I simply went to the split toning section and chose a subtle magenta for both the highlights and the shadows. This changed the image completely!
To add some orange, I repeated the process and this time went to the Hue/Saturation section within the camera raw filter. There, I changed some greens of the grass into orange. Done! This is just another example how you can create stunning landscape images, too!
Remember, shortcuts make your life easier and can speed up your processing a lot! Here is what I used in this image and most of my landscape and outdoor Photoshop tutorials:
B for the brush
X to change foreground colours
V for the move tool
G for the bucket tool or the gradient tool
Shift Backspace to fill a layer mask with black or white
CMD J to duplicate a layer or a selection
CMD I to invert
CMD Alt Shift N to get a new layer
CMD Alt Shift E to get a stamp visible
On a Windows PC, just replace the CMD with Ctrl.
If you like my images, make sure to check out my portfolio!

